Cara Install Plesk di CentOS 7

Plesk adalah aplikasi control panel web hosting komersial yang menjadi pesaing cPanel. Plesk mendukung sistem operasi Linux (Debian, Ubuntu, CentOS, RHEL, CloudLinux, Virtuozzo) dan Windows Server.
0. Mesin yang digunakan
Di tutorial ini saya menggunakan:
- VPS
- RAM 2GB
- Storage 40GB
- OS CentOS 7 x64
- Hostname plesk.musaamin.web.id
1. Install Plesk
Sebelum melakukan instalasi, update system terlebih dahulu dan install wget jika belum tersedia.
1 2 | yum update -y yum install wget -y |
Download Plesk installer.
1 | wget https://autoinstall.plesk.com/plesk-installer |
Beri hak akses execute.
1 | chmod u+x plesk-installer |
Lalu jalankan script installer.
1 | ./plesk-installer --all-versions |
Ditampilkan pesan, jawab F.
1 2 3 4 5 6 7 8 9 10 11 12 13 14 15 16 17 18 19 | The Plesk Installation and Upgrade Wizard will guide you through the installation or upgrade process. =============================================================================== ------ IMPORTANT ------ * New installation of product(s) should be performed on clean servers only. * Before upgrading Plesk, be sure to back up your data. * By using this Wizard you agree to the terms and conditions described at http://www.plesk.com/legal/terms/ and those of the Plesk End User License Agreement. Available actions: (F) Go forward (Q) Cancel installation Select an action [F/q]: F |
Lalu ditampilkan semua versi Plesk, saya memilih no.9 Plesk Onyx 17.8.11 (Stable). Setelah memilih jawab lagi dengan F.
1 2 3 4 5 6 7 8 9 10 11 12 13 14 15 16 17 18 19 20 21 22 23 | The following product versions are available: 1. [*] Plesk 2. ( ) Plesk Onyx 17.9.9 (testing) 3. ( ) Plesk Onyx 17.9.8 (testing) 4. ( ) Plesk Onyx 17.9.7 (testing) 5. ( ) Plesk Onyx 17.9.6 (testing) 6. ( ) Plesk Onyx 17.9.5 (testing) 7. ( ) Plesk Onyx 17.9.4 (testing) 8. ( ) Plesk Onyx 17.9.3 (testing) 9. (*) Plesk Onyx 17.8.11 (Stable) 10. ( ) Plesk Onyx 17.5.3 (Stable) 11. ( ) Plesk Onyx 17.0.17 (Stable) 12. ( ) Plesk 12.5.30 (Stable) 13. ( ) Plesk 12.0.18 (Stable) Available actions: (F) Go forward (B) Go back (Q) Cancel installation (S) Show advanced settings Select an action or a number [F/b/q/s/1-13]: 9 |
Selanjutnya persetujuan untuk mengirim informasi instalasi dan upgrade, bisa Y atau n.
1 2 | Would you like to help Plesk make better products by sending information about issues occurred, including installation and upgrade issues? [Y/n]: n |
Selanjutnya pilihan tipe instalasi, Recomended hanya menginstall kompenen dasar yang umum digunakan, Full menginstall semua komponen secara lengkap, dan Custom dapat memilih komponen tertentu saja. Saya memilih Full.
1 2 3 4 5 6 7 8 9 10 11 12 13 14 15 16 17 18 19 20 21 | Select the installation type for Plesk =============================================================================== Installation types for the product: 1. ( ) Recommended Install typically used components. Recommended for general use. 2. (*) Full Install all available components. 3. ( ) Custom Custom components selection. Recommended only for experienced users. Available actions: (F) Go forward (B) Go back (Q) Cancel installation Select an action or a number [F/b/q/1-3]: 2 |
Kemudian ditampilkan informasi jumlah paket yang harus diinstall, jawab F untuk melanjutkan.
1 2 3 4 5 6 7 8 9 10 11 12 13 14 15 16 17 | Preparing Your System for Product Installation =============================================================================== There are 385 packages required for the product to function properly which were not found in your system. There are 0 packages that need to be upgraded in order to install the product. Available actions: (F) Go forward (B) Go back (Q) Cancel installation (S) Show the list of packages Select an action [F/b/q/s]: F |
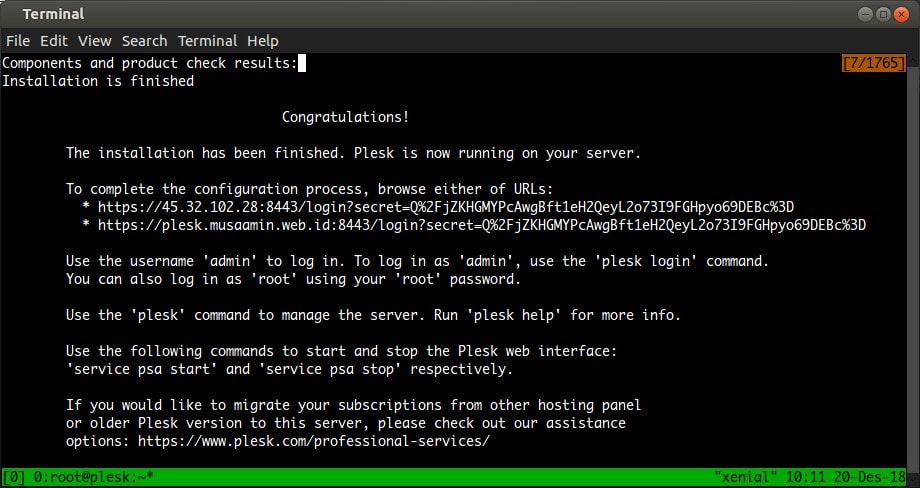
Setelah selesai ditampikan pesan Installation is finished beserta cara login ke Plesk.
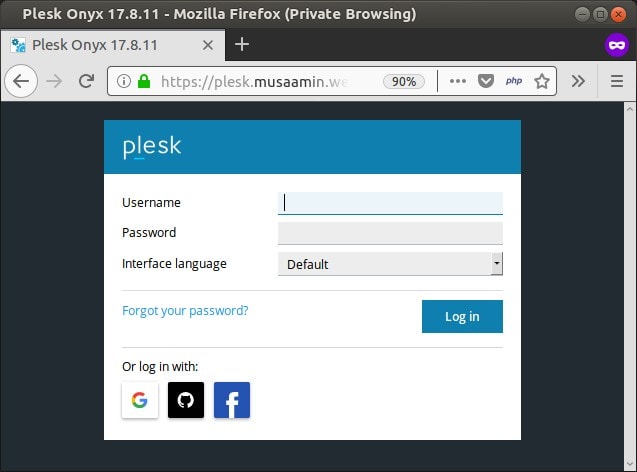
Masukkan username: root dan password: password-root-centos.
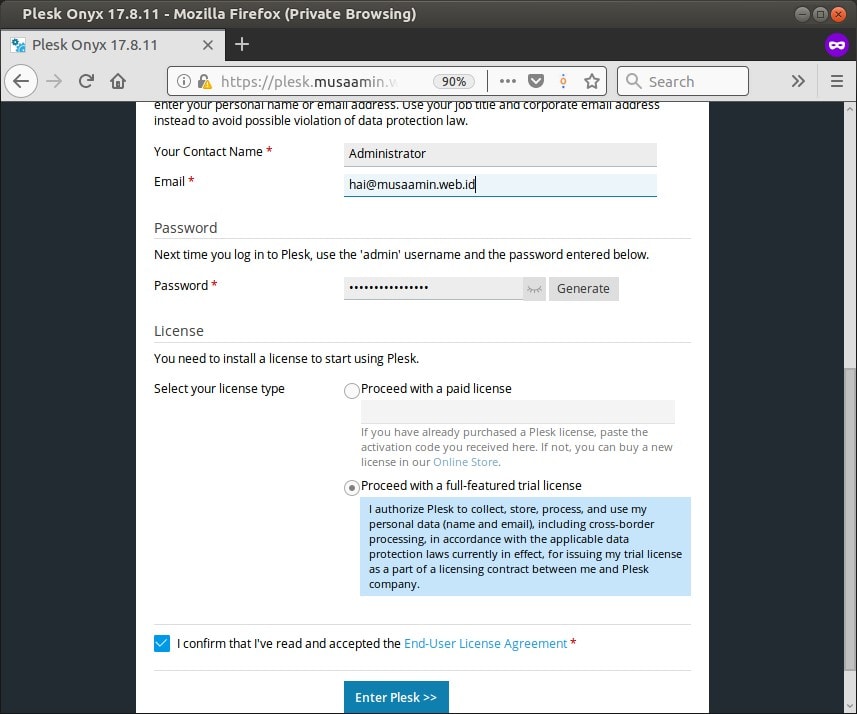
Masukkan kontak email admin, password, pilih dan masukkan lisensi (pakai trial), dan setujui linsesi.
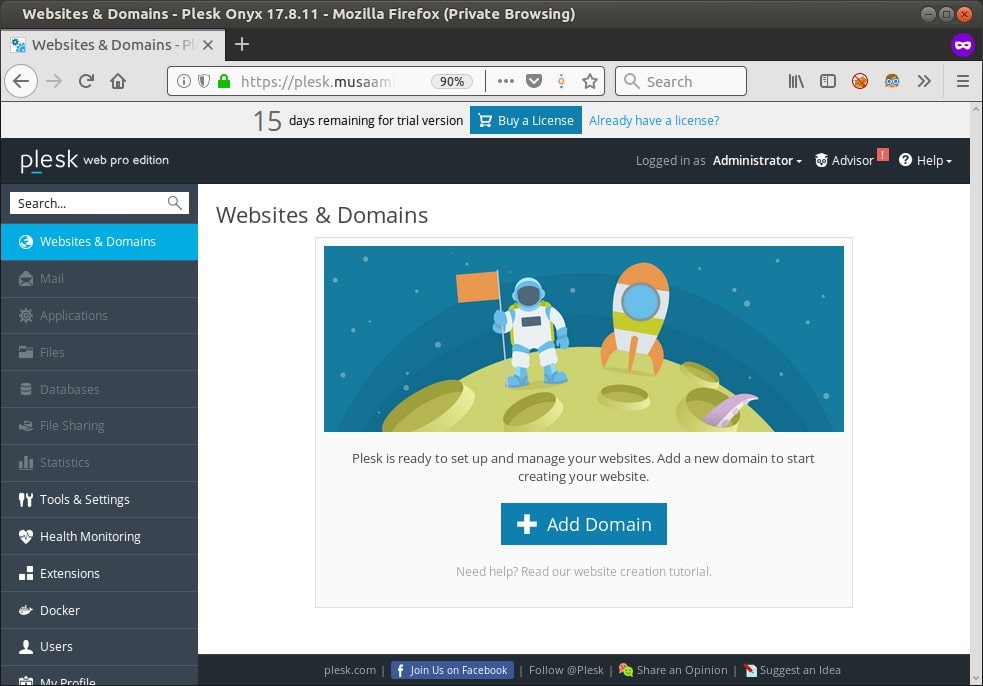
Setelah selesai masuk ke dashboard Plesk. Yang terinstall adalah Plesk web pro edition.
selamat mencoba 🙂
