How to Install Froxlor Server Management Panel on Ubuntu 18.04

Froxlor is a server management panel application with an open source license. Froxlor has various features such as web hosting management, domain names, FTP, and email.
Configure hostname
The hostname must be a Fully Qualified Domain Name (FQDN), for example the domain name getbox.xyz, for hostname server.getbox.xyz.
1 | sudo hostnamectl set-hostname server.getbox.xyz |
Open file /etc/hosts.
1 | sudo vim /etc/hosts |
Add IP_SERVER and host.
1 | 64.20.51.164 server.getbox.xyz |
Restart.
1 | sudo reboot |
Install Apache
Unlike other control panels, the web server must be installed first before installing Froxlor.
1 2 | sudo apt update sudo apt install apache2 -y |
Install PHP
Install PHP and extensions as needed.
1 | sudo apt install php php-common php-xml php-mbstring php-curl php-bcmath php-zip php-json php-mysql -y |
Install MariaDB
Install MariaDB database.
1 | sudo apt install mariadb-server -y |
Secure the MariaDB installation.
1 | sudo mysql_secure_installation |
Answer the questions given.
1 2 3 4 5 6 | Enter current password for root (enter for none): ENTER Set root password? [Y/n] y Remove anonymous users? [Y/n] y Disallow root login remotely? [Y/n] y Remove test database and access to it? [Y/n] y Reload privilege tables now? [Y/n] y |
Login MariaDB and create a database and user for froxlor.
1 2 3 4 5 6 7 | sudo mysql -u root -p update mysql.user set plugin='' where user='root'; create database froxlor; create user 'froxlor'@'localhost' identified by 'secret'; grant all privileges on froxlor.* to 'froxlor'@'localhost' identified by 'secret' with grant option; flush privileges; exit; |
Install Froxlor
Download the latest Froxlor.
1 2 3 4 | wget https://files.froxlor.org/releases/froxlor-latest.tar.gz tar xzvf froxlor-latest.tar.gz mv froxlor /var/www/html chown -R www-data:www-data /var/www/html/froxlor |
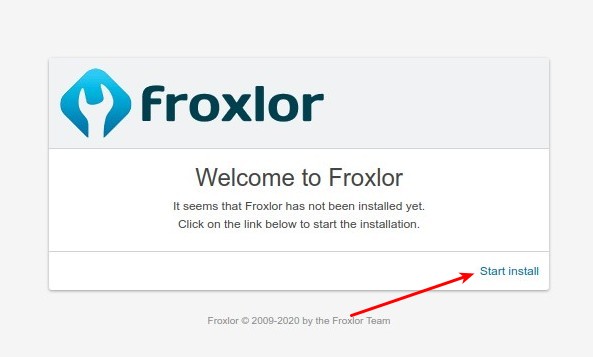
Browse http://ip-server/froxlor.
Click Start Install.
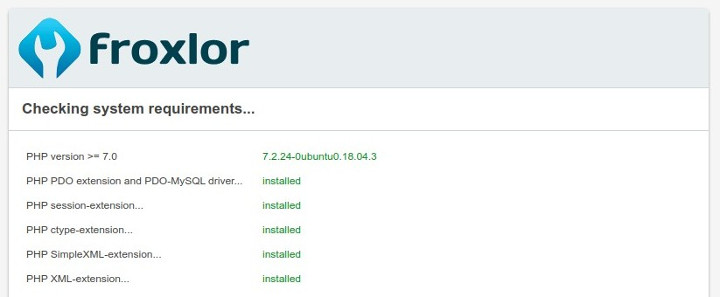
Check system requirements, whether all requirements have been met. If the message ‘All requirements are satisfied’ appears, it means that everything has been fulfilled. Click Click here to continue.
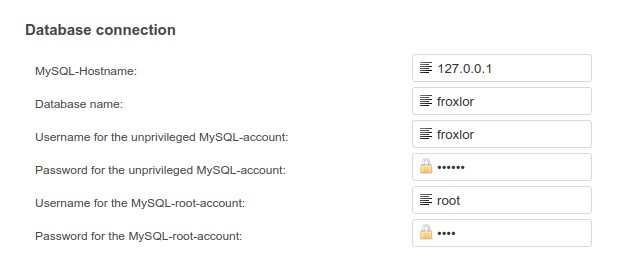
Enter Database connection.
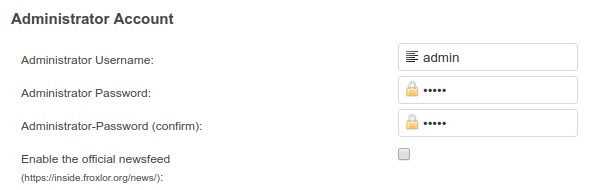
Enter Administrator Account.
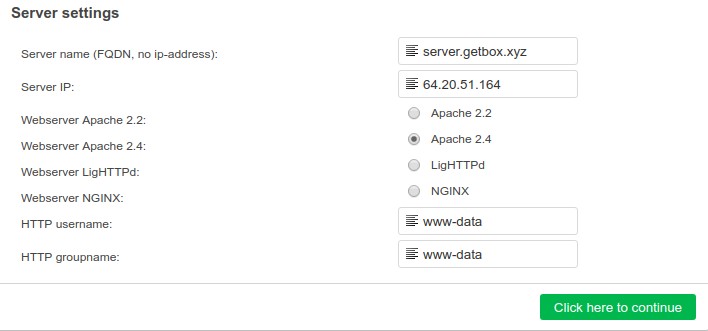
Enter Server settings.
Finally click ‘Click here to continue’.
If the installation is successful, the message Froxlor was installed successfully is displayed.
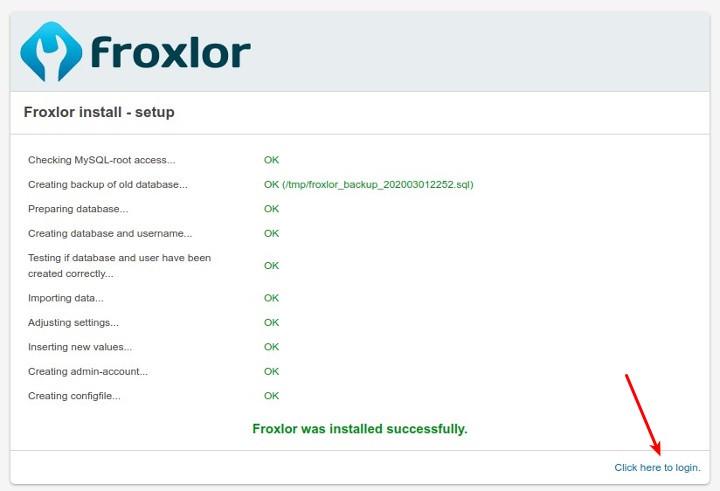
Click Click here to login to log in to Froxlor.
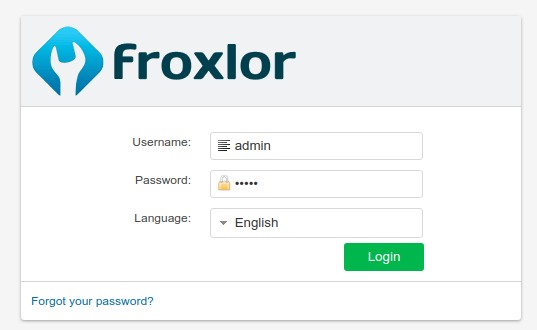
Enter username dan password.

If you found this article helpful and would like to support my work, consider making a donation through PayPal. Your support helps me continue creating useful content and tutorials. Thank you!
Donate via PayPal: https://paypal.me/musaamin