How to Install Matomo Analytics on Ubuntu 20.04

Matomo or previously known as Piwik is open source software for web analytics, which functions to track visitors on the website. Matomo can be an alternative to Google Analytics which wants complete control over data.
System requirements
System requirements for Matomo.
- Web server Apache, Nginx, IIS, etc
- PHP version >=5.5.9
- PHP extension pdo, pdo_mysql, or mysqli
- MySQL version >=5.5 or MariaDB
Recommended system
- PHP 7.x
- PHP GD extension
- MySQL 5.7+ or MariaDB
Recommended server size
Tracking 100,000 page views per month
- 1 server for database and app
- 2 CPU, 2GB RAM, 50GB SSD disk
Tracking 1 million page views per month
- 1 server for database and app
- 4 CPU, 8GB RAM, 250GB SSD disk
Tracking 10 million page views per month
- 1 server for app, 8 CPU, 16GB RAM, 100GB SSD disk
- or 2 server for app, 4 CPU, 4GB RAM, 100GB SSD disk
- 1 server for database, 8 CPU, 16GB RAM, 400GB SSD disk
Tracking 100 million page views per month
- 3 server for app, 16 CPU, 16 RAM, 100GB SSD disk
- 1 server for database, 16 CPU, 32GB RAM, 1TB SSD disk
- or optional 2 server for database, one server as replication slave mode
- 1 load balancer
- 1 CDN
Tracking 100 million page views per month
- 3 server for app, 16 CPU, 16GB RAM, 100GB SSD disk
- 2 server for database, 16 CPU, 32GB RAM, 1TB SSD disk
- enable replication slave for database
- 1 load balancer
- 1 CDN
The system used in the tutorial
- VPS 1CPU, 2GB RAM, 50GB SSD disk
- Operating system: Ubuntu 20.04
- Web server: Apache
- PHP runtime: PHP 7.4
- Database: MariaDB 10.3
- Subdomain: matomo.defnex.com
- SSL: Let’s Encrypt
- Matomo: Matomo v3.14.0
Install Apache
Install Apache web server.
1 | apt install apache2 -y |
Configure a virtual host for matomo.defnex.com.
1 | nano /etc/apache2/sites-available/matomo.defnex.com.conf |
Virtual host configuration.
1 2 3 4 5 6 7 8 9 10 11 | <VirtualHost *:80> ServerName matomo.defnex.com DocumentRoot /var/www/matomo.defnex.com <Directory /var/www/matomo.defnex.com> Options Indexes FollowSymLinks MultiViews AllowOverride All Require all granted </Directory> ErrorLog /var/log/apache2/matomo.defnex.com_error.log CustomLog /var/log/apache2/matomo.defnex.com_access.log combined </VirtualHost> |
Create a DocumentRoot directory.
1 | mkdir /var/www/matomo.defnex.com |
Enable virtual host.
1 | a2ensite matomo.defnex.com.conf |
Restart Apache.
1 2 | systemctl restart apache2 systemctl status apache2 |
Install Let’s Encrypt SSL
Install certbot for SSL certificates from Let’s Encrypt.
1 | snap install --classic certbot |
Performs an SSL request for the subdomain matomo.defnex.com.
1 | certbot --apache -d matomo.defnex.com |
Install PHP
Install PHP and extensions.
1 | apt install php php-common php-curl php-gd php-cli php-mysql php-xml php-mbstring libapache2-mod-php -y |
Restart Apache.
1 | systemctl restart apache2 |
Install MariaDB
Install MariaDB database.
1 | apt install mariadb-server -y |
Secure MariaDB installation.
1 2 3 4 5 6 7 8 | mysql_secure_installation Enter current password for root (enter for none): ENTER Set root password? [Y/n] y Remove anonymous users? [Y/n] y Disallow root login remotely? [Y/n] y Remove test database and access to it? [Y/n] y Reload privilege tables now? [Y/n] y |
Login to MariaDB.
1 | mysql -u root -p |
Create a database and user for Matomo.
1 2 3 4 5 | CREATE DATABASE matomodb; CREATE USER 'usermatomo'@'localhost' IDENTIFIED BY 'secret'; GRANT ALL PRIVILEGES ON matomodb.* TO 'usermatomo'@'localhost'; FLUSH PRIVILEGES; EXIT |
Install Matomo
Download Matomo.
1 | wget https://builds.matomo.org/matomo.zip |
Extract matomo.zip.
1 2 | apt install unzip -y unzip matomo.zip |
Copy the Matomo files to DocumentRoot.
1 | cp -Rv matomo/* /var/www/matomo.defnex.com |
Change ownership for DocumentRoot.
1 | chown -R www-data:www-data /var/www/matomo.defnex.com |
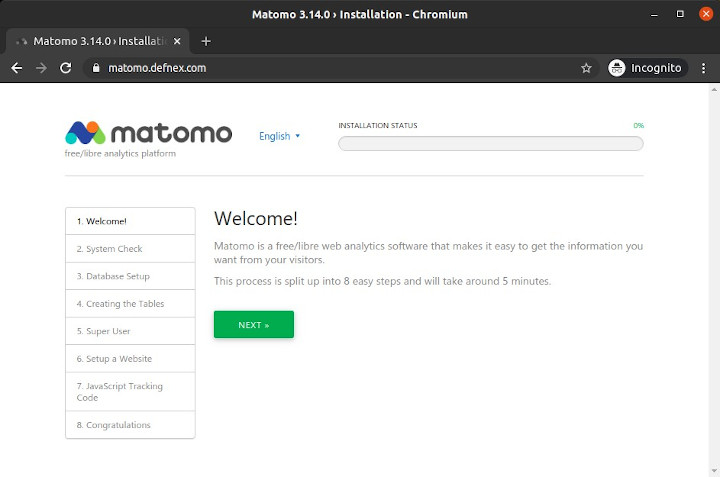
Browse https://matomo.defnex.com for installation and configuration of Matomo.
Click Next.
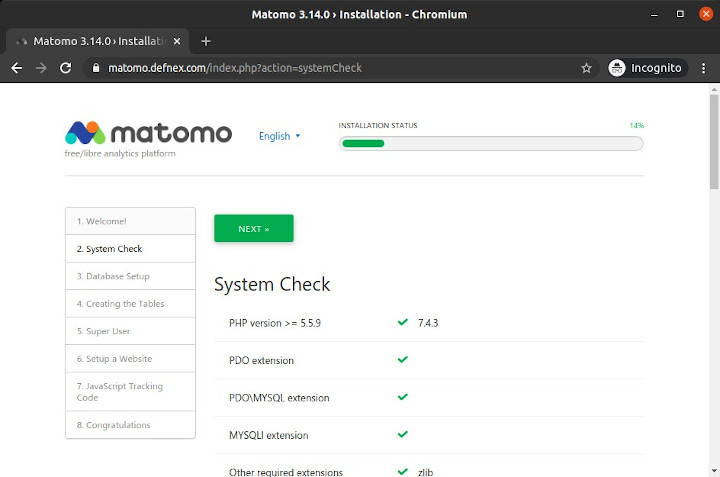
System check, click Next if there are no problems.
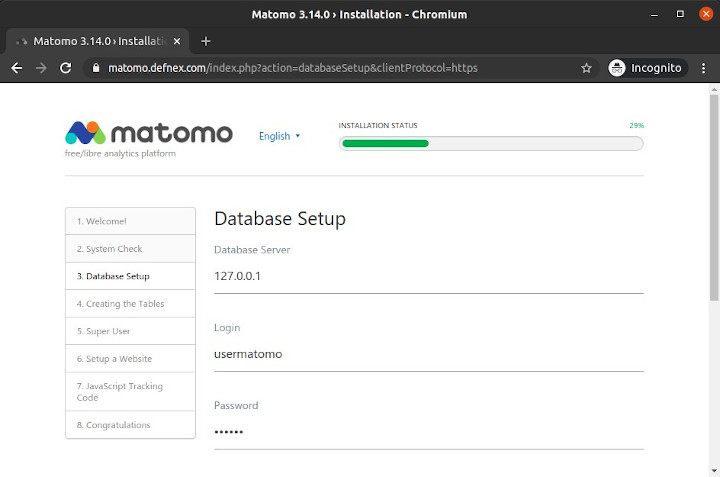
To configure the database, enter the database name, username, and password that was created.
Create a table, click Next.
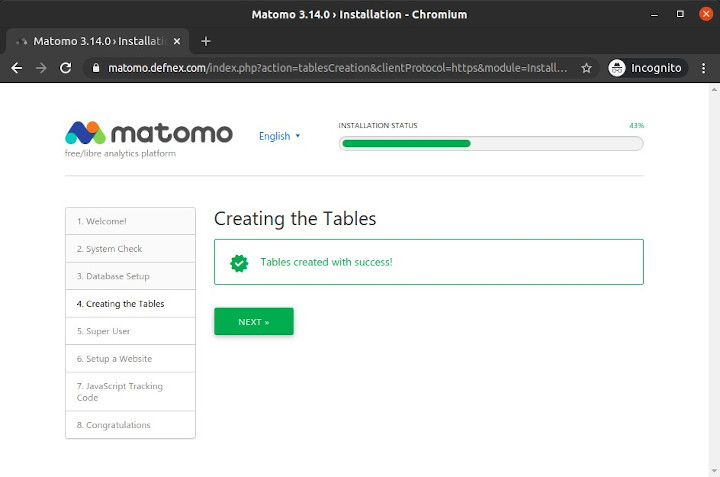
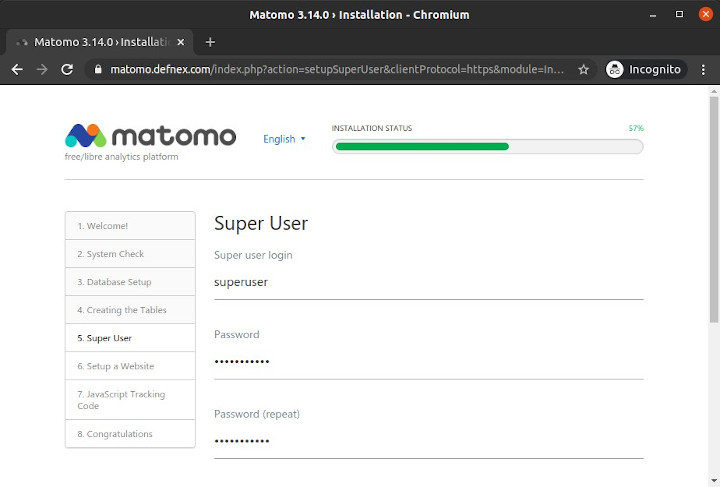
Create a Super User account.
Then Next.
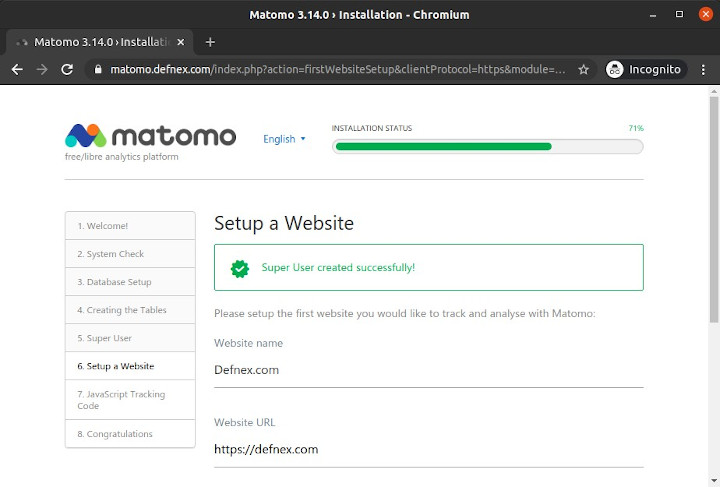
The first website setup you want to track.
Then Next.
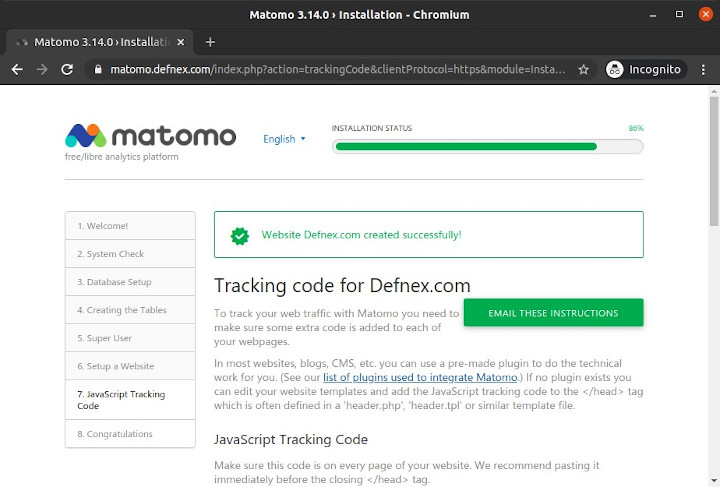
Copy the tracking code that must be installed on the website.
Then Next.
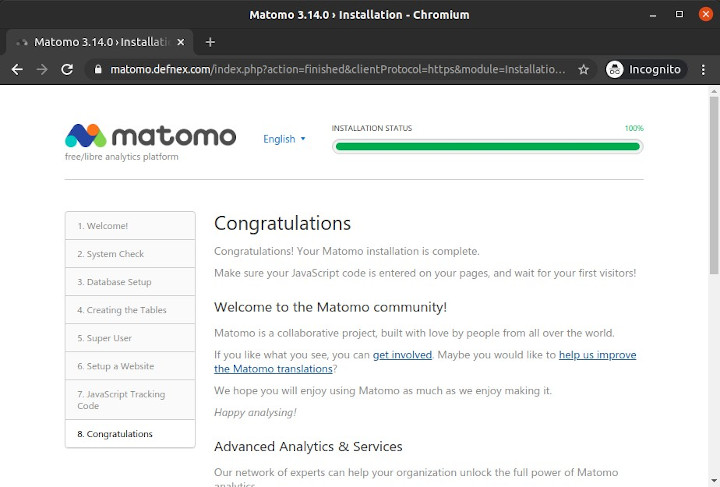
The Matomo installation has been completed.
Click Continue To Matomo.
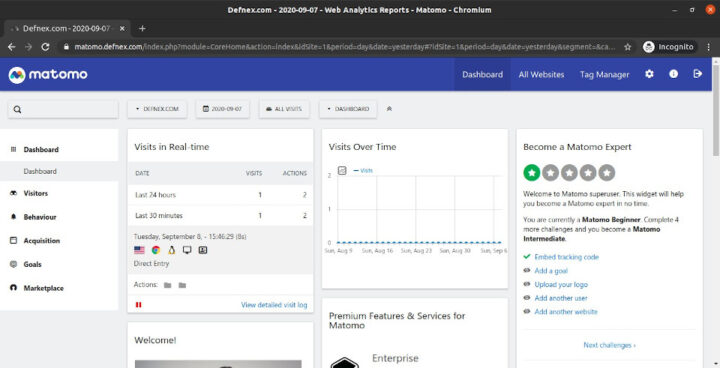
Login using Super User account.
If you found this article helpful and would like to support my work, consider making a donation through PayPal. Your support helps me continue creating useful content and tutorials. Thank you!
Donate via PayPal: https://paypal.me/musaamin

