How to Install Easypanel Modern Server Control Panel on Ubuntu 24.04
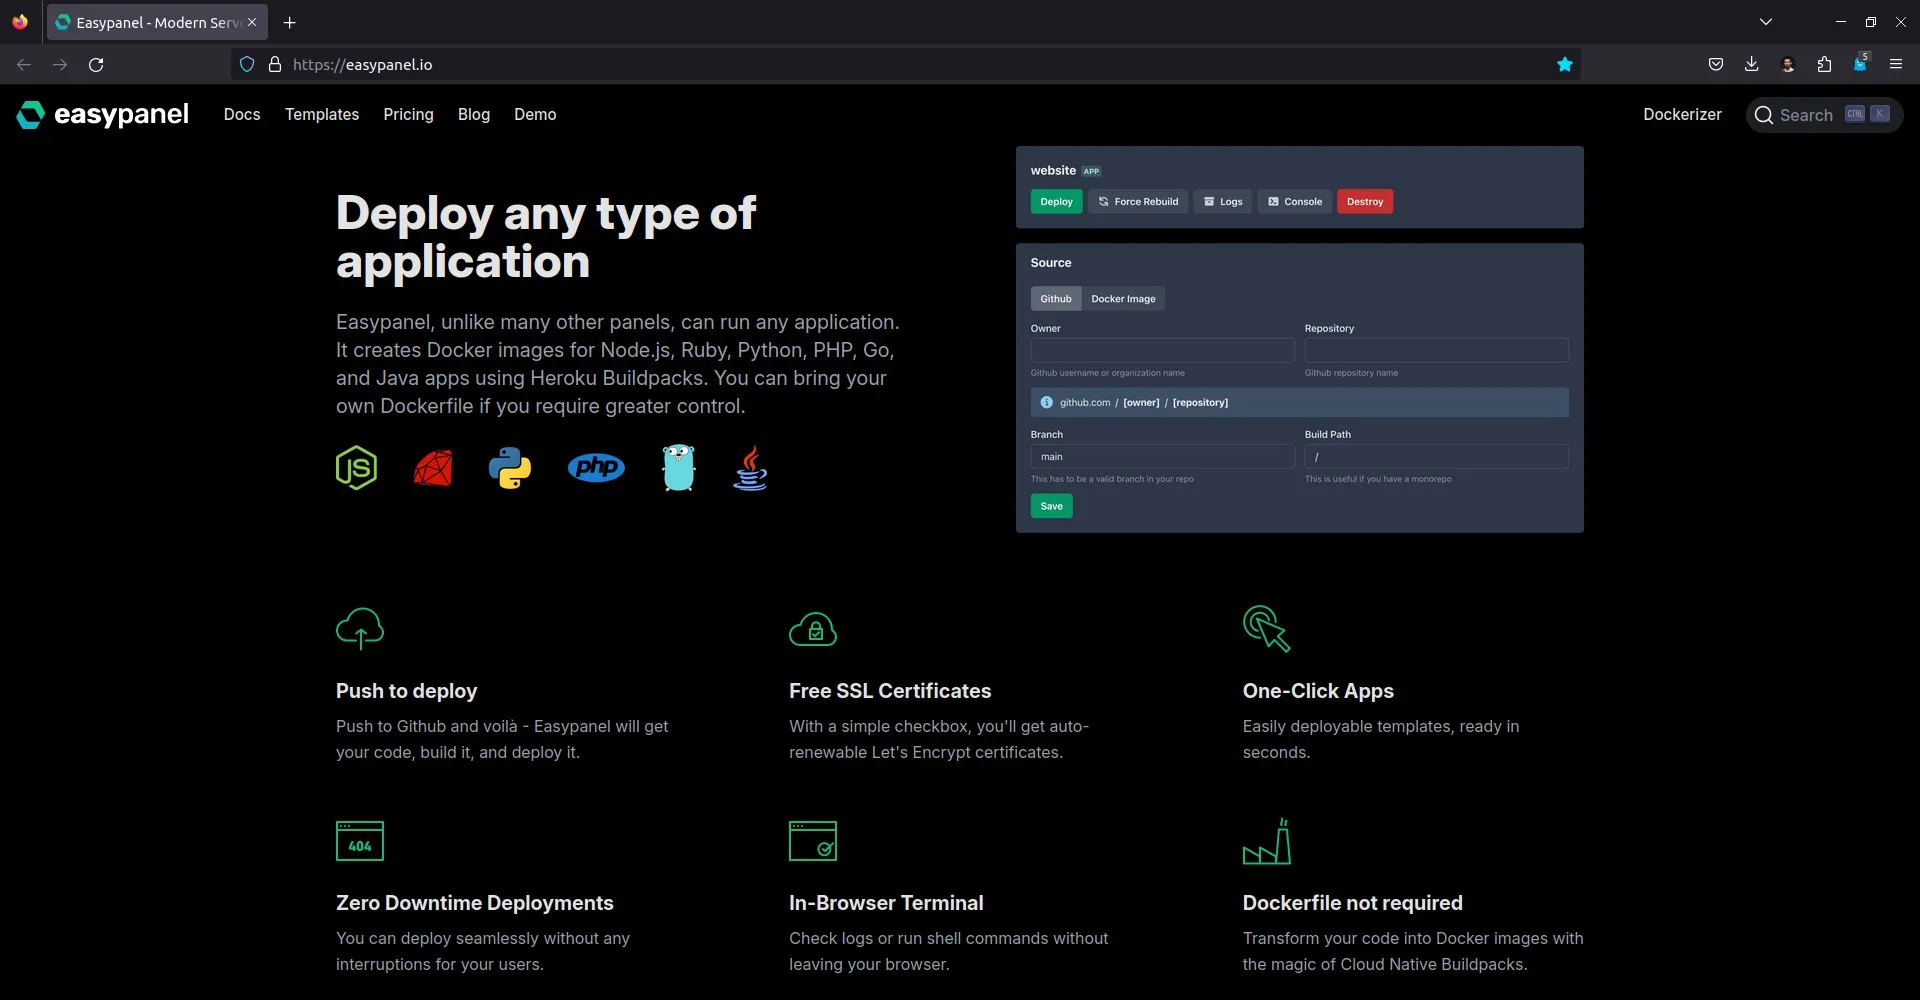
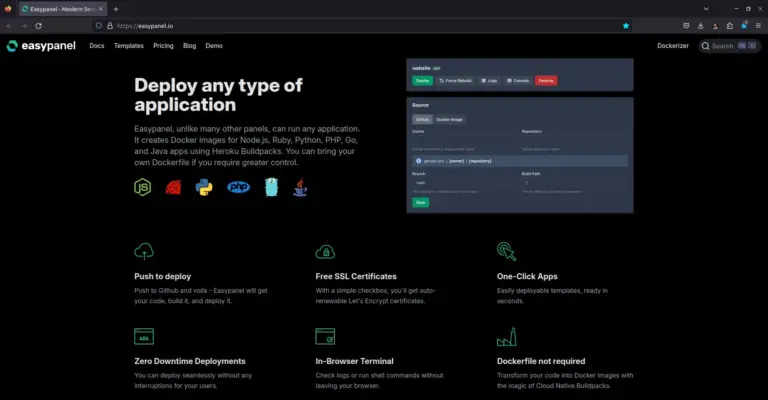
EasyPanel is a server management panel solution designed to simplify the management of applications and services on servers. EasyPanel provides an intuitive and simple interface for managing web applications, databases, containers, and other services without having to manually use command lines. This panel is intended for DevOps, developers, or system administrators who want to optimize time and effort in managing server infrastructure.
Advantages of Easypanel
- Simple and Intuitive Interface: EasyPanel comes with a user-friendly interface, making it easy for users of various skill levels, whether new or experienced, to manage servers and applications without memorizing CLI (Command Line Interface) commands.
- Easy Application Management: EasyPanel supports various applications like Node.js, Python, PHP, and other services like Docker. With one click, you can deploy applications to the server.
- Docker Integration: EasyPanel supports Docker, allowing users to manage containers and run isolated applications easily. You can create, manage, and monitor containers with a practical panel.
- Backup and Restore Management: Automatic and manual backup features available in EasyPanel make application data safer. In case of errors, users can easily restore from previous backups.
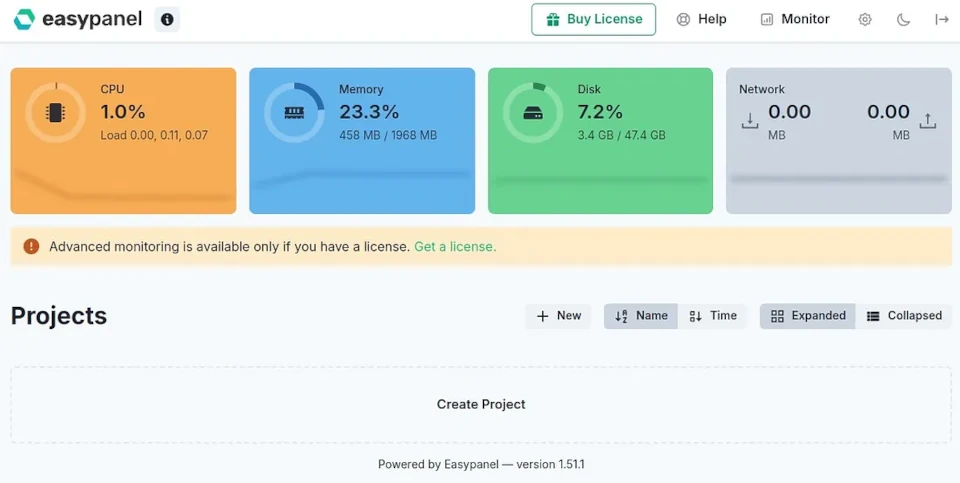
- Simple Monitoring: With built-in monitoring features, EasyPanel allows users to track server performance such as CPU, memory, and storage usage.
- Compatibility with Many Services: EasyPanel can be used on servers running various Linux distributions, including Ubuntu and Debian, and is compatible with various cloud providers like DigitalOcean, AWS, and Google Cloud.
How to Install Easypanel
Easypanel can be easily installed on Linux servers. Here are the steps to install EasyPanel on an Ubuntu 24.04 server.
System Requirements
- 2GB RAM
- Root access
Installation Steps
First, update the packages on the server:
1 | apt update && apt upgrade -y |
Easypanel uses Docker, so install Docker first:
1 | curl -sSL https://get.docker.com | sh |
Easypanel has an installer script that simplifies the installation. Run the following command to start the installation process:
1 | curl -sSL https://get.easypanel.io | sh |
Once the Easypanel installation is complete, the following message will be displayed:
1 | Easypanel was installed successfully on your server! |
Easypanel can be accessed through a browser by entering the server’s IP address, followed by the EasyPanel default port, 3000:
1 | http://ip-server:3000 |
Create an admin account when accessing Easypanel for the first time.
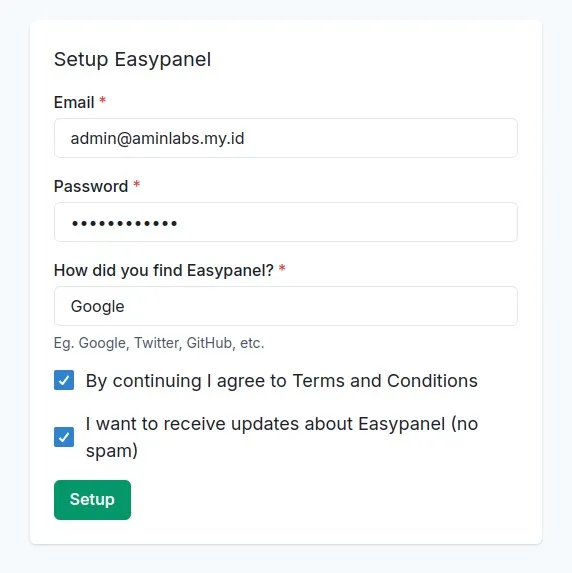
Easypanel is now ready for use. For more detailed information on usage and other features, read the EasyPanel documentation.
If you found this article helpful and would like to support my work, consider making a donation through PayPal. Your support helps me continue creating useful content and tutorials. Thank you!
Donate via PayPal: https://paypal.me/musaamin
