How to Install Apache Tomcat 9 on Ubuntu 18.04
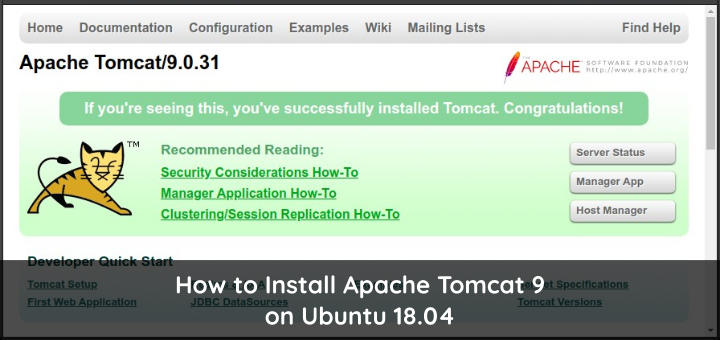
Apache Tomcat is a web server application for running Java Servlet, Java Server Pages, Java Expression Language, and Java WebSocket.
Install Apache Tomcat
Before installing Apache Tomcat, first update Ubuntu and install default-jdk.
1 2 | sudo apt update sudo apt install default-jdk -y |
Creating groups and users tomcat.
1 2 | sudo addgroup tomcat sudo useradd -s /bin/false -g tomcat -d /opt/tomcat tomcat |
Download Apache Tomcat 9
1 | wget -c https://www-eu.apache.org/dist/tomcat/tomcat-9/v9.0.31/bin/apache-tomcat-9.0.31.tar.gz |
Extract the apache-tomcat-*.tar.gz file, copy it to the tomcat folder, and change the owner and permissions.
1 2 3 4 5 6 7 8 | tar xzvf apache-tomcat-*tar.gz -C /opt cd /opt sudo mv apache-tomcat-9.0.31 tomcat sudo chgrp -R tomcat /opt/tomcat cd tomcat sudo chmod -R g+r conf sudo chmod g+x conf sudo chown -R tomcat webapps/ work/ temp/ logs/ |
Check where the Java-JDK folder is to be included in the tomcat service configuration. The results are in /usr/lib/jvm/java-1.11.0-openjdk-amd64.
1 2 3 | sudo update-java-alternatives -l java-1.11.0-openjdk-amd64 1111 /usr/lib/jvm/java-1.11.0-openjdk-amd64 |
Creating a tomcat service configuration file.
1 | sudo nano /etc/systemd/system/tomcat.service |
The contents of the tomcat service configuration file.
1 2 3 4 5 6 7 8 9 10 11 12 13 14 15 16 17 18 19 20 21 22 23 24 25 | [Unit] Description=Apache Tomcat Web Application Container After=network.target [Service] Type=forking Environment=JAVA_HOME=/usr/lib/jvm/java-1.11.0-openjdk-amd64 Environment=CATALINA_PID=/opt/tomcat/temp/tomcat.pid Environment=CATALINA_HOME=/opt/tomcat Environment=CATALINA_BASE=/opt/tomcat Environment='CATALINA_OPTS=-Xms512M -Xmx1024M -server -XX:+UseParallelGC' Environment='JAVA_OPTS=-Djava.awt.headless=true -Djava.security.egd=file:/dev/./urandom' ExecStart=/opt/tomcat/bin/startup.sh ExecStop=/opt/tomcat/bin/shutdown.sh User=tomcat Group=tomcat UMask=0007 RestartSec=10 Restart=always [Install] WantedBy=multi-user.target |
Reload service configuration, run and activate Tomcat service. Service status must be active (running).
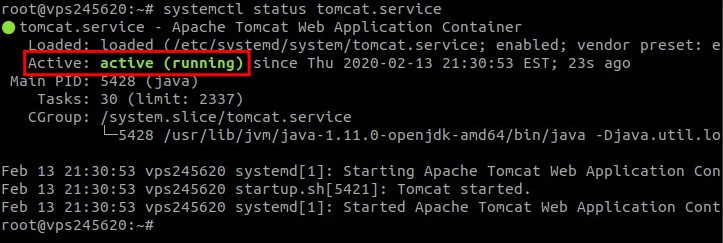
1 2 3 4 | sudo systemctl daemon-reload sudo systemctl start tomcat sudo systemctl enable tomcat sudo systemctl status tomcat |
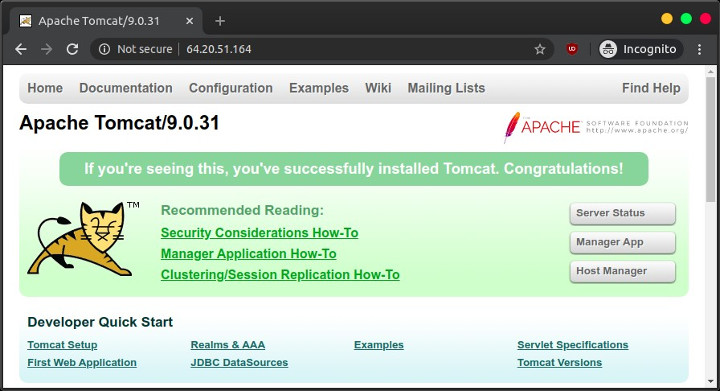
Browse http: // ip-server: 8080 to test whether Apache Tomcat is working properly.
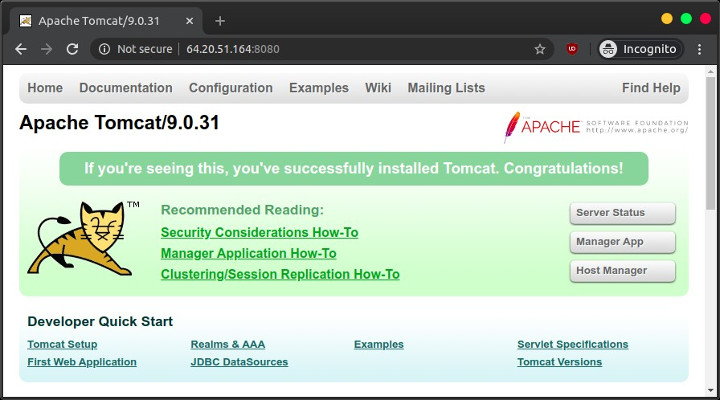
Configuring Tomcat Web Management Interface
Configure users who access the web management interface.
1 | sudo nano /opt/tomcat/conf/tomcat-users.xml |
Enter the user configuration below between the tomcat-users tags. This user can access manager-gui and admin-gui.
1 | <user username="admin" password="password" roles="manager-gui,admin-gui"/> |
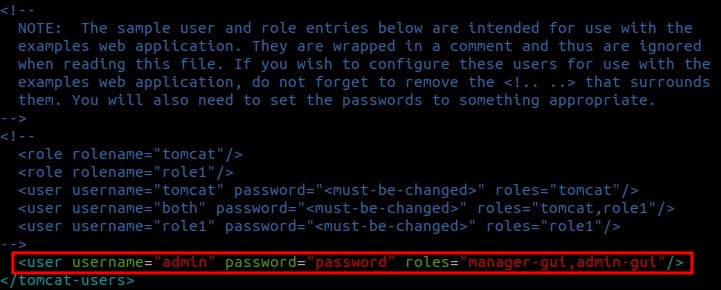
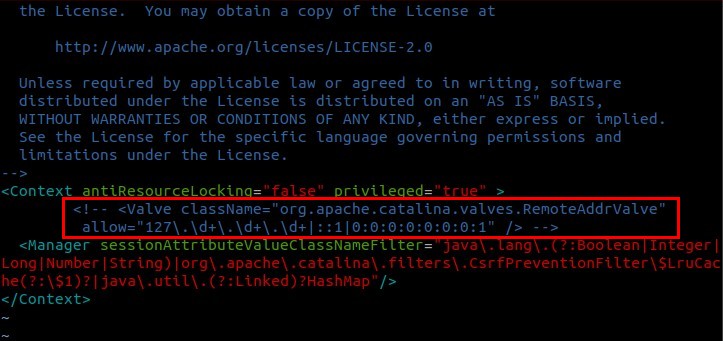
By default, Tomcat restricts access to Manager and Host Manager, it can only be accessed from localhost or 127.0.0.1. Because the Tomcat web management interface is accessed remotely, the configuration of access restrictions must be disabled or write the Public IP that we use to access the Tomcat web management interface.
Configuration file for Manager.
1 | sudo nano /opt/tomcat/webapps/manager/META-INF/context.xml |
Configuration file for Host Manager.
1 | sudo nano /opt/tomcat/webapps/host-manager/META-INF/context.xml |
Mark as a comment on the configuration Valve className =” org.apache.catalina.valves.RemoteAddrValve.
1 2 3 4 5 | ... <Context antiResourceLocking="false" privileged="true" > <!-- <Valve className="org.apache.catalina.valves.RemoteAddrValve" allow="127\.\d+\.\d+\.\d+|::1|0:0:0:0:0:0:0:1" /> --> ... |
Restart tomcat service.
1 2 | sudo systemctl restart tomcat sudo systemctl status tomcat |
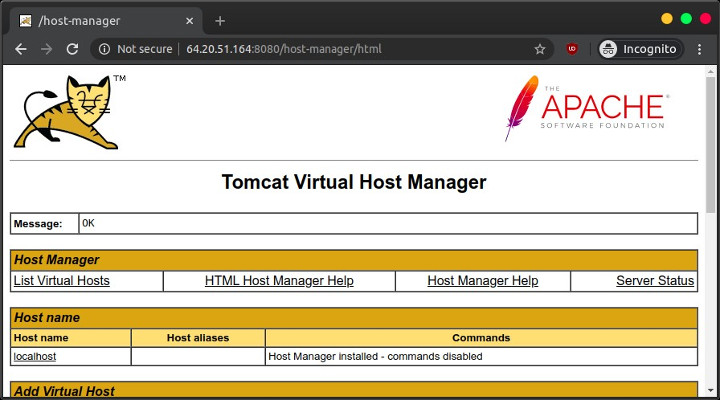
Browse http://ip-server:8080.
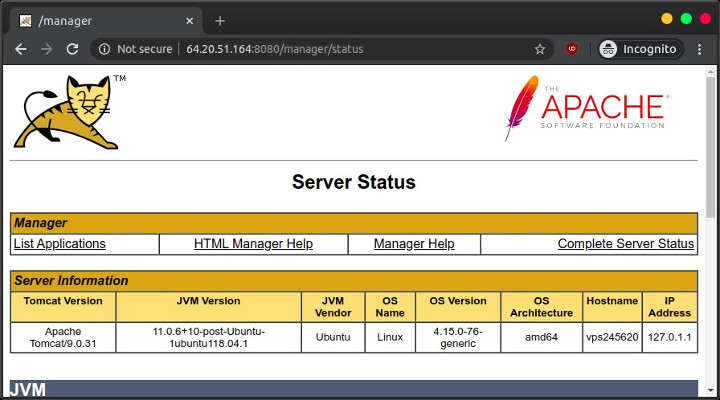
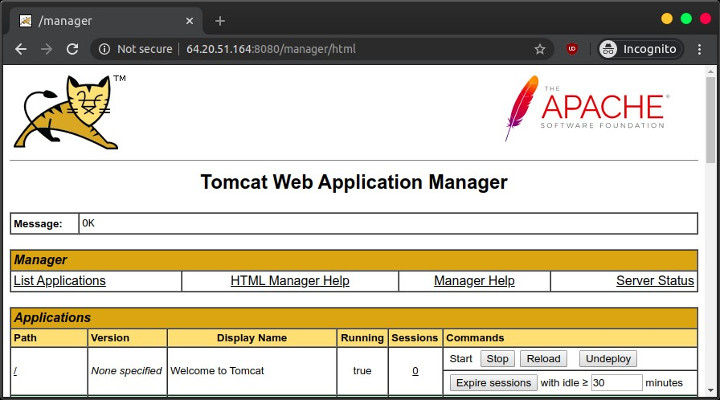
Test click menu ‘Server Status’, ‘Manager App’, and ‘Host Manager’, must be accessible.
Running a JSP File
Next test run JSP file.
The Document Root folder is located at /opt/tomcat/webapps/ROOT.
1 2 | cd /opt/tomcat/webapps/ROOT sudo nano date.jsp |
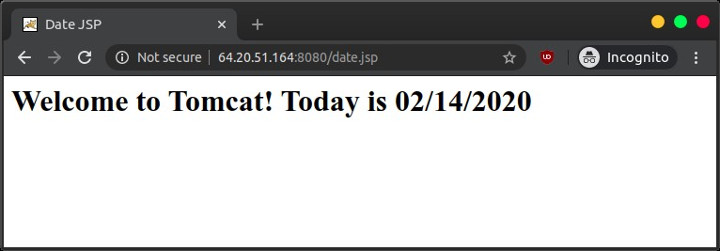
Displays date with JSP.
1 2 3 4 5 6 7 8 9 10 11 | <%@ page language="java" contentType="text/html"%> <%@ page import="java.text.*,java.util.*" %> <html> <head> <title>Date JSP</title> </head> <% SimpleDateFormat sdf=new SimpleDateFormat("MM/dd/yyyy"); %> <body> <h1>Welcome to Tomcat! Today is <%= sdf.format(new Date()) %></h1> </body> </html> |
Change permissions and ownership.
1 2 | sudo chown tomcat:tomcat date.jsp sudo chmod 640 date.jsp |
Browse http://ip-server:8080/date.jsp
Redirect Port
By default, the Tomcat web server runs on port 8080. So that Tomcat can be accessed through port 80, we can do this by adding rules in iptables.
This rule will forward or redirect requests for port 80 to 8080 (HTTP) and 443 to 8443 (HTTPS) access.
1 2 3 4 5 6 | sudo apt install iptables-persistent -y sudo iptables -t nat -I PREROUTING -p tcp --dport 80 -j REDIRECT --to-port 8080 sudo iptables -t nat -I PREROUTING -p tcp --dport 443 -j REDIRECT --to-port 8443 sudo iptables -L sudo netfilter-persistent save sudo netfilter-persistent reload |
Browse for http://ip-server, if it can be accessed via port 80.
If you found this article helpful and would like to support my work, consider making a donation through PayPal. Your support helps me continue creating useful content and tutorials. Thank you!
Donate via PayPal: https://paypal.me/musaamin

