How to Install Laravel 8 on Ubuntu 20.04

Laravel 8 released on September 8, 2020. Starting with this release, major releases will be released every 6 months in February and August, while minor releases and patches will be released every week. Laravel 8 is not a Long Term Support (LTS) version, bug fixes are supported until March 8, 2021 and security fixes are supported until September 8, 2021. Laravel 8 release information can be read in full at Release Notes.

Server Requirements
Server requirements that must be met to run Laravel 8:
- PHP >= 7.3
- BCMath PHP Extension
- Ctype PHP Extension
- Fileinfo PHP extension
- JSON PHP Extension
- Mbstring PHP Extension
- OpenSSL PHP Extension
- PDO PHP Extension
- Tokenizer PHP Extension
- XML PHP Extension
Install Composer
Laravel uses Composer to manage its dependencies. So, before installing Laravel, install Composer first.
Install Composer:
1 | sudo apt install composer |
Install PHP
Install PHP and the required extensions:
1 | sudo apt install php php-common php-bcmath php-mbstring php-mysql php-tokenizer php-zip |
Install Laravel
Install Laravel 8.0 using Composer and save it in the /home/user/public_html/blog folder:
1 2 3 | mkdir ~/public_html cd ~/public_html composer create-project laravel/laravel blog 8.0 |
If you don’t specify a version number, the latest version of Laravel is installed:
1 | composer create-project laravel/laravel blog |
Running Laravel with a Development Server
Running Laravel using a development server:
1 2 | cd blog php artisan serve |
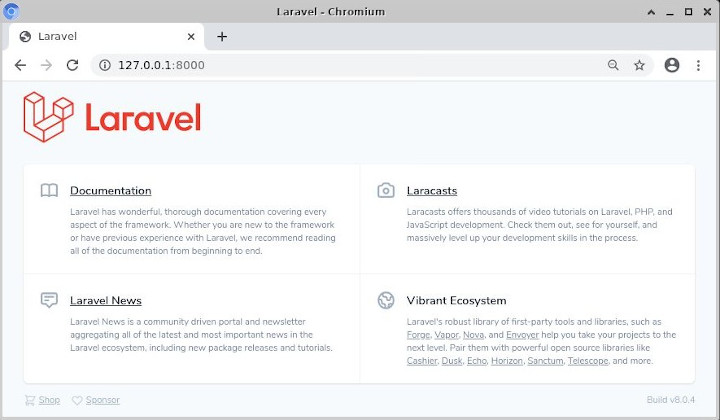
The results of the above command run the development server with IP address 127.0.0.1 (localhost IP) and port 8000:
1 2 | Starting Laravel development server: http://127.0.0.1:8000 [Thu Sep 10 23:32:56 2020] PHP 7.4.3 Development Server (http://127.0.0.1:8000) started |
Browse http://127.0.0.1:8000 atau http://localhost:8000.
Running Laravel with Apache
Install Apache web server:
1 | sudo apt install apache2 libapache2-mod-php |
Restart apache2 service:
1 2 | sudo systemctl restart apache2 sudo systemctl status apache2 |
URL address http://127.0.0.1:8000 can be changed to a hostname or local domain using Apache virtual host and the file /etc/hosts.
Create a virtual host with the name laravel.web:
1 | sudo nano /etc/apache2/sites-available/laravel.web.conf |
Enter the virtual host configuration:
1 2 3 4 5 6 7 8 9 10 11 | <VirtualHost *:80> ServerName laravel.web DocumentRoot /home/user/public_html/blog/public <Directory /home/user/public_html/blog/public> Options Indexes FollowSymLinks MultiViews AllowOverride All Require all granted </Directory> ErrorLog /var/log/apache2/laravel.web_error.log CustomLog /var/log/apache2/laravel.web_access.log combined </VirtualHost> |
Enable virtual host and Apache rewrite module:
1 2 | sudo a2ensite laravel.web.conf sudo a2enmod rewrite |
Restart apache2 service:
1 | sudo systemctl restart apache2 |
Change ownership and permissions for the DocumentRoot folder:
1 2 | sudo chown -R $USER:www-data /home/user/public_html/blog sudo chmod -R 775 /home/user/public_html/blog |
Open the file /etc/hosts:
1 | sudo nano /etc/hosts |
Enter local domain laravel.web:
1 | 127.0.0.1 laravel.web |
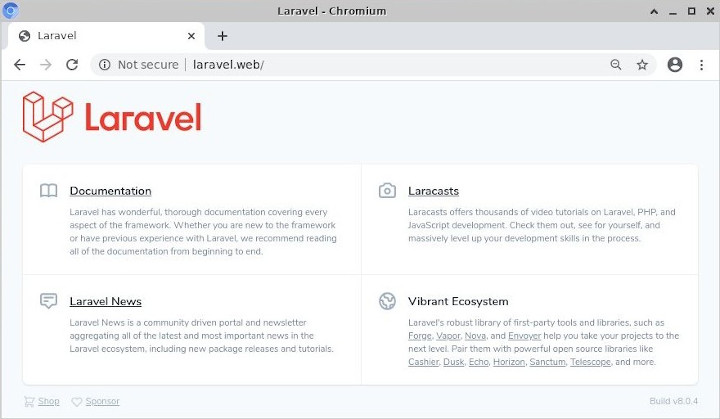
Browse http://laravel.web.
Install SSL
Install the SSL certificate for the local server using mkcert to run the HTTPS protocol.
Install the dependency package for Homebrew:
1 | sudo apt install build-essential curl file git |
Download and run the Homebrew installer:
1 | sh -c "$(curl -fsSL https://raw.githubusercontent.com/Linuxbrew/install/master/install.sh)" |
Make homebrew available in the system environment:
1 2 3 4 | test -d ~/.linuxbrew && eval $(~/.linuxbrew/bin/brew shellenv) test -d /home/linuxbrew/.linuxbrew && eval $(/home/linuxbrew/.linuxbrew/bin/brew shellenv) test -r ~/.bash_profile && echo eval" ($(brew --prefix)/bin/brew shellenv)" >>~/.bash_profile echo "eval $($(brew --prefix)/bin/brew shellenv)" >>~/.profile |
Install the dependency package for mkcert:
1 | sudo apt install libnss3-tools |
Install mkcert via brew:
1 | brew install mkcert |
Install Certificate Authority (CA):
1 | mkcert -install |
Create an SSL certificate for laravel.web:
1 | mkcert laravel.web |
Create an ssl directory and move the created SSL into it:
1 2 | sudo mkdir /etc/apache2/ssl sudo mv laravel.web*.pem /etc/apache2/ssl |
Open the laravel.web virtual host configuration file:
1 | sudo nano /etc/apache2/sites-available/laravel.web.conf |
Change the configuration to:
1 2 3 4 5 6 7 8 9 10 11 12 13 14 15 16 17 18 19 20 21 22 23 24 | <VirtualHost *:80> ServerName laravel.web RewriteEngine on RewriteCond %{SERVER_NAME} =laravel.web RewriteRule ^ https://%{SERVER_NAME}%{REQUEST_URI} [END,NE,R=permanent] </VirtualHost> <IfModule mod_ssl.c> <VirtualHost *:443> ServerName laravel.web DocumentRoot /home/user/public_html/blog/public <Directory /home/user/public_html/blog/public> Options Indexes FollowSymLinks MultiViews AllowOverride All Require all granted </Directory> ErrorLog /var/log/apache2/laravel.web_error.log CustomLog /var/log/apache2/laravel.web_access.log combined SSLEngine on SSLCertificateFile /etc/apache2/ssl/laravel.web.pem SSLCertificateKeyFile /etc/apache2/ssl/laravel.web-key.pem </VirtualHost> </IfModule> |
Activate Apache SSL module and restart the apache2 service:
1 2 | sudo a2enmod ssl sudo systemctl restart apache2 |
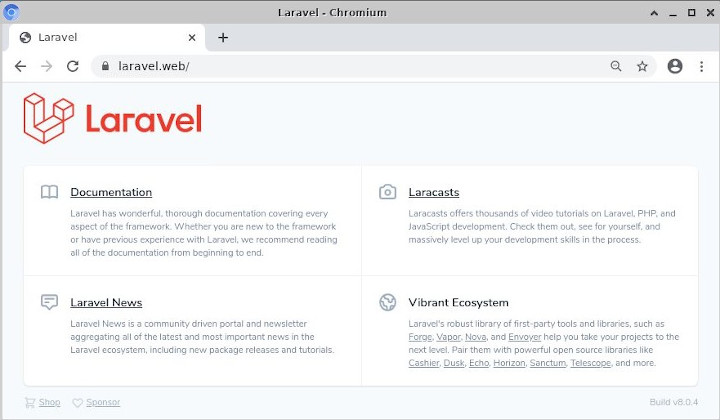
Browse https://laravel.web.
MariaDB database
Install MariaDB database:
1 | sudo apt install mariadb-server |
Run mysql_secure_installation:
1 2 3 4 5 6 7 8 | sudo mysql_secure_installation Enter current password for root (enter for none): ENTER Set root password? [Y/n] y Remove anonymous users? [Y/n] y Disallow root login remotely? [Y/n] y Remove test database and access to it? [Y/n] y Reload privilege tables now? [Y/n] y |
Login to MariaDB:
1 | sudo mysql -u root -p |
Create a database and user for Laravel:
1 2 3 4 5 | CREATE DATABASE blog; CREATE USER 'userblog'@'localhost' IDENTIFIED BY 'passblog'; GRANT ALL PRIVILEGES ON blog.* TO 'userblog'@'localhost'; FLUSH PRIVILEGES; EXIT; |
Open the .env file:
1 | nano ~/public_html/blog/.env |
Database connection configuration:
1 2 3 | DB_DATABASE=blog DB_USERNAME=userblog DB_PASSWORD=passblog |
Create Register and Login Functions
Run migrate to create a user table:
1 | php artisan migrate |
Install laravel/jetstream:
1 2 | composer require laravel/jetstream composer update |
Install livewire:
1 | php artisan jetstream:install livewire |
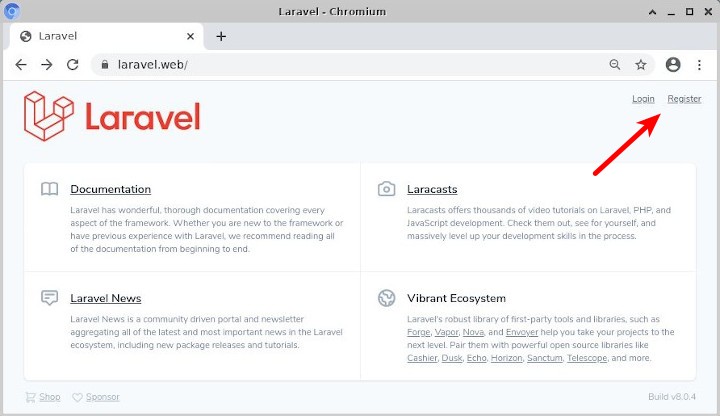
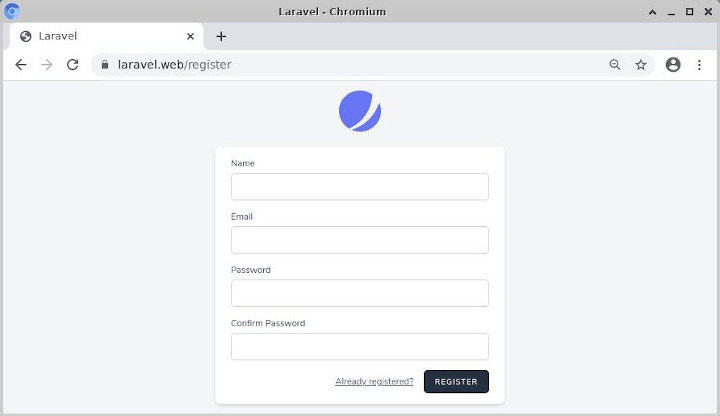
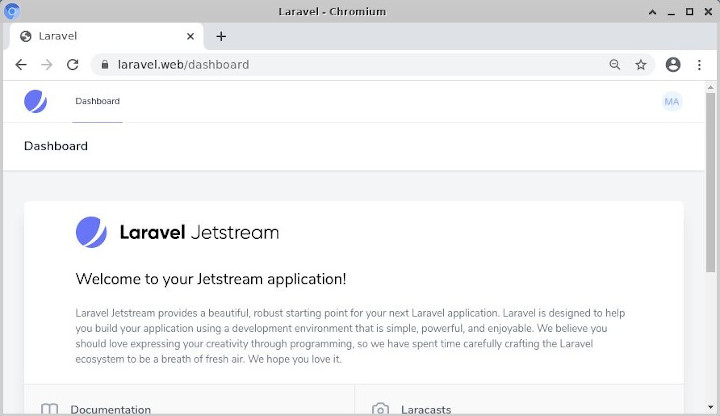
The register and login functions are active.
If you found this article helpful and would like to support my work, consider making a donation through PayPal. Your support helps me continue creating useful content and tutorials. Thank you!
Donate via PayPal: https://paypal.me/musaamin
