Cara Install Nginx, MariaDB, PHP (LEMP) di openSUSE Leap 15.1
Sebelumnya saya sudah pernah membahas tentang cara install Apache, MariaDB, PHP (LAMP) di openSUSE Leap 15.1. Nah, kali ini saya akan membahas tentang cara install Nginx (dibaca Engine X), MariaDB, dan PHP di openSUSE Leap 15.1.
0.Update System dan Package
Sebelum install LEMP sebaiknya update openSUSE Leap terlebih dahulu.
1 2 | sudo zypper refresh sudo zypper update |
1.Install Nginx Web Server
Install Nginx web server dengan nama paket nginx.
1 | sudo zypper install nginx |
Aktifkan Nginx saat boot dan jalankan.
1 2 3 | sudo systemctl enable nginx sudo systemctl start nginx sudo systemctl status nginx |
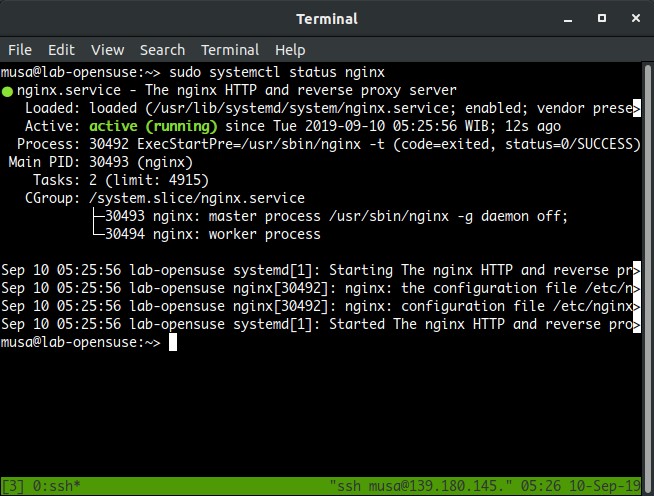
Cek versi Nginx.
1 2 3 | sudo nginx -v nginx version: nginx/1.14.0 |
Buat file index.html di dalam document root.
1 | sudo nano /srv/www/htdocs/index.html |
Isi file index.html.
1 2 3 4 5 | <html> <body> <h1> Hello world</h1> </body> </html> |
Browsing http://localhost kalau di pc sendiri atau http://ip-server kalau server di jaringan.

Ubah kepemilikan direktori document root ke user nginx.
1 | sudo chown -R nginx /srv/www/htdocs |
3.Nginx Server Block
Membuat server block, di sini saya menggunakan domain superuser.web.id.
Buat A record di DNS records untuk mengarahkan domain ke IP server.
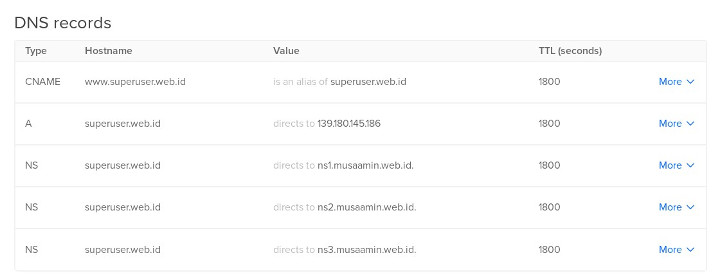
Lalu buat file server block.
1 2 | cd /etc/nginx/vhosts.d sudo nano superuser.web.id.conf |
Isi dari file superuser.web.id.conf.
1 2 3 4 5 6 7 8 9 10 11 12 13 14 15 16 17 18 | server { listen 80; server_name www.superuser.web.id; root /srv/www/superuser.web.id/; access_log /var/log/nginx/superuser.web.id.access.log; error_log /var/log/nginx/superuser.web.id.error.log warn; } # redirect dari non-www ke www. server { listen 80; server_name .superuser.web.id; return 301 http://www.superuser.web.id$request_uri; } |
Buat direktori document root untuk superuser.web.id.
1 2 | cd /srv/www sudo mkdir superuser.web.id |
Buat file index.html.
1 | sudo nano superuser.web.id/index.html |
Isi dari file index.html.
1 2 3 4 5 | <html> <body> <h1>superuser.web.id</h1> </body> </html> |
Restart Nginx.
1 | sudo systemctl restart nginx |
Browsing domain http://superuser.web.id.

4.Install MariaDB Database
Install MariaDB server beserta clientnya.
1 | sudo zypper install mariadb mariadb-client mariadb-tools |
Aktifkan MariaDB saat boot dan jalankan.
1 2 3 | sudo systemctl enable mysql sudo systemctl start mysql sudo systemctl status mysql |
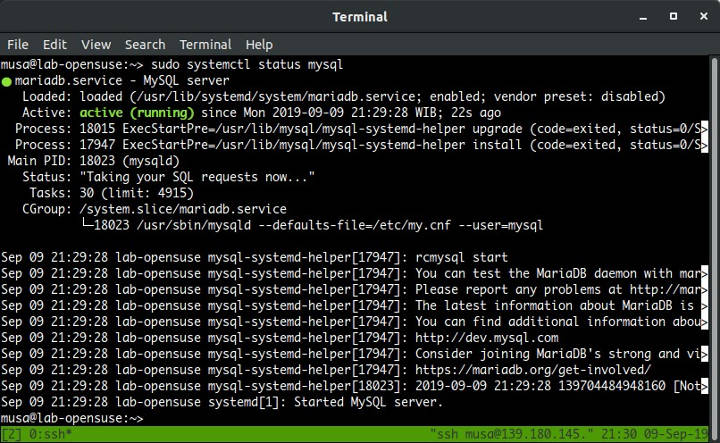
Cek versi MariaDB.
1 2 3 | mysql --version mysql Ver 15.1 Distrib 10.2.25-MariaDB, for Linux (x86_64) using EditLine wrapper |
Lakukan pengamanan instalasi MariaDB.
1 2 3 4 5 6 7 8 | sudo mysql_secure_installation Enter current password for root (enter for none): ENTER Set root password? [Y/n] y Remove anonymous users? [Y/n] y Disallow root login remotely? [Y/n] y Remove test database and access to it? [Y/n] y Reload privilege tables now? [Y/n] y |
Login MariaDB menggunakan aplikasi mysql-client.
1 | mysql -u root -p |
5.Install PHP
Install PHP dan extensionnya.
1 | sudo zypper install php7 php7-mysql php7-fpm php7-gd php7-mbstring |
Copy file konfigurasi PHP-FPM.
1 2 3 | cd /etc/php7/fpm sudo cp php-fpm.conf.default php-fpm.conf sudo cp php-fpm.d/www.conf.default php-fpm.d/www.conf |
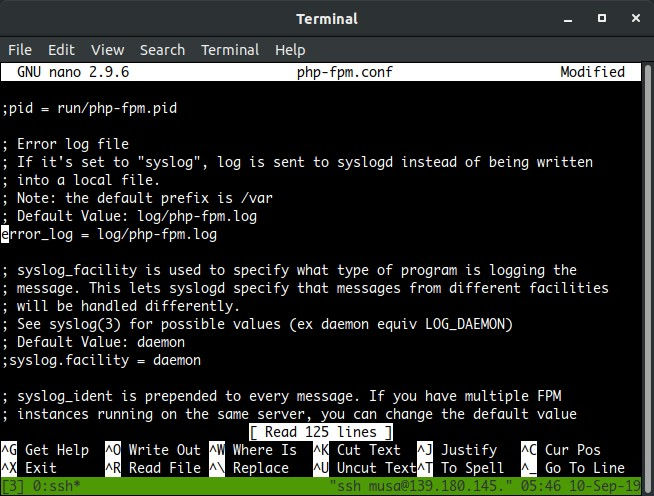
Buka file php-fpm.conf.
1 | sudo nano php-fpm.conf |
Cari opsi error_log lalu aktifkan (uncomment) dengan menghapus tanda titik koma (;).
1 | error_log = log/php-fpm.log |
Buka file www.conf.
1 | sudo nano php-fpm.d/www.conf |
Cari opsi user dan group ubah nilainya dari nobody menjadi nginx.
1 2 | user = nginx group = nginx |
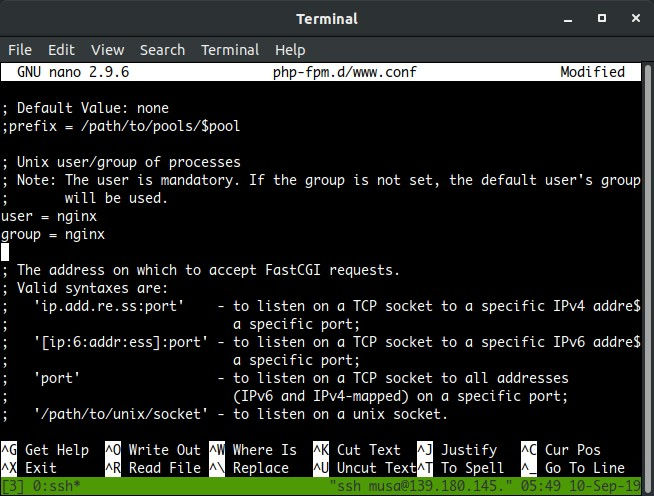
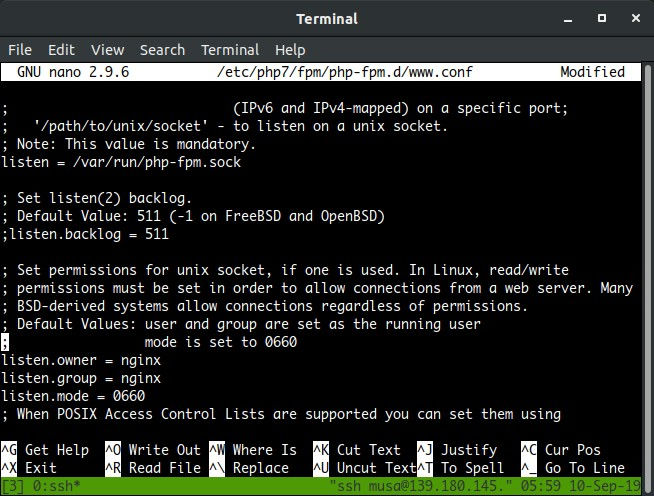
Cari opsi listen dan ubah nilainya.
1 | listen = /var/run/php-fpm.sock |
Cari opsi listen.owner, listen.group, dan listen.mode.
1 2 3 | listen.owner = nginx listen.group = nginx listen.mode = 0660 |
Buka file php.ini.
1 | sudo nano /etc/php7/cli/php.ini |
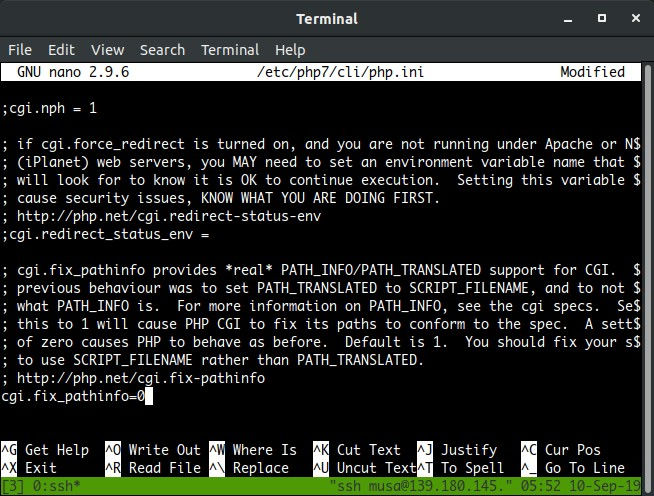
Cari opsi cgi.fix_pathinfo uncomment dan ubah nilainya menjadi 0.
1 | cgi.fix_pathinfo=0 |
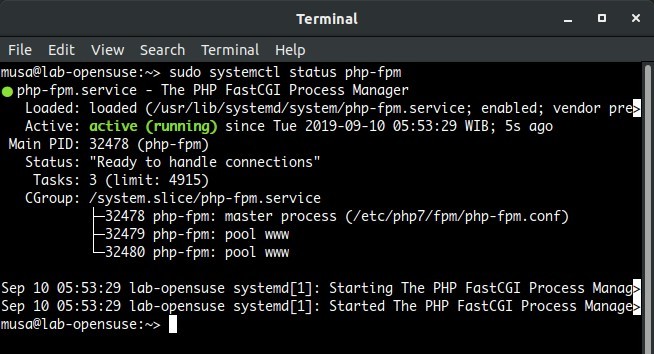
Aktifkan service PHP-FPM.
1 2 3 | sudo systemctl start php-fpm sudo systemctl enable php-fpm sudo systemctl status php-fpm |
6.Konfigurasi Server Block untuk Menjalankan PHP
Konfigurasi server block yang sudah dibuat agar bisa menjalankan script PHP.
1 | sudo nano /etc/nginx/vhosts.d/superuser.web.id.conf |
Ubah isinya menjadi seperti di bawah ini.
1 2 3 4 5 6 7 8 9 10 11 12 13 14 15 16 17 18 19 20 21 22 23 24 25 26 27 28 29 30 31 32 33 34 | server { listen 80; server_name www.superuser.web.id; root /srv/www/superuser.web.id/; index index.php index.html index.htm; location / { try_files $uri $uri/ /index.php?$query_string; } location ~ \.php$ { try_files $fastcgi_script_name =404; include fastcgi_params; fastcgi_pass unix:/var/run/php-fpm.sock; fastcgi_index index.php; fastcgi_param DOCUMENT_ROOT $realpath_root; fastcgi_param SCRIPT_FILENAME $realpath_root$fastcgi_script_name; } access_log /var/log/nginx/superuser.web.id.access.log; error_log /var/log/nginx/superuser.web.id.error.log warn; } # redirect dari non-www ke www. server { listen 80; listen [::]:80; server_name .superuser.web.id; return 301 http://www.superuser.web.id$request_uri; } |
Restart Nginx.
1 | sudo systemctl restart nginx |
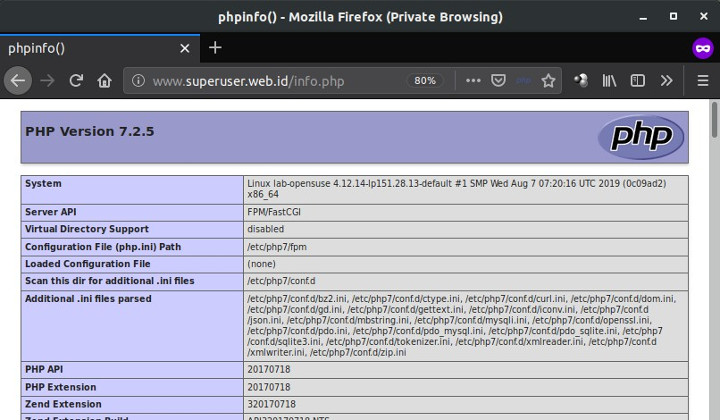
Buat file info.php.
1 | sudo nano /srv/www/superuser.web.id/info.php |
Isi dari file info.php.
1 | <?php phpinfo(); ?> |
Browsing http://superuser.web.id/info.php.
7.Install phpMyAdmin
Install phpMyAdmin, aplikasi manajemen database MariaDB.
1 | sudo zypper install phpMyAdmin |
Buat server block untuk ip-server.
1 | sudo nano /etc/nginx/vhosts.d/ipserver.conf |
Isi dari file ipserver.conf.
1 2 3 4 5 6 7 8 9 10 11 12 13 14 15 16 17 18 19 20 21 22 23 24 | server { listen 80; server_name 139.180.145.186; root /srv/www/htdocs; index index.php index.html index.htm; location / { try_files $uri $uri/ /index.php?$query_string; } location ~ \.php$ { try_files $fastcgi_script_name =404; include fastcgi_params; fastcgi_pass unix:/var/run/php-fpm.sock; fastcgi_index index.php; fastcgi_param DOCUMENT_ROOT $realpath_root; fastcgi_param SCRIPT_FILENAME $realpath_root$fastcgi_script_name; } access_log /var/log/nginx/phpmyadmin.access.log; error_log /var/log/nginx/phpmyadmin.error.log warn; } |
Restart Nginx.
1 | sudo systemctl restart nginx |
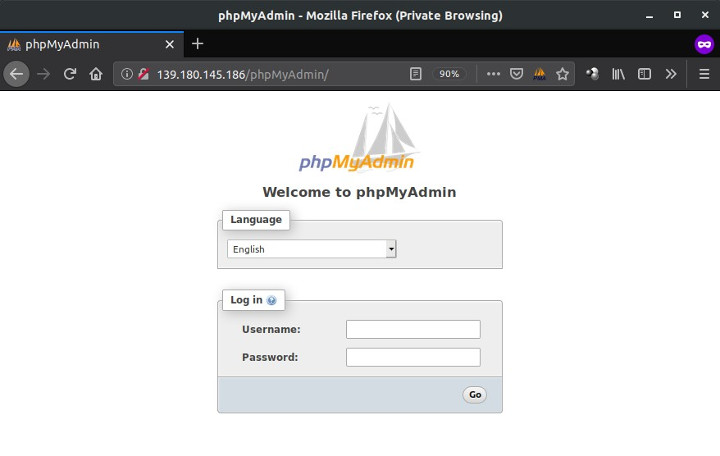
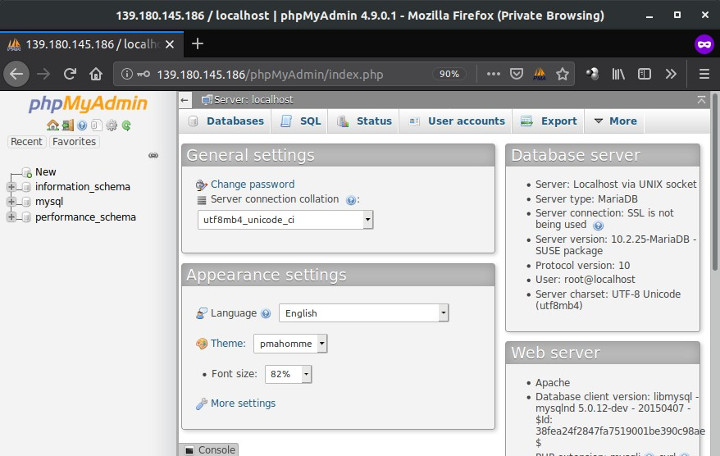
Browsing http://ip-server/phpMyAdmin.
Selamat mencoba 🙂

mohon maaf mau tanya, ini dengan spek pc biasa core i5 gen 4 bisa buat 700 an user secara bersamaan di lokal?
dari referensi ini sepertinya bisa saja. selain CPU, kapasitas RAM juga sangat menentukan, serta storage yang digunakan (SSD) juga menentukan kecepatan akses aplikasi.