Cara Install WordPress dengan Nginx dan PHP 7.4 di CentOS 7
Tutorial kali ini membahas tentang bagaimana cara install WordPress dengan Nginx web server dipasangkan dengan PHP v7.4 dan MariaDB database atau lebih populer disingkat menjadi LEMP (Linux Nginx MySQL/MariaDB PHP).
0.Update System
Update CentOS dan install EPEL repository.
1 2 | yum update -y yum install epel-release -y |
1.Install Nginx
Install Nginx.
1 | yum install nginx -y |
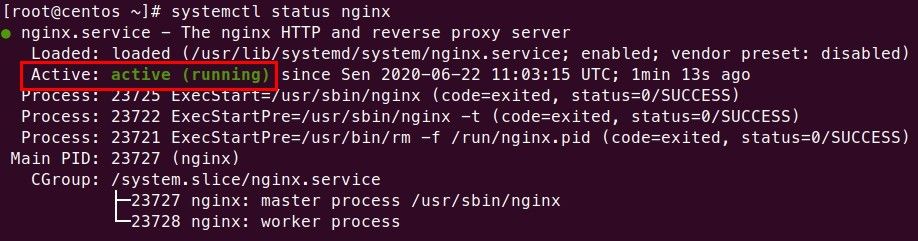
Aktifkan dan jalankan Nginx service.
1 2 3 | systemctl enable nginx systemctl start nginx systemctl status nginx |
2.Install PHP 7.4
Install yum-utils dan REMI repository.
1 2 | yum install yum-utils -y yum install http://rpms.remirepo.net/enterprise/remi-release-7.rpm -y |
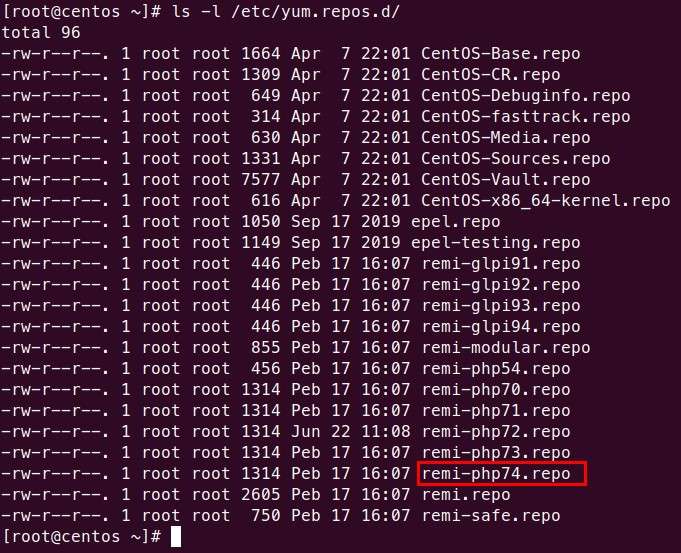
Verifikasi hasil install REMI repository, lihat isi direktori yum.repos.d.
1 | ls -l /etc/yum.repos.d |
Aktifkan REMI PHP7.4 repository.
1 | yum-config-manager --enable remi-php74 |
Install PHP 7.4 beserta extension yang dibutuhkan.
1 | yum install php74-php php74-php-fpm php74-php-gd php74-php-json php74-php-mbstring php74-php-mysqlnd php74-php-xml php74-php-xmlrpc php74-php-opcache -y |
Buat symbolic link php ke php74 dan cek PHP yang telah terinstall.
1 2 | ln -s /usr/bin/php74 /usr/bin/php php -v |

Konfigurasi PHP-FPM.
1 | vi /etc/opt/remi/php74/php-fpm.d/www.conf |
Ubah opsi seperti di bawah ini.
1 2 3 4 5 6 7 8 9 10 | ... user = nginx ... group = nginx ... listen = /run/php74-fpm.sock ... listen.owner = nginx listen.group = nginx listen.mode = 0660 |
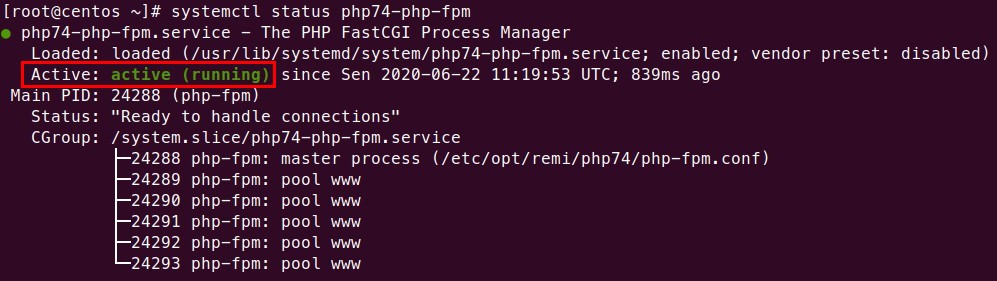
Jalankan PHP-FPM service.
1 2 3 | systemctl enable php74-php-fpm systemctl start php74-php-fpm systemctl status php74-php-fpm |
3.Membuat Nginx Server Block
Membuat file konfigurasi server block, ganti DOMAIN.COM dengan nama domain yang anda gunakan.
1 | vi /etc/nginx/conf.d/DOMAIN.COM.conf |
Script konfigurasi server block.
1 2 3 4 5 6 7 8 9 10 11 12 13 14 15 16 17 18 19 20 21 22 | server { listen 80; server_name DOMAIN.COM www.DOMAIN.COM; root /var/www/DOMAIN.COM; index index.php index.html index.htm; location / { try_files $uri $uri/ /index.php?$query_string; } location ~ \.php$ { try_files $fastcgi_script_name =404; include fastcgi_params; fastcgi_pass unix:/run/php74-fpm.sock; fastcgi_index index.php; fastcgi_param DOCUMENT_ROOT $realpath_root; fastcgi_param SCRIPT_FILENAME $realpath_root$fastcgi_script_name; } access_log /var/log/nginx/DOMAIN.COM.access.log; error_log /var/log/nginx/DOMAIN.COM.error.log; } |
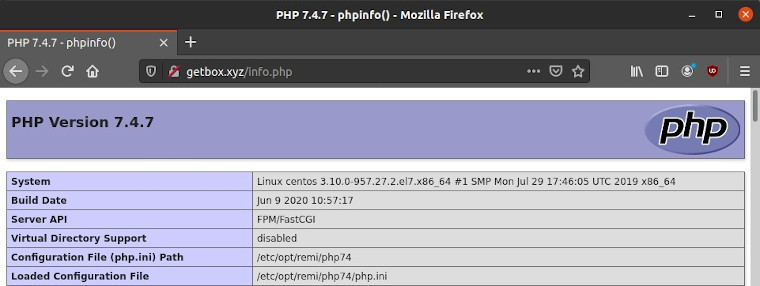
Membuat root directory dan file info.php.
1 2 | mkdir /var/www/DOMAIN.COM echo "<?php phpinfo(); ?>" > /var/www/DOMAIN.COM/info.php |
Uji konfigurasi dan restart Nginx service.
1 2 3 | nginx -t systemctl restart nginx systemctl status nginx |
Uji apakah Nginx sudah bisa menjalankan script PHP dengan mengakses info.php.
Browse http://DOMAIN.COM/info.php.
4.Install MariaDB
Membuat file MariaDB repository versi 10.4.
1 | vi /etc/yum.repos.d/mariadb.repo |
Script mariadb.repo.
1 2 3 4 5 6 7 | # MariaDB 10.4 CentOS repository list - created 2020-06-22 11:29 UTC # http://downloads.mariadb.org/mariadb/repositories/ [mariadb] name = MariaDB baseurl = http://yum.mariadb.org/10.4/centos7-amd64 gpgkey=https://yum.mariadb.org/RPM-GPG-KEY-MariaDB gpgcheck=1 |
Install MariaDB.
1 | yum install MariaDB-server MariaDB-client -y |
Aktifkan dan jalankan MariaDB service.
1 2 3 | systemctl enable mariadb systemctl start mariadb systemctl status mariadb |

Amanakan instalasi MariaDB.
1 | mysql_secure_installation |
Jawab pertanyaan yang ditampilkan.
1 2 3 4 5 6 7 | Enter current password for root (enter for none): ENTER Switch to unix_socket authentication [Y/n] y Change the root password? [Y/n] y Remove anonymous users? [Y/n] y Disallow root login remotely? [Y/n] y Remove test database and access to it? [Y/n] y Reload privilege tables now? [Y/n] y |
Login ke MariaDB.
1 | mysql -u root -p |
Membuat database, user, dan password, serta memberikan hak akses database ke user.
1 2 3 4 | create database NAMADB; create user 'USERDB'@'localhost' identified by 'PASSDB'; grant all privileges on NAMADB.* to 'USERDB'@'localhost'; flush privileges; |
5.Install WordPress
Download WordPress terbaru.
1 | curl -O https://wordpress.org/latest.tar.gz |
Extract latest.tar.gz.
1 | tar xzvf latest.tar.gz |
Copy isi direktori wordpress ke root directory.
1 | cp -Rv wordpress/* /var/www/DOMAIN.COM |
Ubah owner dan permission root directory.
1 2 | chown -R nginx:nginx /var/www/DOMAIN.COM chmod -R 755 /var/www/DOMAIN.COM |
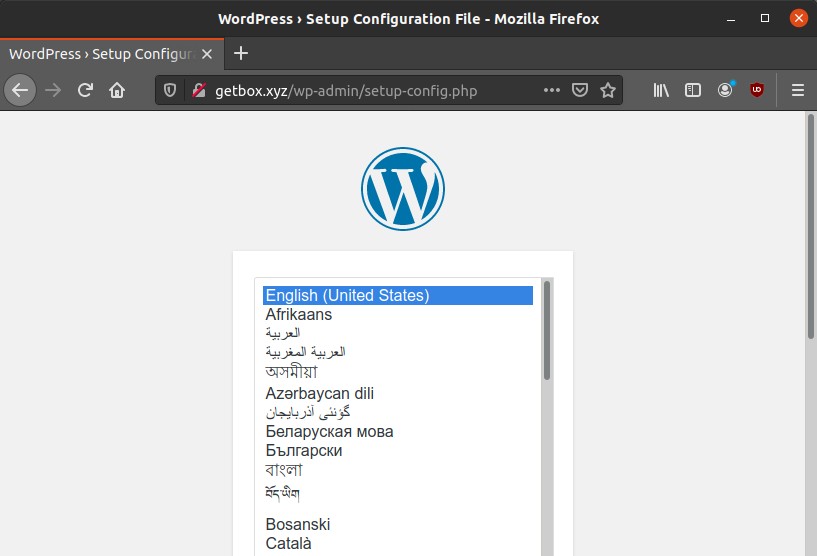
Browse http://DOMAIN.COM.
- Pemilihan bahasa, pakai English (United States). Lalu Continue.
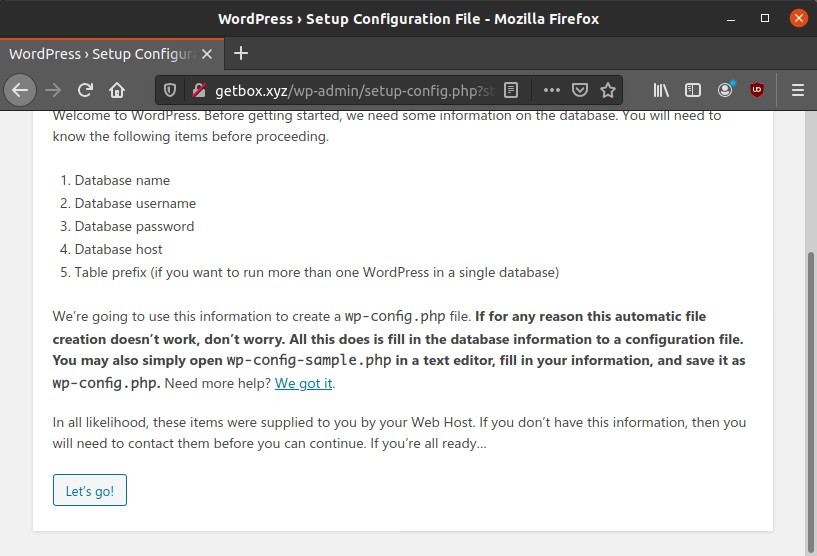
- Let’s go!
- Masukkan NAMADB, USERDB, dan PASSDB. Submit.
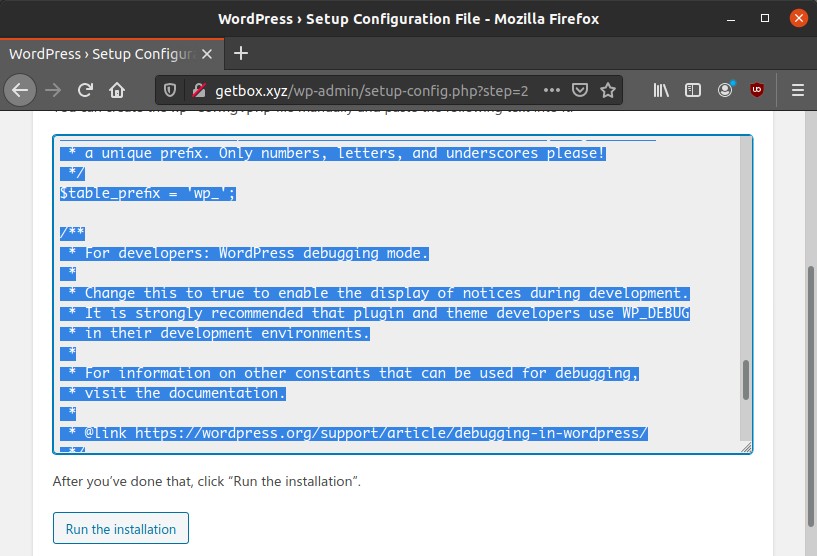
- Copy teks konfigurasi yang ditampilkan.
- Buat file wp-config.php lalu paste teks yang telah dicopy.1vi /var/www/DOMAIN.COM/wp-config.php
- Run the installation.
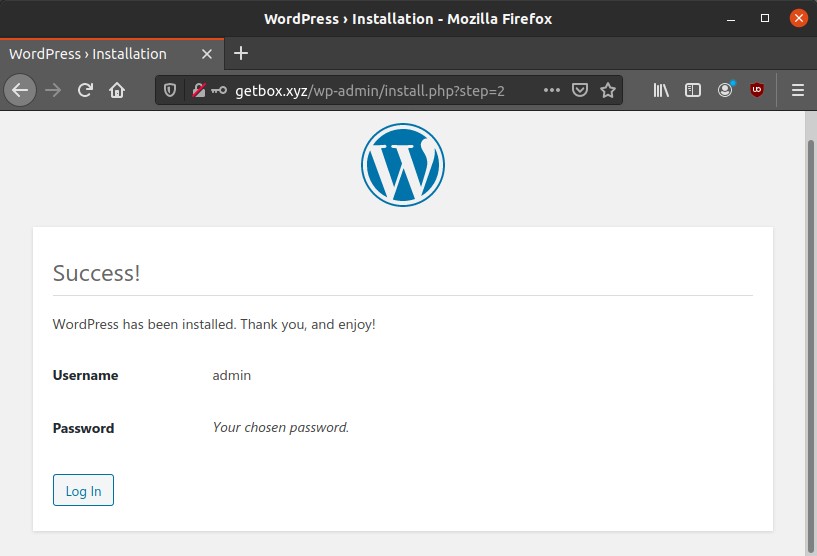
- Masukkan Site Title, Username, Password, Your Email. Install WordPress.
- WordPress telah selesai diinstall.
- Klik Log In untuk login ke dashboard.

6.Selesai
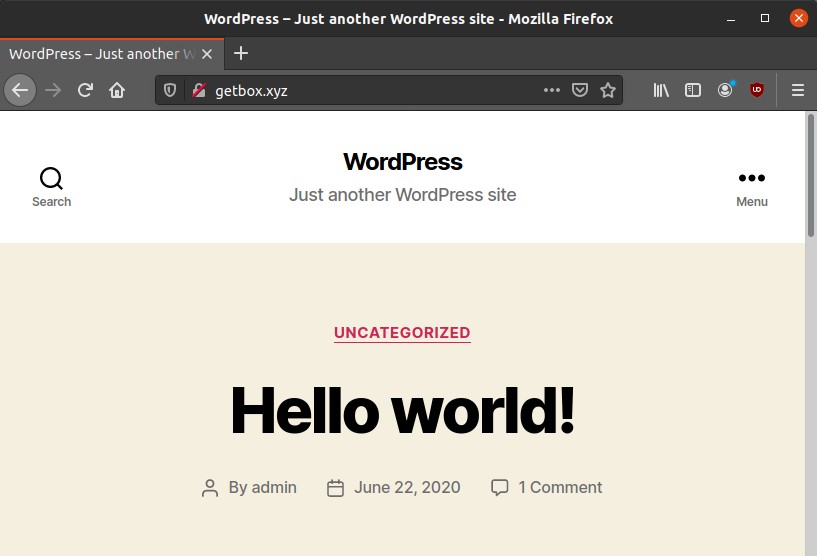
Halaman depan http://DOMAIN.COM.
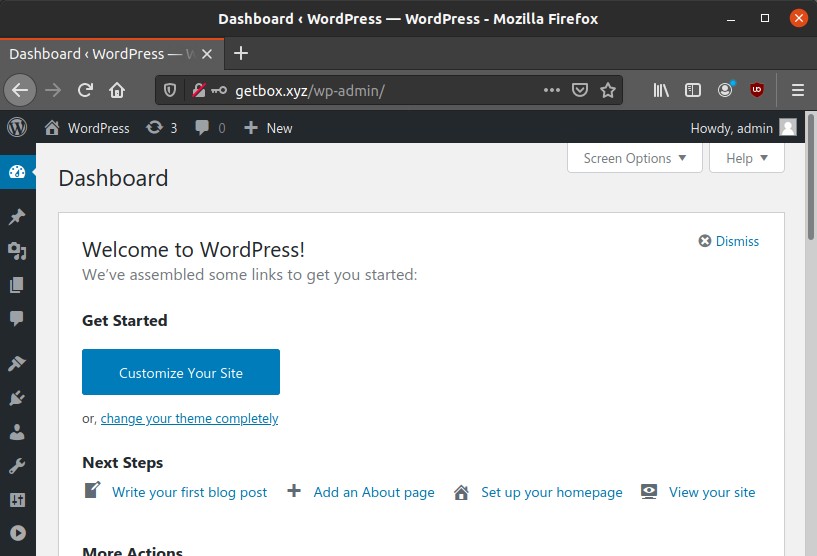
Halaman dashboard http://DOMAIN.COM/wp-admin.
Selamat mencoba 🙂

502 Bad Gateway
ini masalah dmn?
sudah ikutin smua min
Sudah bisa setelah di reboot, makasih tutornya
saya sudah reboot tetapi kok asih error 502 Bad Gateway solusinya gmn ya?
cek service php-fpm dan konfigurasi server block nginx
PHP-FPM service sudah jalan normal. Untuk server block isinya hampir sama, bedanya nama DOMAIN.COM sy isi dgn nama domain sebarang, sekedar untuk ujicoba lokal (tdk ada pengarahan ke VPS). Tanpa mengarahkan ke VPS agar tetap bisa jalan caranya gmn mas?
tes akses pakai ip server