Deploy React App on Ubuntu 18.04

React is a JavaScript library that can be used to build user interfaces. React is one of the open source projects of Facebook. This tutorial contains how to install and deploy create-react-app on Ubuntu 18.04.
1.Create User
Create a new user specifically the owner of the React application.
1 2 3 | sudo adduser reactapp sudo usermod -aG sudo reactapp su -l reactapp |
2.Install Node.js
Install Node.js with the version that suits the needs of the React application that was made. Here I am using Node.js 12.x LTS.
1 2 3 | sudo apt install build-essentials curl -sL https://deb.nodesource.com/setup_12.x | sudo -E bash - sudo apt install -y nodejs |
Verify the results of installing Node.js.
1 2 3 4 5 | nodejs -v v12.13.1 npm -v 6.12.1 |
3.React Application
Create a React application for deploy demo.
Install create-react-app tool.
1 | sudo npm install -g create-react-app |
Creating a project demoreact.
1 | create-react-app demoreact |
Test running the development server.
1 2 | cd demoreact npm start |
The test results run the development server.
1 2 3 4 5 6 7 8 | Compiled successfully! You can now view demoreact in the browser. http://localhost:3000/ Note that the development build is not optimized. To create a production build, use npm run build. |
Press CTRL + C to stop the development server.
4.Install PM2
PM2 is a production process manager for Node.js. applications.
Install PM2.
1 | sudo npm install pm2 -g |
Run the React application using PM2.
1 2 | pm2 start ~/demoreact/node_modules/react-scripts/scripts/start.js --name "demo-react" sudo chown reactapp:reactapp /home/reactapp/.pm2/rpc.sock /home/reactapp/.pm2/pub.sock |
5.Install Nginx
Next install and setup the Nginx web server. Nginx will run on port 80 (HTTP) accessed by visitors, which will then communicate with PM2 for the execution of the React application.
1 | sudo apt install nginx -y |
Create a file server block for the domain with the reverse proxy to PM2. Here I use the developer.web.id for the domain name.
1 2 | cd /etc/nginx/conf.d sudo vi pengembang.web.id.conf |
The contents of the developer.web.id.conf file.
1 2 3 4 5 6 7 8 9 10 11 12 13 | server { listen 80; server_name pengembang.web.id www.pengembang.web.id; location / { proxy_pass http://localhost:3000; proxy_http_version 1.1; proxy_set_header Upgrade $http_upgrade; proxy_set_header Host $host; proxy_set_header Connection 'upgrade'; proxy_cache_bypass $http_upgrade; } } |
Restart Nginx service.
1 | sudo systemctl restart nginx |
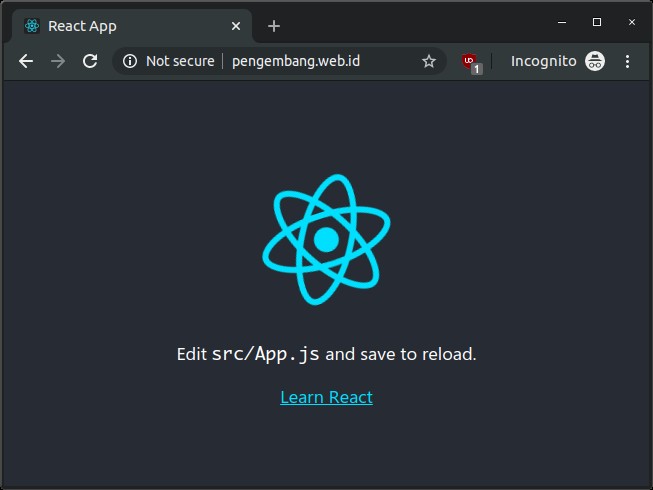
6.Testing Access React App
Browsing the domain name used for the React application.

If you found this article helpful and would like to support my work, consider making a donation through PayPal. Your support helps me continue creating useful content and tutorials. Thank you!
Donate via PayPal: https://paypal.me/musaamin


om plugin untuk nulis command line nya apa
plugin WordPress maksudnya? saya pakai Crayon Syntax Highlighter