How to Install LEMP Server with Webinoly on Ubuntu 20.04
Webinoly is a tool to facilitate the installation and configuration of LEMP (Linux Nginx MariaDB/MySQL PHP) server and it has been optimized. Installing LEMP server with Webinoly no longer needs to manually install LEMP packages one by one.
0. Install Webinoly
Webinoly requires a fresh Ubuntu 18.04 or Ubuntu 20.04 Linux distribution, no web server application installed at all. This tutorial uses Ubuntu 20.04.
Download the bash script Webinoly installer and run it.
1 | wget -qO weby qrok.es/wy && sudo bash weby 3 |
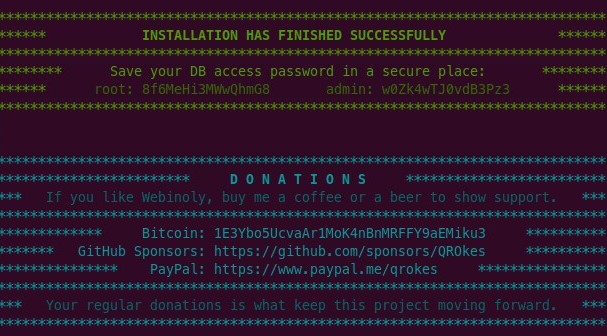
The Webinoly installation is complete. Save the username and password for database access.
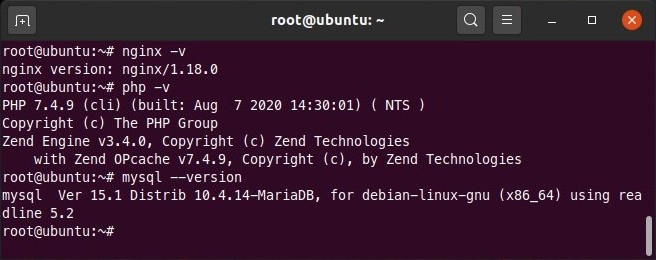
Check the Nginx version.
1 | nginx -v |
Check the PHP version.
1 | php -v |
Check the MariaDB version.
1 | mysql --version |
1. Host an HTML Website
Host an HTML website with the subdomain webinoly.defnex.com.
1 | site webinoly.defnex.com -html |
The result of the above command.
1 | Site webinoly.defnex.com has been successfully created! |
Create an index.html file for testing.
1 | echo "hello world" > /var/www/webinoly.defnex.com/htdocs/index.html |
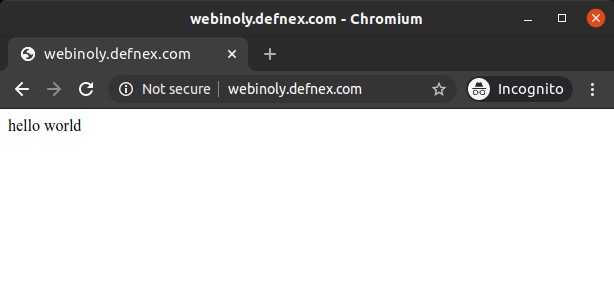
Access the website http://webinoly.defnex.com.
Remove a website.
1 | site webinoly.defnex.com -delete |
2. Hosting a PHP Website
Host a PHP website with the subdomain webinoly.defnex.com.
1 | site webinoly.defnex.com -php |
Create info.php file for PHP testing.
1 | echo "<?php phpinfo(); ?>" > /var/www/webinoly.defnex.com/htdocs/info.php |
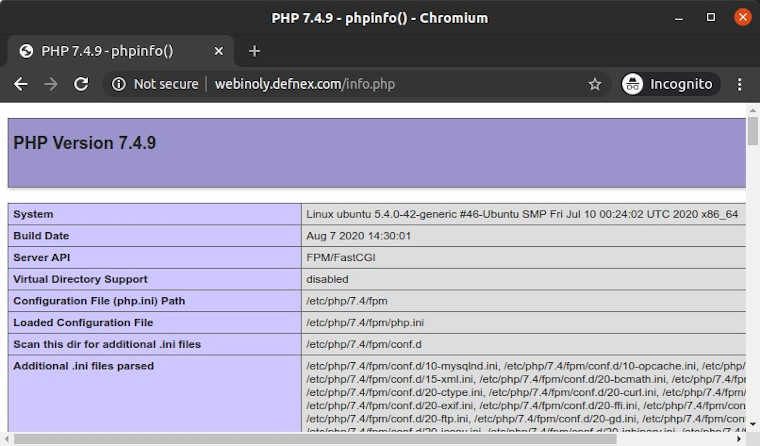
Access http://webinoly.defnex.com/info.php.
3. Access phpMyAdmin
All admin pages are protected with HTTP authentication, create a username and password first.
1 | httpauth -add |
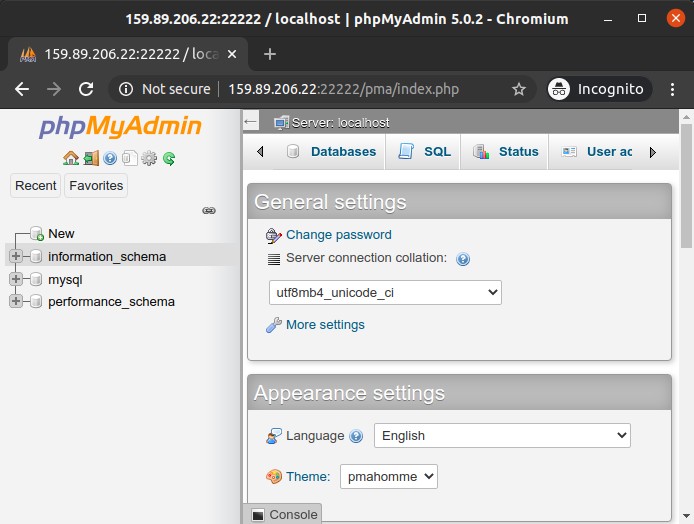
Access phpMyAdmin at http://serverIP:22222/pma, login using your httpauth username and password. To access the database on phpMyAdmin, enter the username and password that are displayed when the Webinoly installation is complete.
4. Install WordPress
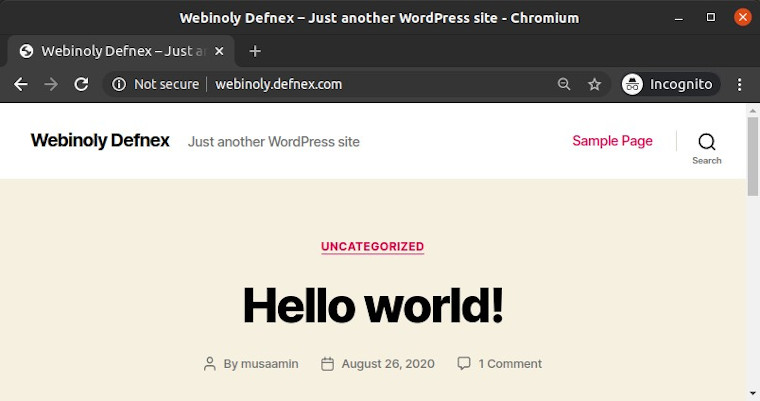
WordPress installation can be done easily on Webinoly.
1 | site webinoly.defnex.com -wp |
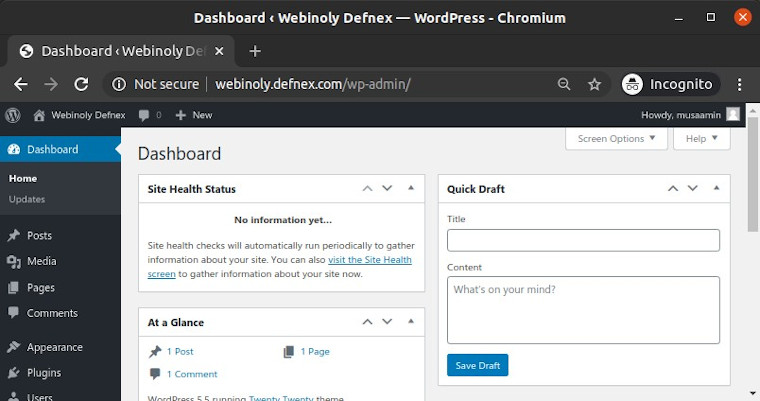
Access http://webinoly.defnex.com for installation.
5. Install SSL Let’s Encrypt
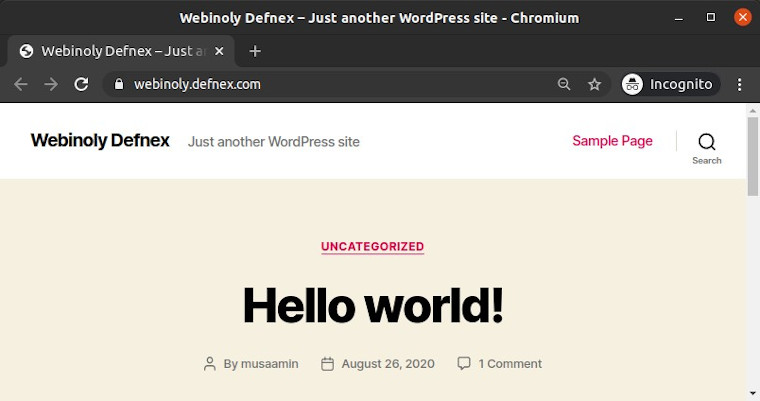
Let’s Encrypt SSL Installation for webinoly.defnex.com.
1 | site webinoly.defnex.com -ssl=on |
SSL already installed.
6. Enable Cache
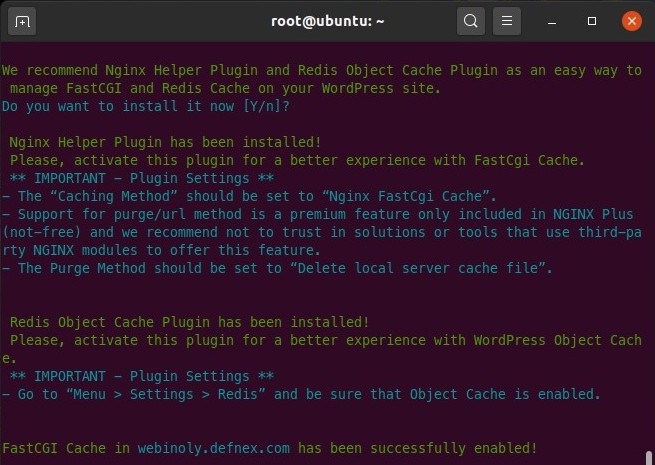
Enable cache to speed up website access.
1 | site webinoly.defnex.com -cache=on |
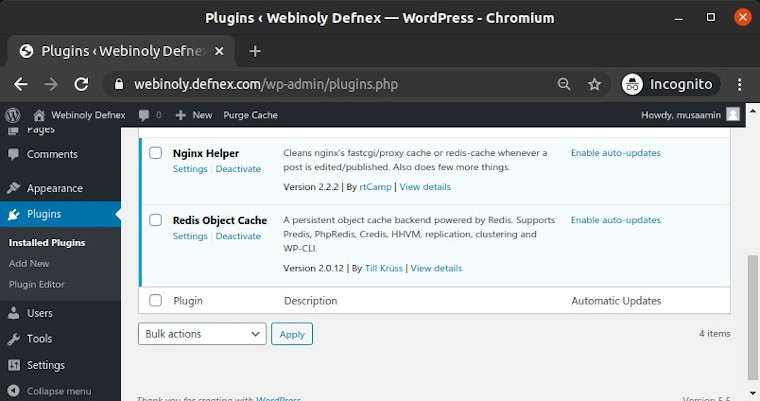
Also installed is the Nginx Helper and Object Cache plugins in WordPress.
7. Other commands
Displays a list of websites.
1 | site -list |
Disable website.
1 | site webinoly.defnex.com -off |
Remove a website.
1 | site webinoly.defnex.com -delete |
The complete instructions for using Webinoly read at documentation.
If you found this article helpful and would like to support my work, consider making a donation through PayPal. Your support helps me continue creating useful content and tutorials. Thank you!
Donate via PayPal: https://paypal.me/musaamin

