How to Install MySQL 8 on Ubuntu 18.04

MySQL is an open source software for the Relational Database Management System. MySQL is one of the server application packages for websites that are often referred to as LAMP (Linux Apache MySQL PHP) servers.
0.Install MySQL Repository
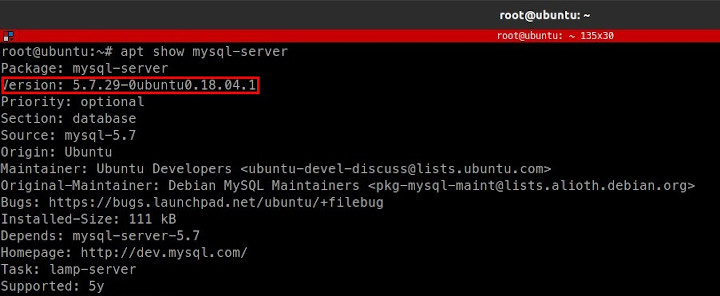
By default the MySQL version available on Ubuntu 18.04 is MySQL 5.7.
In order to be able to install MySQL 8 on Ubuntu 18.04 first, install the MySQL 8 repository.
Download the repository file configuration file MySQL 8.
1 | curl -OL https://dev.mysql.com/get/mysql-apt-config_0.8.15-1_all.deb |
Installing the downloaded .deb file.
1 | sudo dpkg -i mysql-apt-config_0.8.15-1_all.deb |
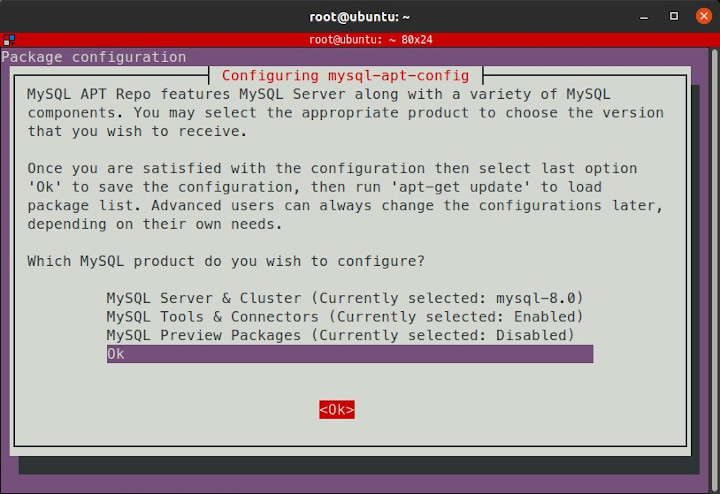
The question Which MySQL product do you want to configure? is displayed, select Ok.
Run the update.
1 | sudo apt update |
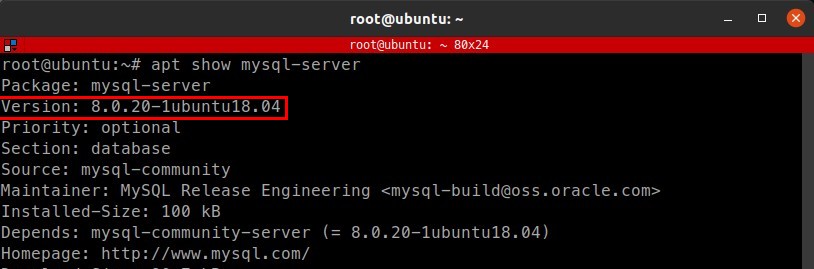
Verify the mysql-server version.
1 | apt show mysql-server |
1.Install MySQL
After the MySQL repository is installed, run the MySQL server installation.
1 | sudo apt install mysql-server -y |
Enter the MySQL root user password.
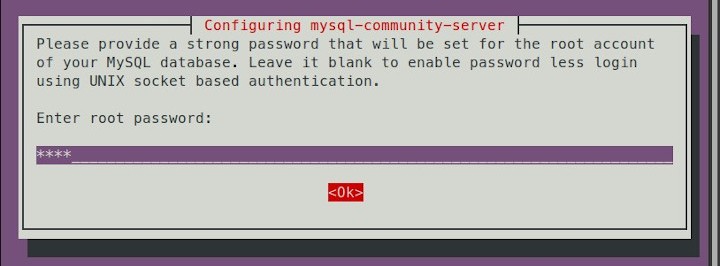
Then Ok.
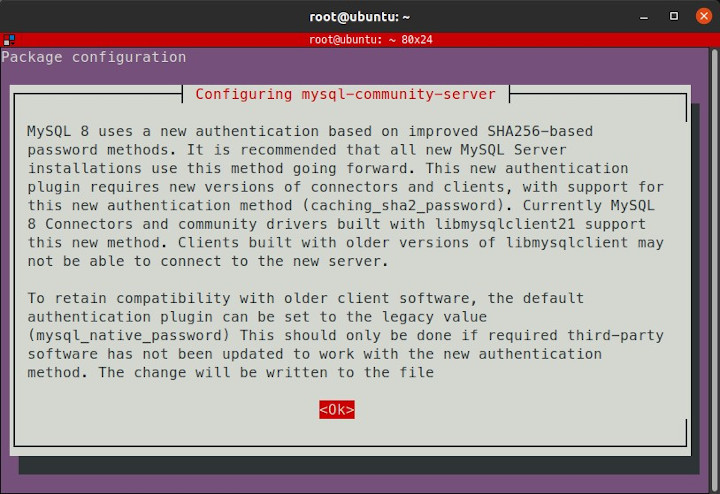
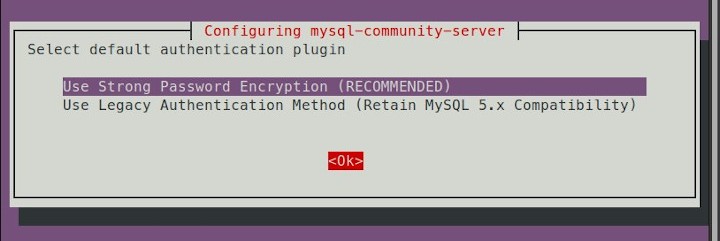
Select Use Strong Password Encryption (RECOMENDED).
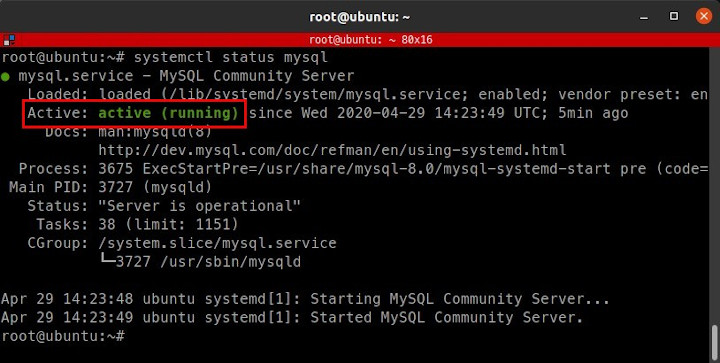
After installation is complete, check the mysql service status, it must active (running).
1 | sudo systemctl status mysql |
2.Securing the MySQL server installation
Securing the MySQL server installation
1 | sudo mysql_secure_installation |
Enter the user’s root password.
1 2 3 | Securing the MySQL server deployment. Enter password for user root: PASSWORD_ROOT |
VALIDATE PASSWORD COMPONENT to use a strong MySQL user password. Answer y if you want to activate it.
1 2 3 4 5 6 | VALIDATE PASSWORD COMPONENT can be used to test passwords and improve security. It checks the strength of password and allows the users to set only those passwords which are secure enough. Would you like to setup VALIDATE PASSWORD component? Press y|Y for Yes, any other key for No: y |
Choose a password strength level.
1 2 3 4 5 6 7 | There are three levels of password validation policy: LOW Length >= 8 MEDIUM Length >= 8, numeric, mixed case, and special characters STRONG Length >= 8, numeric, mixed case, special characters and dictionary file Please enter 0 = LOW, 1 = MEDIUM and 2 = STRONG: 1 |
Changing the root password, answer n if you don’t want to change it.
1 2 | Estimated strength of the password: 0 Change the password for root ? ((Press y|Y for Yes, any other key for No) : n |
Remove anonymous users, answer y.
1 2 3 | By default, a MySQL installation has an anonymous user, allowing anyone to log into MySQL without having to have a user account created for them. This is intended only for testing, and to make the installation go a bit smoother. You should remove them before moving into a production environment. Remove anonymous users? (Press y|Y for Yes, any other key for No) : y |
Do not allow root to remote database, answer
1 2 3 | Normally, root should only be allowed to connect from 'localhost'. This ensures that someone cannot guess at the root password from the network. Disallow root login remotely? (Press y|Y for Yes, any other key for No) : y |
Remove the test database, answer y.
1 2 3 | By default, MySQL comes with a database named 'test' that anyone can access. This is also intended only for testing, and should be removed before moving into a production environment. Remove test database and access to it? (Press y|Y for Yes, any other key for No) : y |
Reload tabel privileges, answer y.
1 2 3 | Reloading the privilege tables will ensure that all changes made so far will take effect immediately. Reload privilege tables now? (Press y|Y for Yes, any other key for No) : y |
3.Testing
Login to MySQL with the root user.
1 | sudo mysql -u root -p |

If you found this article helpful and would like to support my work, consider making a donation through PayPal. Your support helps me continue creating useful content and tutorials. Thank you!
Donate via PayPal: https://paypal.me/musaamin