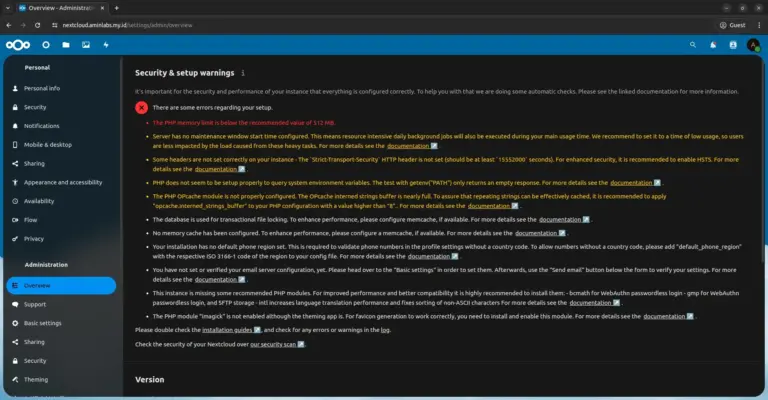
How to install Nextcloud client on Ubuntu 20.04
In the previous article I discussed how to install Nextcloud server on CentOS 8. Now go to the steps of how to create a user and install the Nexcloud client application on Ubuntu 20.04.
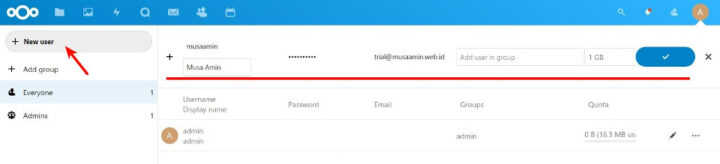
1. Creating User Nextcloud
The first step is to create a user account on Nextcloud.
- Login using the admin account at Nextcloud.
- Click the Settings->Users menu.
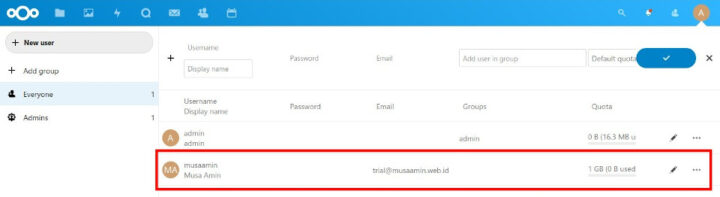
- Click the + New user button.
- Enter your Username, Display name, Password, Email, and Quota.
- Click the tick button.
2. New User Testing
The next step is to test the user account that was just created.
- Logout first from Nextcloud.
- Log back in to Nextcloud using the new user account.
- Test by creating files or folders.
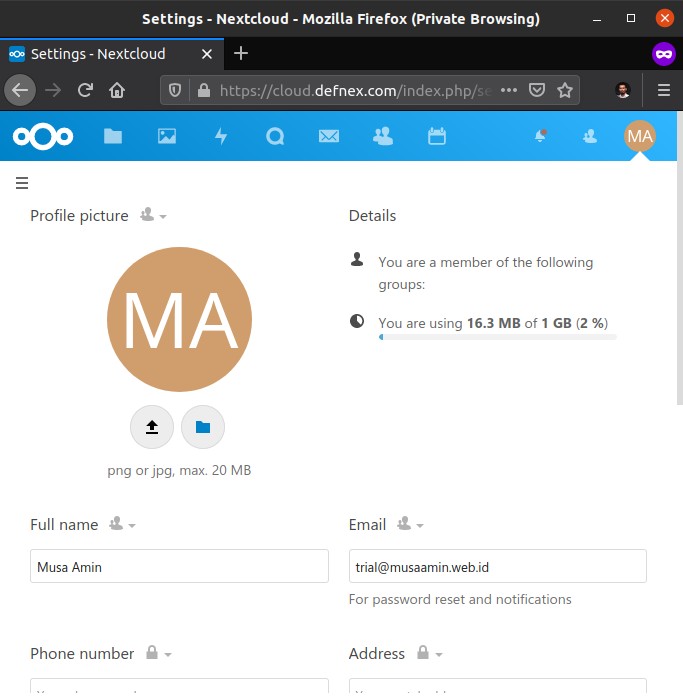
- To change user account information, click Settings->Personal info menu.
3. Install Nextcloud client
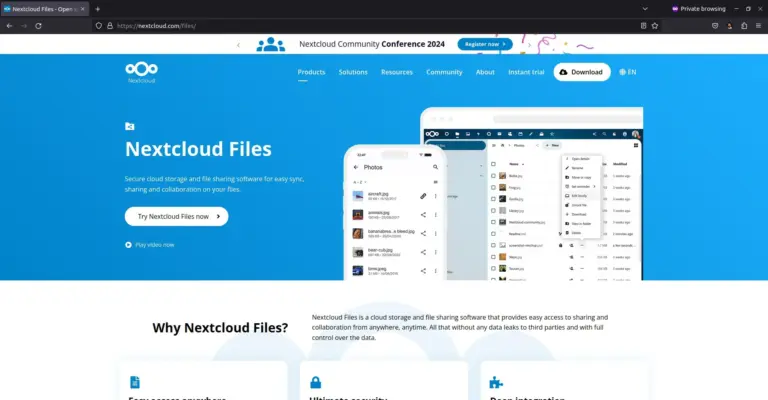
Nextcloud client is available for Windows, macOS, and Linux operating systems. The Linux distributions openSUSE Tumbleweed, Arch Linux, and Fedora are available in the repositories. Ubuntu and Debian are available in the PPA repository. Also available in AppImage format for portable Linux applications.
Here I am using Nextcloud client AppImage format and run on Ubuntu 20.04. I chose AppImage because it is portable and I don’t have to add more repositories.
- Download Nextcloud.AppImage.
- Move Nextcloud.AppImage to the home folder so it’s easy to find.
- Right-click Nextcloud.AppImage, Properties menu, Permissions tab, and check Allow executing file as program. Then close.
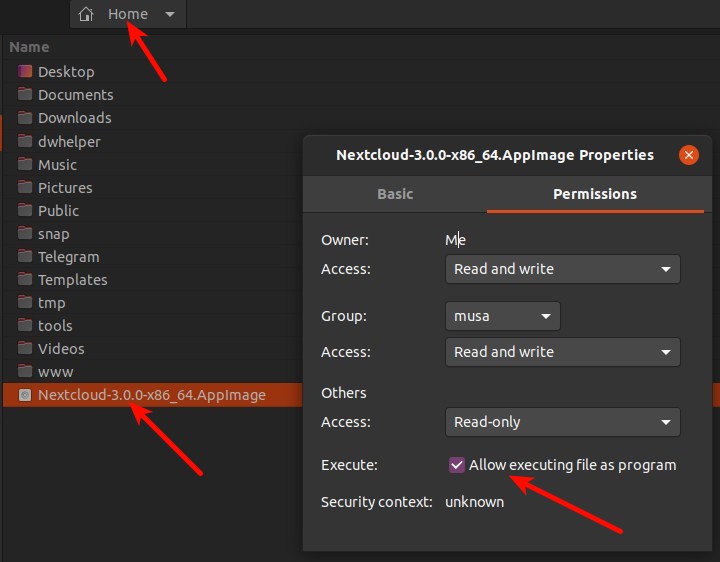
Nextcloud AppImage Permissions - Double click Nextcloud.Appimage to run the application.
- Click Log in.
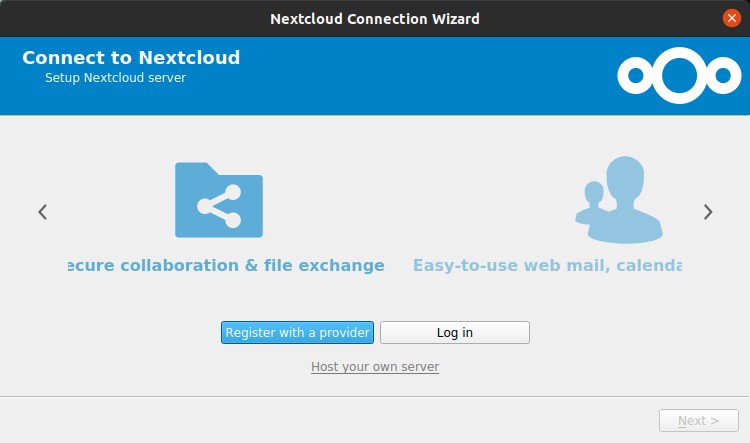
Nextcloud client – Log in - Enter Server Address.
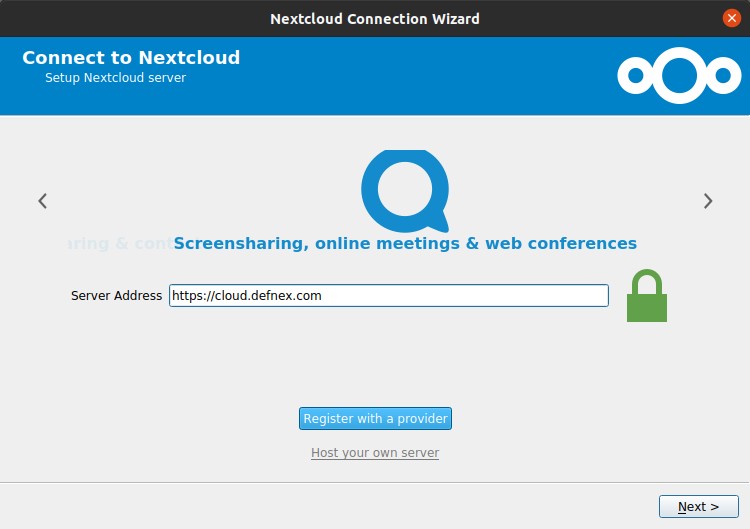
Nextcloud client – Server Address - Nextcloud client will automatically open a browser and ask to log into the Nextcloud server. Click Log in.
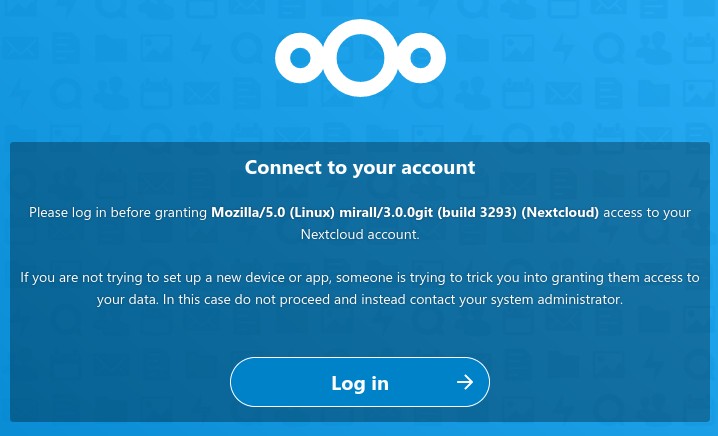
Nextcloud – Connect to account - After logging in, click Grant access to grant access to the Nextcloud client.
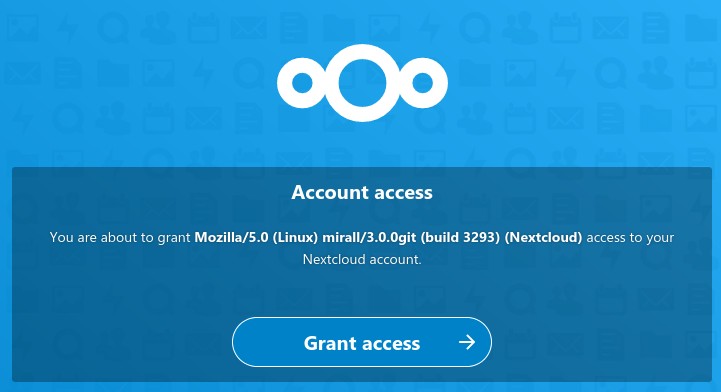
Nextcloud – Grant access - The user account is connected to the Nextcloud client. This window can be closed.

Nextcloud – Account connected - Nextcloud client asks for local folder configuration. By default sync folders are at /home/user/Nextcloud. This local folder can be changed or added. Click Connect ….
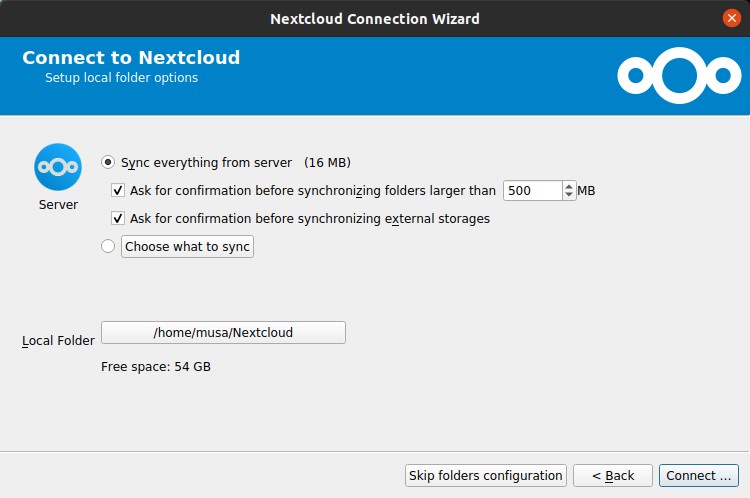
Nextcloud client – Local folder options - Nextcloud client starts synchronizing from remote folder to local folder.
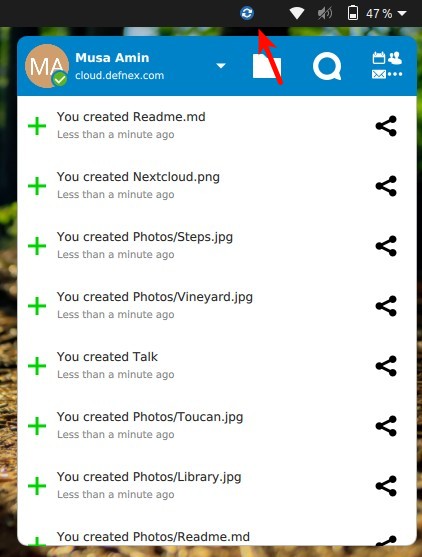
Nextcloud client – Synchronizing - Local folders are synchronized.
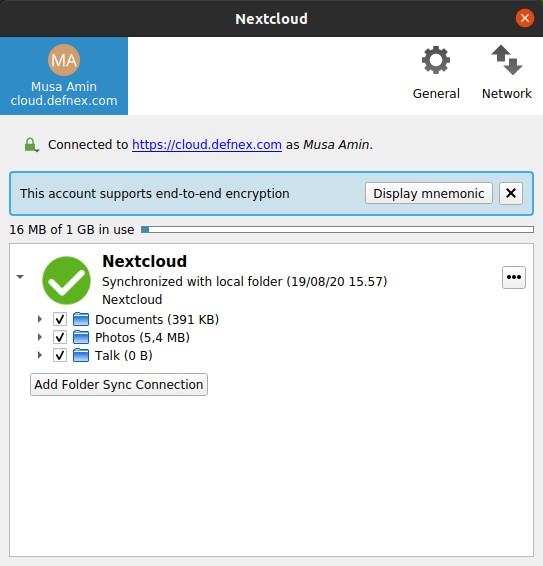
Nextcloud client – Synchronized
If you found this article helpful and would like to support my work, consider making a donation through PayPal. Your support helps me continue creating useful content and tutorials. Thank you!
Donate via PayPal: https://paypal.me/musaamin