How to install PostgreSQL 12 and pgAdmin 4 on Ubuntu 20.04

PostgreSQL or Postgres is a Relational Database Management System (RDBMS) software with free & open source license. Starting as a POSTGRES project at the University of California, Berkeley in 1986, then in 1996 the name was changed to PostgreSQL which signifies supporting SQL. PostgreSQL runs on all major operating systems, Linux, FreeBSD, OpenBSD, macOS, and Windows.
1. Install PostgreSQL
Install PostgreSQL from the default Ubuntu repositories.
1 | sudo apt install postgresql |
Default data directory is /var/lib/postgresql/12/main, configuration files are stored in /etc/postgresql/12/main , and the postgresql service runs on the port 5432.
Check if PostgreSQL service is active, running, and enabled.
1 2 3 | sudo systemctl is-active postgresql sudo systemctl is-enabled postgresql sudo systemctl status postgresql |
Also check whether PostgreSQL is ready to accept connections from clients.
1 | sudo pg_isready |
The result of the above command.
1 | /var/run/postgresql:5432 - accepting connections |
2. Access PostgreSQL
The PostgreSQL installation process create an account with the name postgres which becomes the PostgreSQL superuser. For PostgreSQL shell use psql.
Switch to postgres and login to psql.
1 | sudo -u postgres psql |
The result of the above command.
1 2 3 4 | psql (12.4 (Ubuntu 12.4-0ubuntu0.20.04.1)) Type "help" for help. postgres=# |
3. Create Database
Create database, user, and grant database access rights to user.
1 2 3 4 | CREATE USER dbuser WITH PASSWORD 'dbpass'; CREATE DATABASE dbname; GRANT ALL PRIVILEGES ON DATABASE dbname TO dbuser; \q |
4. Create New User
Login to psql with user postgres and create a new user.
1 | sudo -u postgres createuser --interactive |
The result of the above command.
1 2 | Enter name of role to add: musaamin Shall the new role be a superuser? (y/n) y |
When running psql, the PostgreSQL authentication system by default will use the active system user as the login user to psql, and that user must have a database with the same name as the user name.
For example, the username I use is musaamin, meaning there must also be a database with the name musaamin.
Creating a database with the name musaamin.
1 | sudo -u postgres createdb musaamin |
Login test with user musaamin.
1 | psql |
The result of the above command.
1 2 3 4 | psql (12.4 (Ubuntu 12.4-0ubuntu0.20.04.1)) Type "help" for help. musaamin=# |
Login to psql with another database connected.
1 | psql -d namadatabase |
Check the current connection to display the database name and user.
1 | \conninfo |
The result of the above command.
1 | You are connected to database "namadatabase" as user "musaamin" via socket in "/var/run/postgresql" at port "5432". |
5. Install pgAdmin4
pgAdmin 4 is a management tool for the PostgreSQL database. pgAdmin supports Windows, Linux, and macOS operating systems. pgAdmin 4 was rewritten using Python and Javascript (jQuery).
pgAdmin 4 is not available in the default repositories, add the pgAdmin 4 repository.
1 2 | curl https://www.pgadmin.org/static/packages_pgadmin_org.pub | sudo apt-key add sudo sh -c 'echo "deb https://ftp.postgresql.org/pub/pgadmin/pgadmin4/apt/$(lsb_release -cs) pgadmin4 main" > /etc/apt/sources.list.d/pgadmin4.list && apt update' |
Install pgAdmin 4.
1 | sudo apt install pgadmin4 |
The command above will install pgAdmin 4 and Apache web server to run pgadmin4-web. pgAdmin4 is stored at /usr/pgadmin4.
Create a user login for pgAdmin.
1 | sudo /usr/pgadmin4/bin/setup-web.sh |
The result of the above command. Enter the email address and password to log into pgAdmin, and configure Apache for pgadmin-web.
1 2 3 4 5 6 7 8 9 10 11 12 13 14 15 16 | Setting up pgAdmin 4 in web mode on a Debian platform... Creating configuration database... NOTE: Configuring authentiction for SERVER mode. Enter the email address and password to use for the initial pgAdmin user account: Email address: musaamin@localhost.lan Password: Retype password: pgAdmin 4 - Application Initialisation ====================================== Creating storage and log directories... We can now configure the Apache Web server for you. This involves enabling the wsgi module and configuring the pgAdmin 4 application to mount at /pgadmin4. Do you wish to continue (y/n)? y The Apache web server is running and must be restarted for the pgAdmin 4 installation to complete. Continue (y/n)? y Apache successfully restarted. You can now start using pgAdmin 4 in web mode at http://127.0.0.1/pgadmin4 |
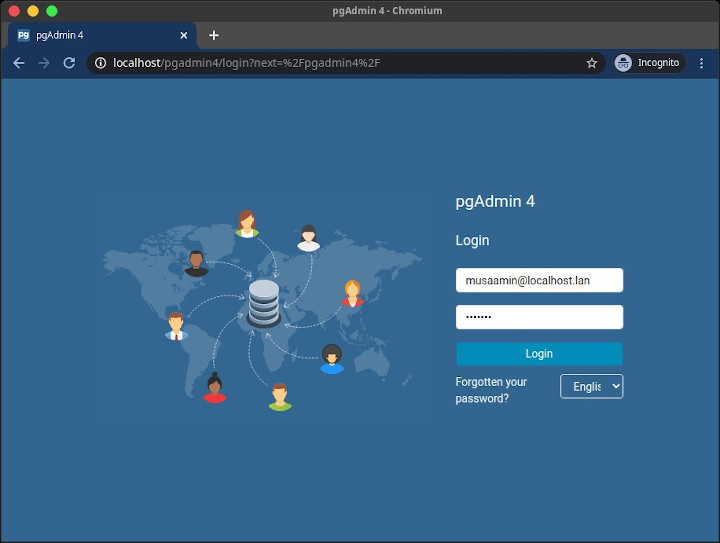
The pgAdmin login page.
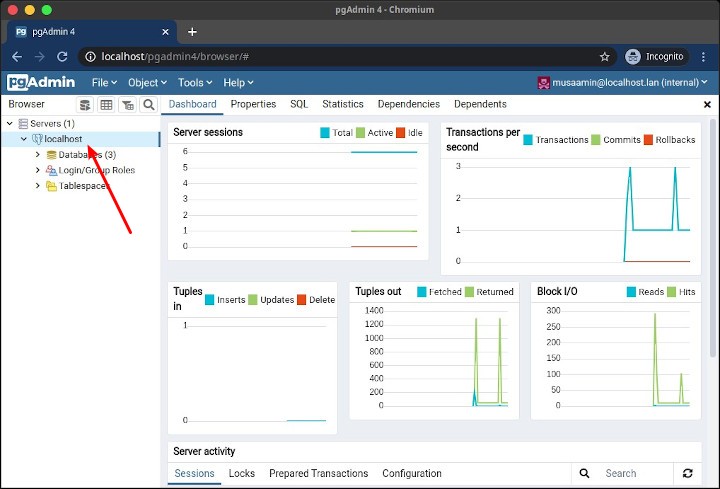
The pgAdmin dashboard page.
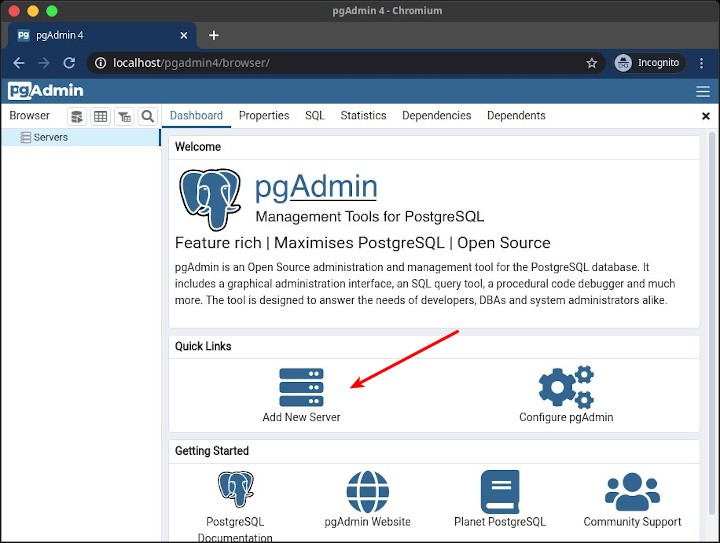
Click Add New Server.
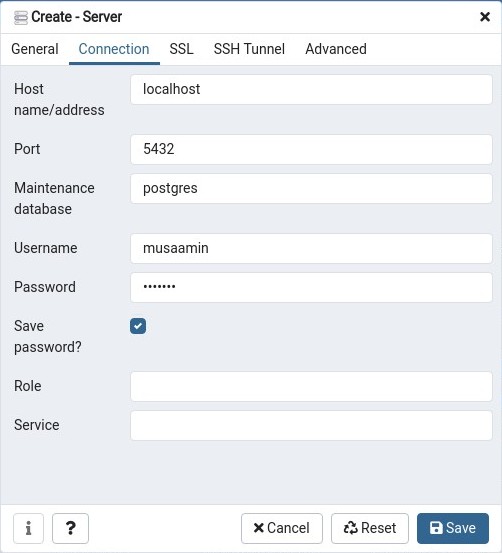
General tab, enter Name for server name, for example localhost.
Tab Connection, enter Hostname/address for the PostgreSQL server hostname or IP address, for example localhost. Enter Username and Password .
Then Save.
pgAdmin is already connected to the PostgreSQL server on localhost.
If you found this article helpful and would like to support my work, consider making a donation through PayPal. Your support helps me continue creating useful content and tutorials. Thank you!
Donate via PayPal: https://paypal.me/musaamin