How to Install SLiMS (Senayan Library Management System) 9 Bulian on Ubuntu 18.04
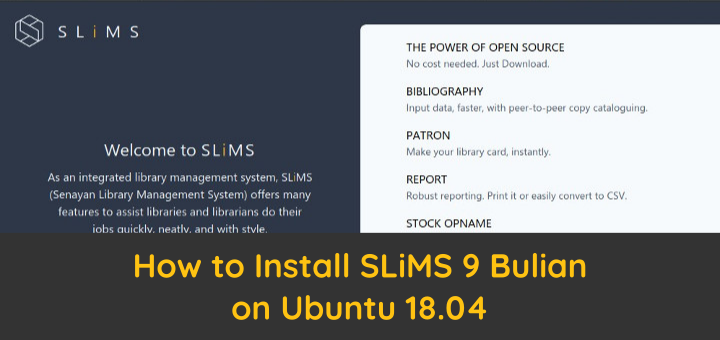
SLiMS is a web-based software for the Library Management System (Senayan Library Management System – SLiMS), which has many features with the aim of making it easy for libraries and librarians to carry out their work quickly and easily.
Some of the features include:
- Online Public Access Catalog (OPAC) with thumbnail document image support (for images of book covers), Simple Search and Advanced Search mode
- Digital contents/files (PDF, DOC, RTF, XLS, PPT, Video, Audio, etc.): attachment in each bibliographic record is supported
- Documents record detail in MODS (Metadata Object Description Schema) XML format
- Documents record detail in JSON-LD format with schema.org
- RSS (Really Simple Syndication) XML format for OPAC
- OAI-PMH (Open Archives Initiative Protocol for Metadata Harvesting) in Dublin Core format for metadata harvesting purposes
- and many more
SLiMS 9 Bulian was just released on February 1, 2020 with the addition of Urdu, Turkish and Russian for interface, security enhancements, and other features added.
Bulian or ironwood (Eusideroxylon zwageri Teijsm & Binn) or iron wood is a woody tree and is a typical plant of the island of Borneo. Since the release of Senayan3-stable14, SLiMS developers have used the unique Indonesian flora for the code name for the release of SLiMS as a form of appreciation and pride for Indonesia.
1.Install Apache
This tutorial uses Ubuntu 18.04 and virtual host / subdomain slims.getbox.xyz for SLiMS.
Install Apache on Ubuntu
1 2 | sudo apt install apache2 sudo systemctl status apache2 |
Create a virtual host
1 2 | cd /etc/apache2/sites-available sudo nano slims.getbox.xyz.conf |
The contents of the virtual host configuration file
1 2 3 4 5 6 7 8 9 10 11 | <VirtualHost *:80> ServerName slims.getbox.xyz DocumentRoot /var/www/slims.getbox.xyz <Directory /var/www/slims.getbox.xyz> Options Indexes FollowSymLinks MultiViews AllowOverride All Require all granted </Directory> ErrorLog /var/log/apache2/slims.getbox.xyz_error.log CustomLog /var/log/apache2/slims.getbox.xyz_requests.log combined </VirtualHost> |
Create a directory for virtual host
1 | sudo mkdir /var/www/slims.getbox.xyz |
Activate virtual host
1 2 3 | sudo a2ensite slims.getbox.xyz.conf sudo systemctl restart apache2 sudo systemctl status apache2 |
2.Install PHP
Install the PPA repository for PHP 7.3
1 2 3 4 | sudo apt install software-properties-common sudo add-apt-repository ppa:ondrej/php sudo apt update sudo apt upgrade |
Install PHP along with the required extensions
1 | sudo apt install php7.3 php7.3-cli php7.3-common php7.3-mbstring php7.3-gd php7.3-intl php7.3-xml php7.3-mysql php7.3-zip php7.3-dev php-pear yaz libyaz5 libyaz5-dev libnet-z3950-zoom-perl |
Install the Yaz library
1 | sudo pecl install yaz |
Add extension = yaz.so in the php.ini configuration
1 | sudo nano /etc/php/7.3/apache2/php.ini |
Configuring extensions in php.ini
1 2 3 4 5 6 | ... ; extension=yaz.so ;extension=bz2 ;extension=curl ... |
Restart apache2 service
1 2 | sudo systemctl restart apache2 sudo systemctl status apache2 |
3.Install MariaDB
Install MariaDB server
1 2 | sudo apt install mariadb-server sudo systemctl status mariadb |
Login to the mysql shell.
1 | sudo mysql |
Create a database of slims and their user
1 2 3 4 | CREATE DATABASE slims; CREATE USER 'slims'@'localhost' IDENTIFIED BY 'rahasia'; GRANT ALL PRIVILEGES ON slims.* TO 'slims'@'localhost'; FLUSH PRIVILEGES; |
4.Install SLiMS
Download and extract SLiMS 9 Bulian
1 2 3 4 | cd wget -c https://github.com/slims/slims9_bulian/releases/download/v9.0.0/slims9_bulian-9.0.0.tar.gz tar xzvf slims9_bulian-9.0.0.tar.gz sudo rsync -av slims9_bulian-9.0.0/ /var/www/slims.getbox.xyz/ |
Change user and group of directory.
1 | sudo chown -R www-data:www-data /var/www/slims.getbox.xyz |
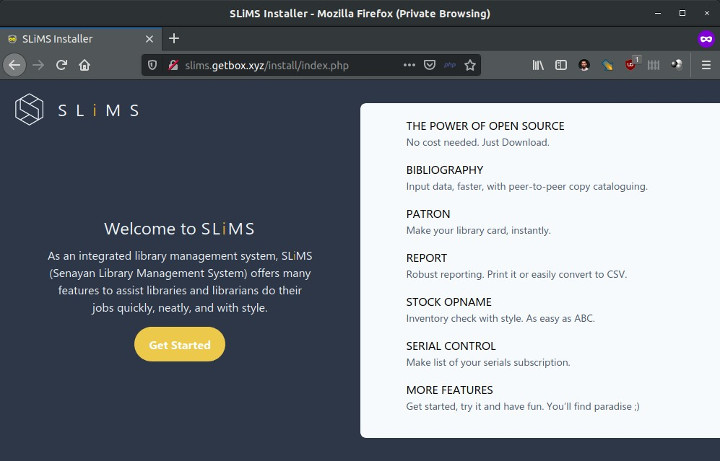
Browse the domain/subdomain used for SLiMS. Click Get Started to start installing SLiMS.
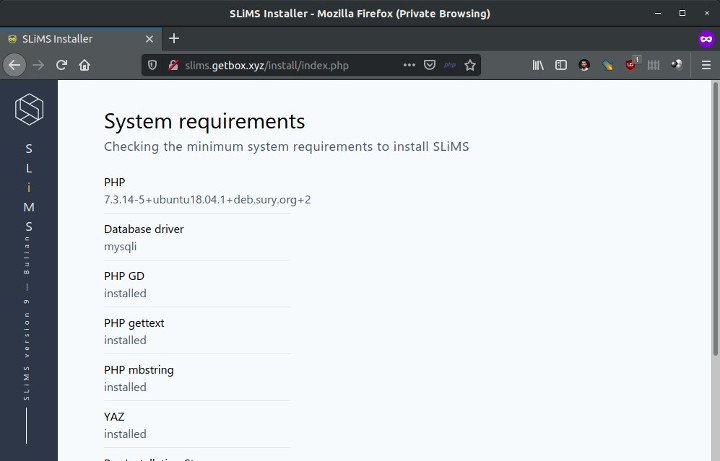
Check system requirements, whether they have been met. If it has not been met, configure it again. If everything is fulfilled click ‘Next’ to continue.
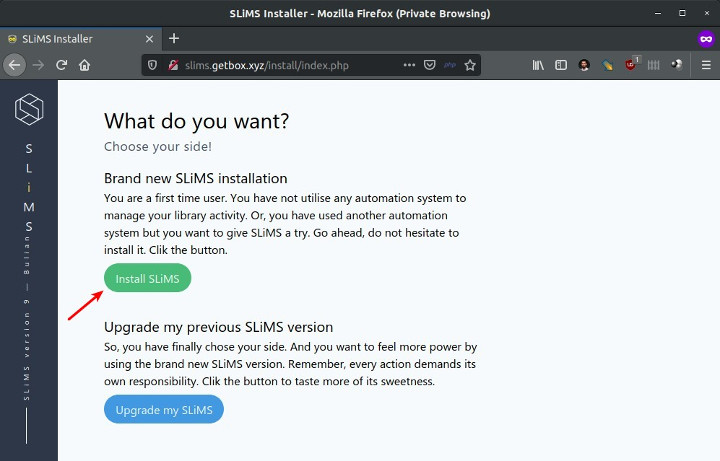
Click Install SLiMS for installation.
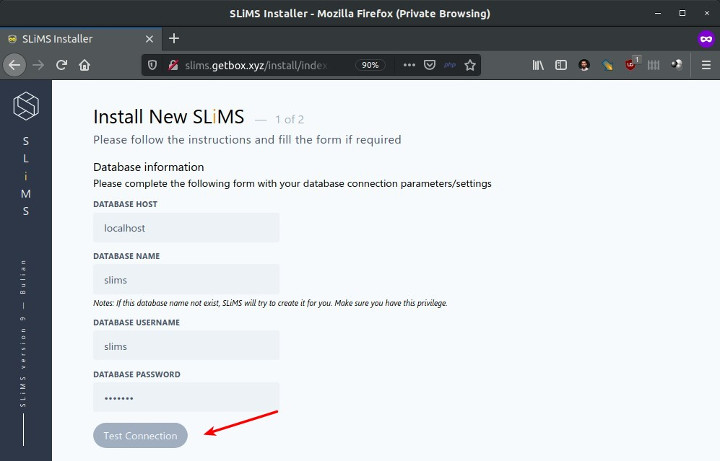
Enter the database, username, and password that was created before. Click Test Connection to test the database.
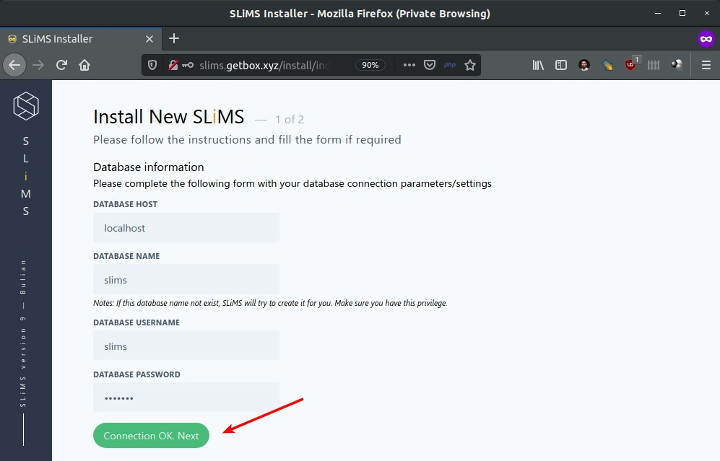
If it works, click Connection OK. Next
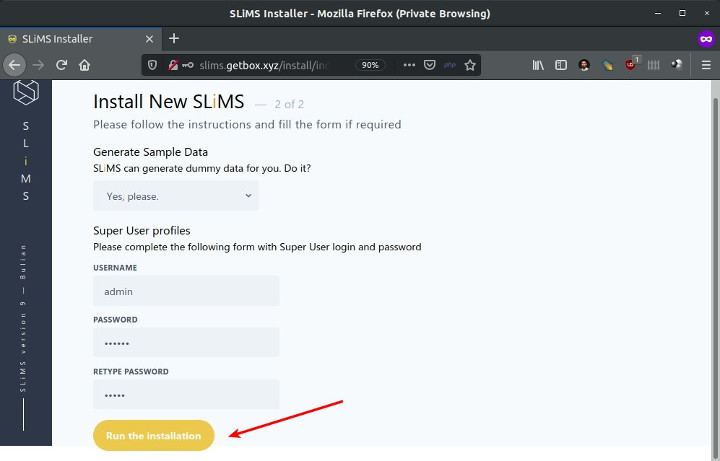
Choose whether to install Sample Data to learn about SLiMS. Then enter the username and password for the SLiMS administrator. Then click Run the installation.
If the SLiMS install is successfully displayed the message ‘New SLiMS successfully installed.
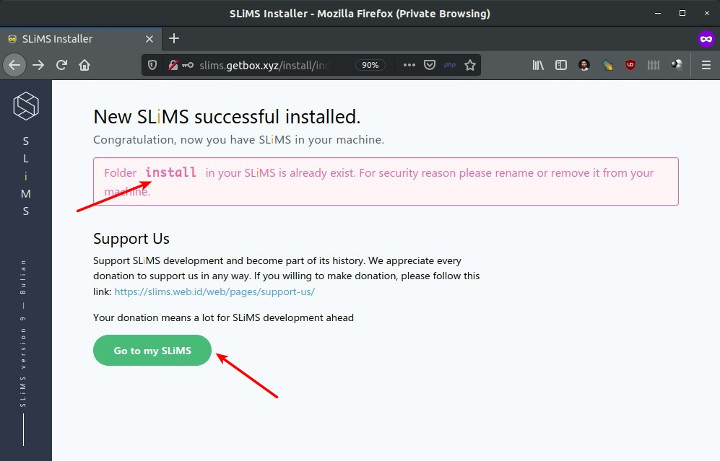
Remove the install directory
1 2 | cd /var/www/slims.getbox.xyz sudo rm -rf install |
Browse the SLiMS domain/subdomain to display the front page
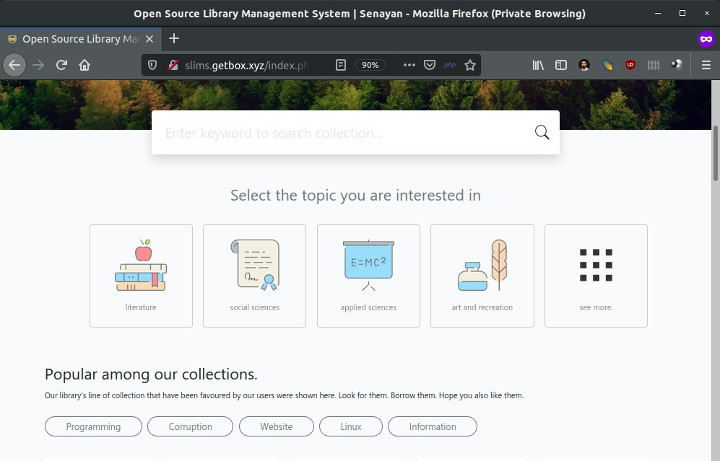
5.Install SSL Let’s Encrypt
Install SSL from Let’s Encrypt for HTTPS
Install certbot
1 2 3 4 | sudo apt install curl sudo curl -O https://dl.eff.org/certbot-auto sudo mv certbot-auto /usr/local/bin/certbot-auto sudo chmod 0755 /usr/local/bin/certbot-auto |
SSL request for subdomain slims.getbox.xyz
1 | sudo certbot-auto --apache -d slims.getbox.xyz |
If you have questions to install the dependency package, answer y
Enter an email address for notifications if SSL is nearing expiration
1 | Enter email address (used for urgent renewal and security notices) (Enter 'c' to cancel): slim@getbox.xyz |
Approval of Terms of Service, answer A
1 2 3 4 | Please read the Terms of Service at https://letsencrypt.org/documents/LE-SA-v1.2-November-15-2017.pdf. You must agree in order to register with the ACME server at https://acme-v02.api.letsencrypt.org/directory - - - - - - - - - - - - - - - - - - - - - - - - - - - - - - - - - - (A)gree/(C)ancel: A |
Share email to EFF, can be y or n
1 2 3 | Would you be willing to share your email address with the Electronic Frontier Foundation, a founding partner of the Let's Encrypt project and the non-profit organization that develops Certbot? We'd like to send you email about our work encrypting the web, EFF news, campaigns, and ways to support digital freedom. - - - - - - - - - - - - - - - - - - - - - - - - - - - - - - - - - - (Y)es/(N)o: N |
Select the redirect method to HTTPS, answer 2
1 2 3 4 5 6 | Please choose whether or not to redirect HTTP traffic to HTTPS, removing HTTP access. - - - - - - - - - - - - - - - - - - - - - - - - - - - - - - - - - 1: No redirect - Make no further changes to the webserver configuration. 2: Redirect - Make all requests redirect to secure HTTPS access. Choose this for new sites, or if you're confident your site works on HTTPS. You can undo this change by editing your web server's configuration. - - - - - - - - - - - - - - - - - - - - - - - - - - - - - - - - - Select the appropriate number [1-2] then [enter] (press 'c' to cancel): 2 |
SSL/HTTPS installed successfully
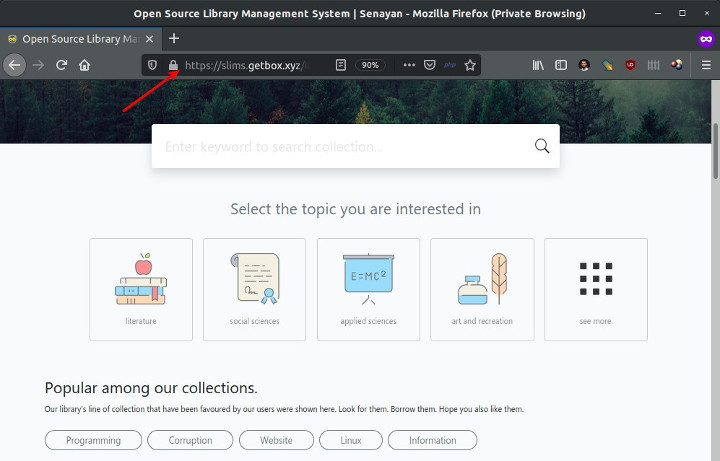
1 2 3 4 | Congratulations! You have successfully enabled https://slims.getbox.xyz You should test your configuration at: https://www.ssllabs.com/ssltest/analyze.html?d=slims.getbox.xyz |
Browse the SLiMS domain to test whether HTTPS is active
If you found this article helpful and would like to support my work, consider making a donation through PayPal. Your support helps me continue creating useful content and tutorials. Thank you!
Donate via PayPal: https://paypal.me/musaamin

