How to Install Hestia Control Panel on Debian 10

Hestia is a software for hosting control panel which is forking from VestaCP and developed by the open source community. Hestia Control Panel can be accessed via the web or command line interface, designed for administrators to easily and quickly deploy and manage web, domain, email, DNS, and databases from a centralized dashboard without having to perform complicated manual installation and configuration.
Features and Services
Features and services available in Hestia Control Panel:
- Apache2 and NGINX with PHP-FPM
- Multiple PHP versions (5.6 – 7.4, 7.3 as default for optimal compatibility)
- DNS Server (Bind) with clustering capabilities
- POP/IMAP/SMTP mail services with Anti-Virus, Anti-Spam, and Webmail (ClamAV, SpamAssassin, and Roundcube)
- MariaDB or PostgreSQL databases
- Let’s Encrypt SSL support with wildcard certificates
- Firewall with brute-force attack detection and IP lists (iptables, fail2ban, and ipset).
Supported operating systems
Operating systems supported by Hestia Control Panel:
- Debian 9, 10
- Ubuntu 16.04 LTS, 18.04 LTS, 20.04 LTS
- Catatan: Hestia Control Panel harus diinstall di atas sistem operasi yang masih kosong, belum terinstall aplikasi server
Install Hestia Control Panel
This tutorial uses:
- Operating system Debian 10
- Domain getbox.xyz
- Public IP 139.59.250.47
Log in to the server via SSH.
1 | ssh root@139.59.250.47 |
Download the Hestia Control Panel installer.
1 | wget https://raw.githubusercontent.com/hestiacp/hestiacp/release/install/hst-install.sh |
Displays the installer help.
1 | bash hst-install.sh -h |
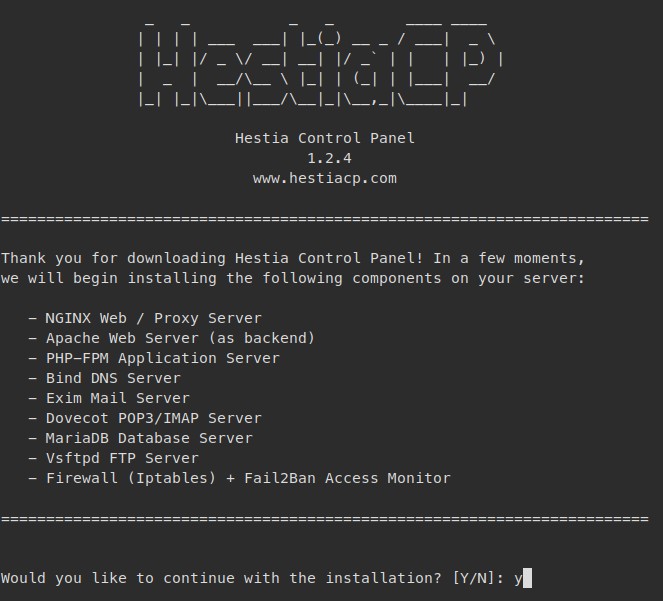
Runs the installer with the default packages.
1 | bash hst-install.sh |
The package that will be installed is displayed, answer ‘y’ to continue.
Enter an email address.
Enter the FQDN hostname.
Hestia Control Panel has finished installing. Write down the URL, username and login password. Then answer ‘y’ to restart.
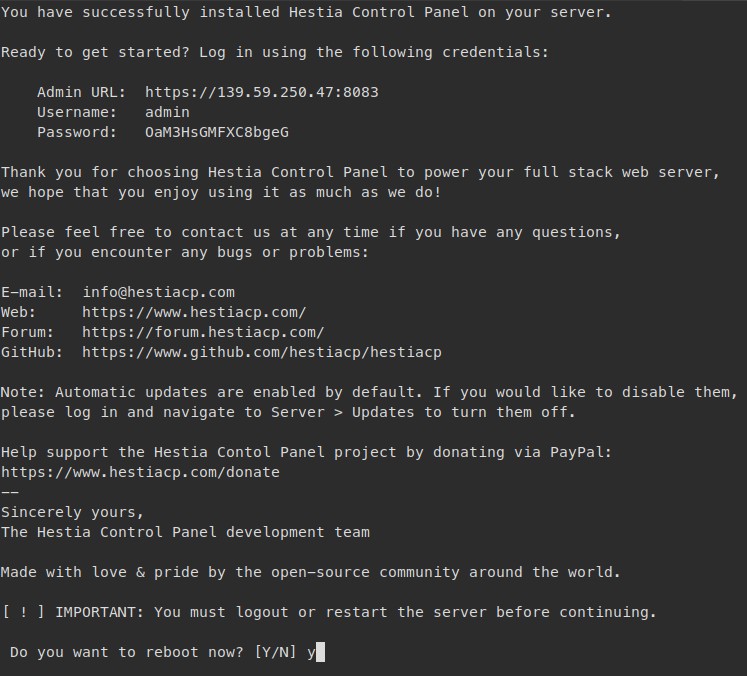
Access the Hestia Control Panel login URL.
DNS settings
Here we will use DNS with its own domain name, for example the getbox.xyz domain with the nameserver ns1.getbox.xyz.
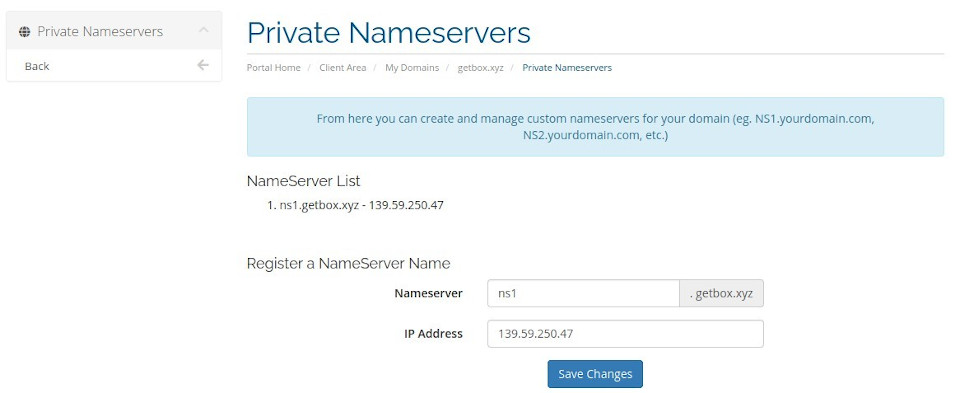
Login to the domain provider control panel, create Private Nameservers or Child Nameservers.
Enter the nameserver, for example ns1.getbox.xyz and server IP address 139.59.250.47.
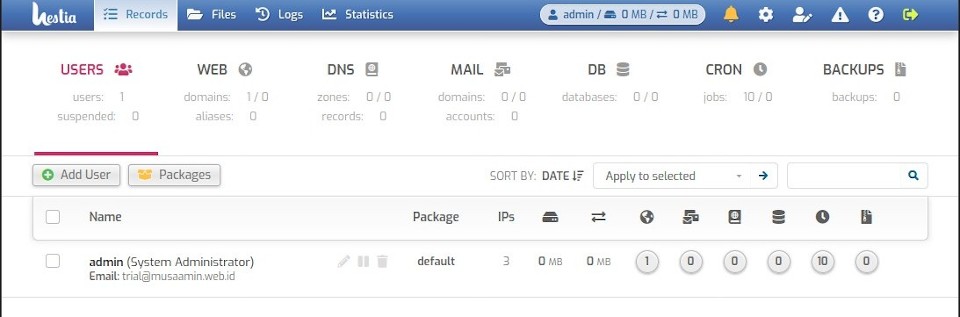
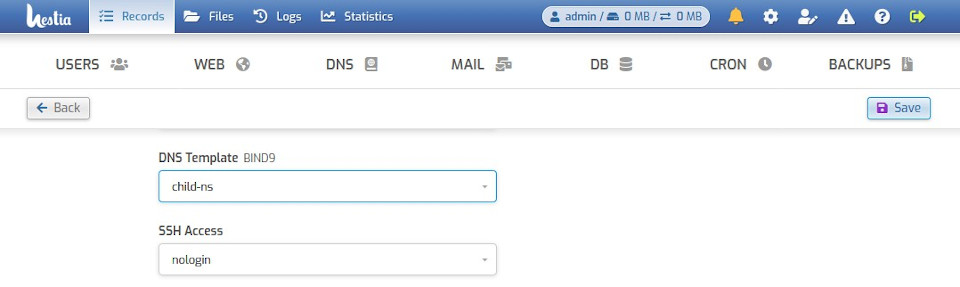
Then in Hestia Control Panel, on the Users page, click Packages.
Edit the default package. Under DNS Template, change to child-ns and then Save.
Adding the Web
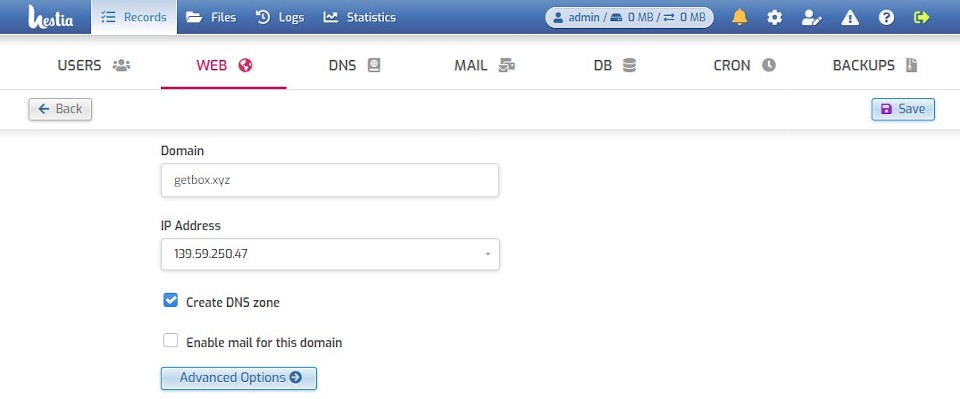
To add a web or host a domain at Hestia, click WEB, then Add New Domain.
Enter Domain, IP Address.
Check Create DNS Zone, to create a DNS Zone or DNS records.
Click Advanced Options.
Check Enable SSL for this domain and Use Lets Encrypt to obtain SSL certificate to install SSL from Let’s Encrypt.
Finally click Save.
Check on WEB and DNS to see the domains that have been added.
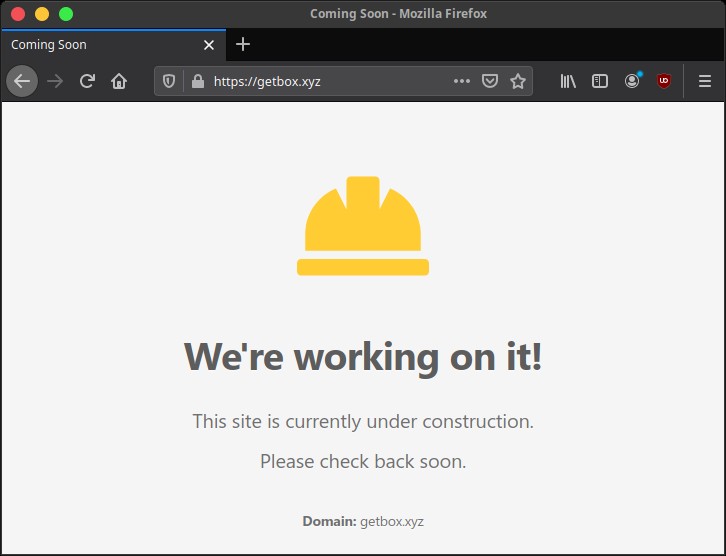
Domain access to test whether the added domain is online.
If you found this article helpful and would like to support my work, consider making a donation through PayPal. Your support helps me continue creating useful content and tutorials. Thank you!
Donate via PayPal: https://paypal.me/musaamin