How to Install Moodle with Nginx on Ubuntu 18.04
I have written about how to install Moodle on Ubuntu 18.04 on which web server which is used is the Apache web server. This time Moodle is installed on the Nginx web server.
1.Install Nginx
Update Ubuntu then install Nginx
1 2 3 | apt update apt upgrade -y apt install nginx -y |
2.Install MariaDB
Install MariaDB database
1 | apt install mariadb-server -y |
Secure the MariaDB installation
1 | mysql_secure_installation |
Answer the question
1 2 3 4 5 6 | Enter current password for root (enter for none): ENTER Set root password? [Y/n] y Remove anonymous users? [Y/n] y Disallow root login remotely? [Y/n] y Remove test database and access to it? [Y/n] y Reload privilege tables now? [Y/n] y |
Configure MariaDB
1 | nano /etc/mysql/mariadb.conf.d/50-server.cnf |
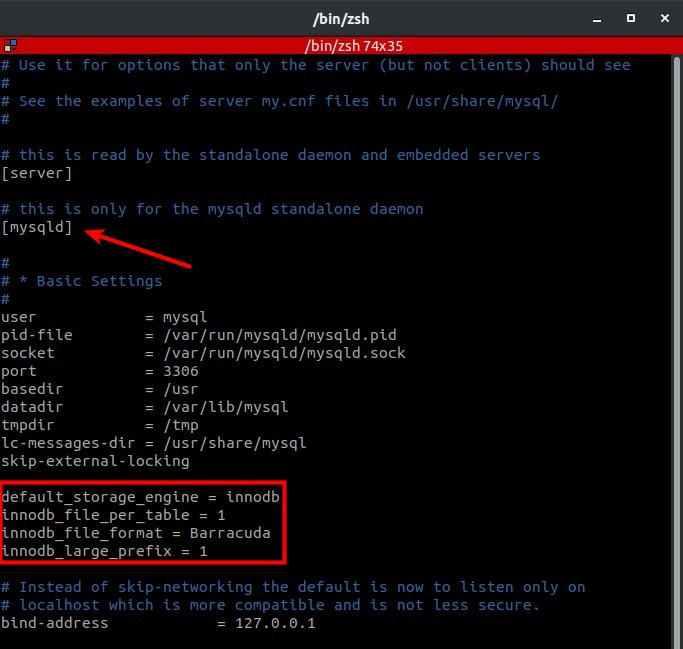
Add a configuration under [mysqld]
1 2 3 4 | default_storage_engine = innodb innodb_file_per_table = 1 innodb_file_format = Barracuda innodb_large_prefix = 1 |
Restart MariaDB
1 2 | systemctl restart mariadb systemctl status mariadb |
Log in to MariaDB
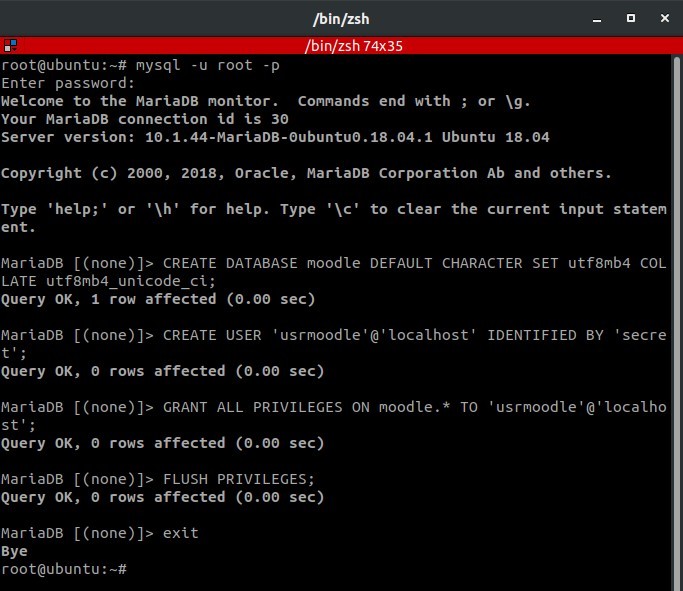
1 | mysql -u root -p |
Create a database for Moodle
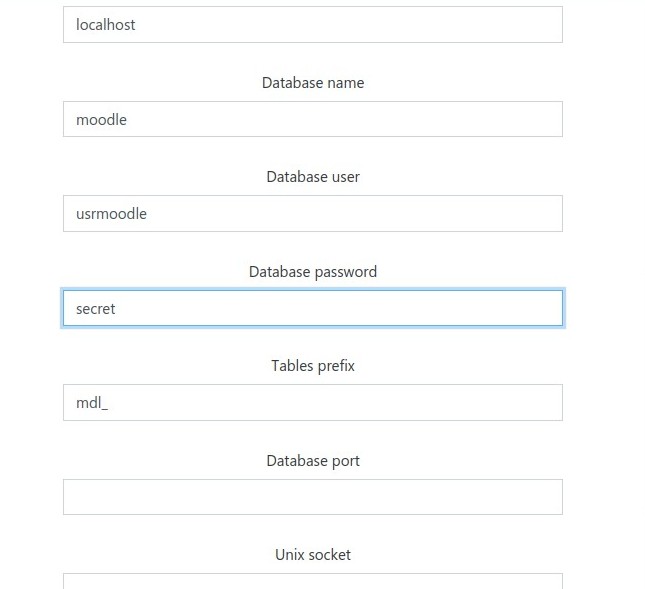
1 2 3 4 5 | CREATE DATABASE moodle DEFAULT CHARACTER SET utf8mb4 COLLATE utf8mb4_unicode_ci; CREATE USER 'usrmoodle'@'localhost' IDENTIFIED BY 'secret'; GRANT ALL PRIVILEGES ON moodle.* TO 'usrmoodle'@'localhost'; FLUSH PRIVILEGES; exit |
3.Install PHP-FPM
Install PHP-FPM and its modules
1 | apt install php-fpm php-common php-pspell php-curl php-gd php-intl php-mysql php-xml php-xmlrpc php-ldap php-zip php-soap php-mbstring -y |
Configure php.ini
1 | nano /etc/php/7.2/fpm/php.ini |
Change the configuration options below
1 2 3 4 5 6 7 | memory_limit = 256M upload_max_filesize = 64M post_max_size = 64M max_execution_time = 360 max_input_time = 360 cgi.fix_pathinfo = 0 date.timezone = Asia/Jakarta |
Restart PHP-FPM
1 2 | systemctl restart php7.2-fpm systemctl status php7.2-fpm |
4.Download Moodle
Download Moodle v3.8
1 2 | wget https://download.moodle.org/download.php/direct/stable38/moodle-latest-38.tgz tar xzvf moodle-latest-38.tgz |
Create a folder for Moodle
1 2 3 4 | mkdir -p /var/www/moodle/data mv moodle /var/www/moodle/web chown -R www-data:www-data /var/www/moodle chmod -R 755 /var/www/moodle |
Configure the Nginx server block for moodle.defnex.com
1 2 | cd /etc/nginx/conf.d nano moodle.defnex.com.conf |
Enter the configuration below
1 2 3 4 5 6 7 8 9 10 11 12 13 14 15 16 17 18 19 20 21 22 23 | server { listen 80; server_name moodle.defnex.com; root /var/www/moodle/web; index index.php index.html index.htm; location / { try_files $uri $uri/ /index.php?$query_string; } location /dataroot/ { internal; alias /var/www/moodle/data; } location ~ [^/]\.php(/|$) { include snippets/fastcgi-php.conf; fastcgi_pass unix:/run/php/php7.2-fpm.sock; fastcgi_param SCRIPT_FILENAME $document_root$fastcgi_script_name; include fastcgi_params; } } |
Test and restart Nginx
1 2 3 | nginx -t systemctl restart nginx systemctl status nginx |
5.Install SSL Let’s Encrypt
Install the certbot repository
1 2 3 4 | apt install software-properties-common -y add-apt-repository universe add-apt-repository ppa:certbot/certbot apt update |
Install certbot for Nginx
1 | apt install certbot python3-certbot-nginx -y |
SSL request for the subdomain moodle.defnex.com
1 | certbot --nginx -d moodle.defnex.com |
Enter email address
1 | Enter email address (used for urgent renewal and security notices) (Enter 'c' to cancel): hai@musaamin.web.id |
Agree ToS
1 2 3 | Please read the Terms of Service at https://letsencrypt.org/documents/ LE-SA-v1.2-November-15-2017.pdf. You must agree in order to register with the ACME server at https://acme-v02.api.letsencrypt.org/directory - - - - - - - - - - - - - - - - - - - - - - - - - - - (A)gree/(C)ancel: A |
Consent to be sent information about Let’s Encrypt, you can answer Y or N.
1 2 3 | Would you be willing to share your email address with the Electronic Frontier Foundation, a founding partner of the Let's Encrypt project and the non-profit organization that develops Certbot? We'd like to send you email about our work encrypting the web, EFF news, campaigns, and ways to support digital freedom. - - - - - - - - - - - - - - - - - - - - - - - - - - - (Y)es/(N)o: N |
An SSL certificate is created, modifies and adds virtual host configurations for SSL.
1 2 3 | Obtaining a new certificate Performing the following challenges: http-01 challenge for moodle.defnex.com |
Then select 2 to redirect HTTP to HTTPS.
1 2 3 4 5 6 | Please choose whether or not to redirect HTTP traffic to HTTPS, removing HTTP access. - - - - - - - - - - - - - - - - - - - - - - - - - - - - - - - - - - - - - - - - 1: No redirect - Make no further changes to the webserver configuration. 2: Redirect - Make all requests redirect to secure HTTPS access. Choose this for new sites, or if you're confident your site works on HTTPS. You can undo this change by editing your web server's configuration. - - - - - - - - - - - - - - - - - - - - - - - - - - - - - - - - - - - - - - - - Select the appropriate number [1-2] then [enter] (press 'c' to cancel): 2 |
SSL installation for moodle.defnex.com complete
1 | Congratulations! You have successfully enabled https://moodle.defnex.com |
The SSL certificate is only valid for 90 days, command for renewing the SSL certificate
1 | cerbot renew |
6.Install Moodle
Browse https://moodle.defnex.com
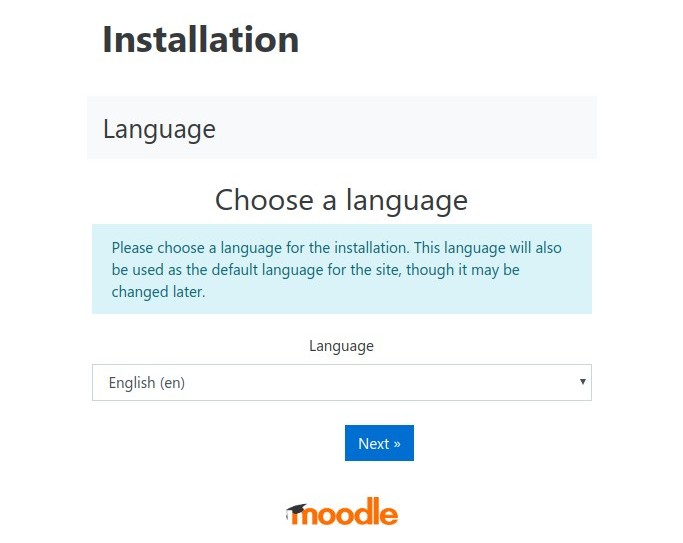
Language selection, Next
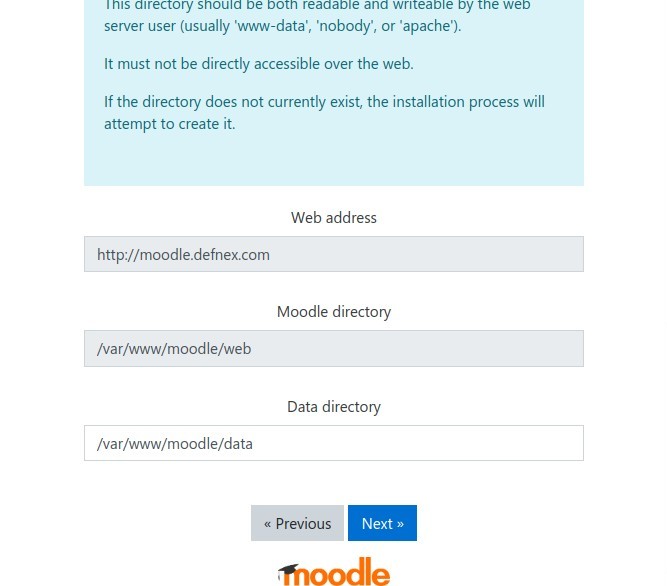
Fill directory data with /var/www/moodle/data
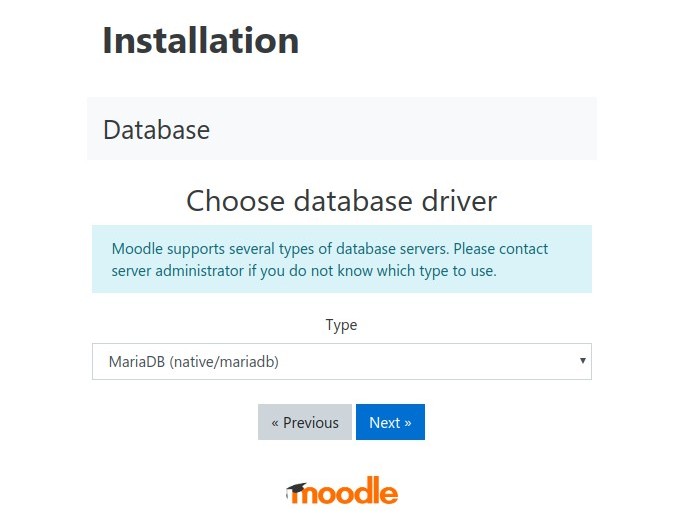
Database driver, Type select MariaDB (native / mariadb)
Enter the database name, database user, and database password
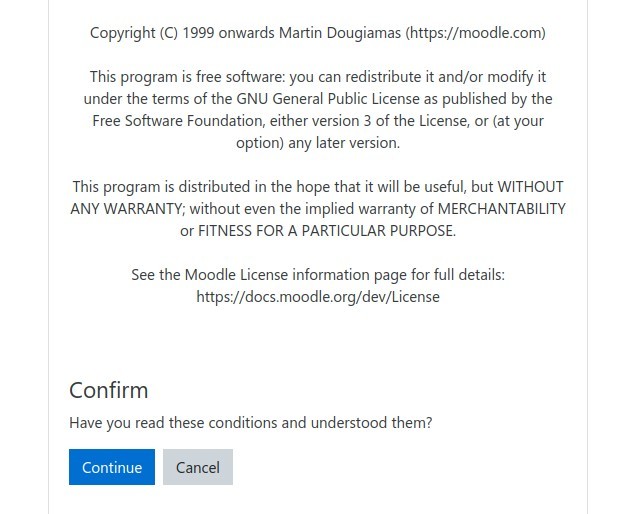
Confirm license, Continue
Check the server if the server is ready to install Moodle
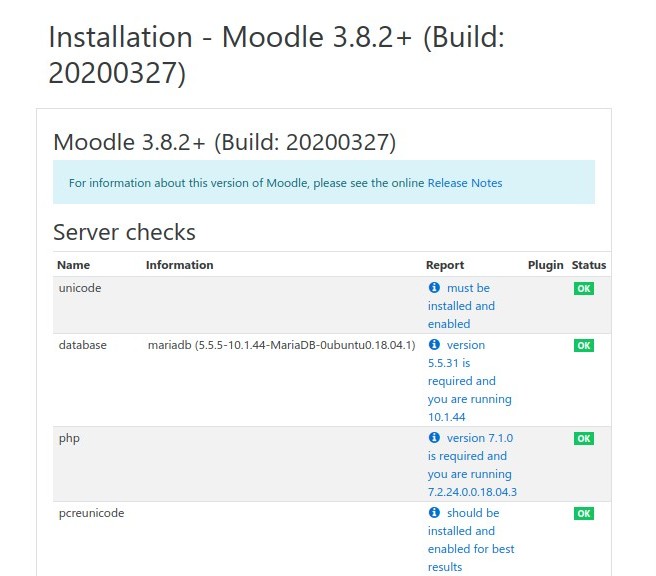
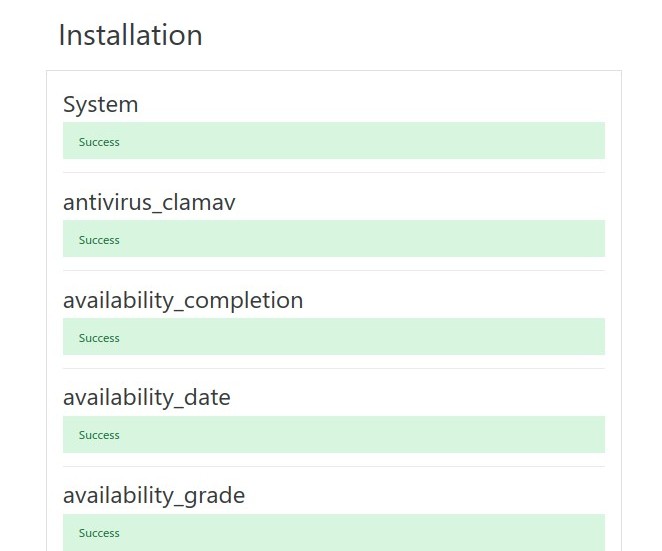
Installation is running
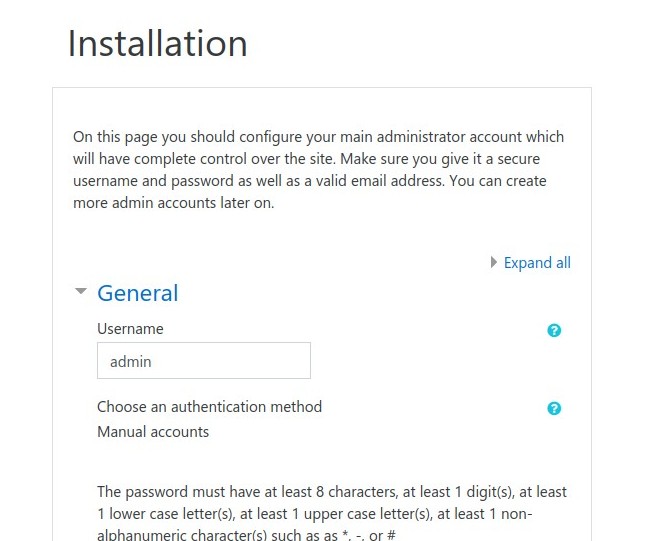
Create an administrator account
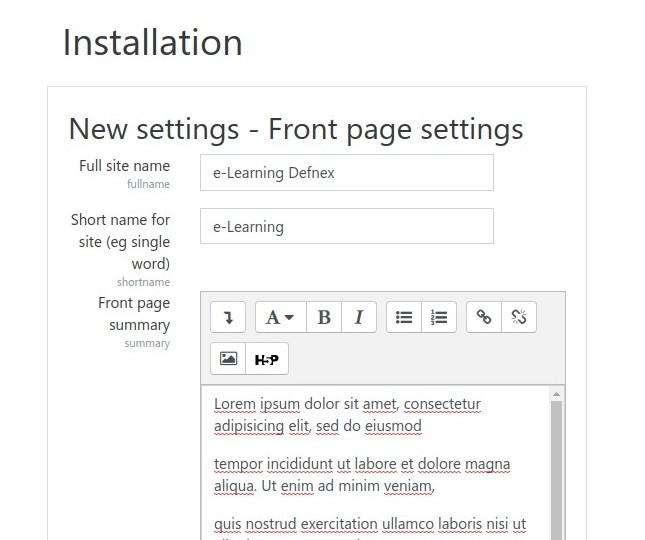
Enter Full site name, Short name for site and Front page summary
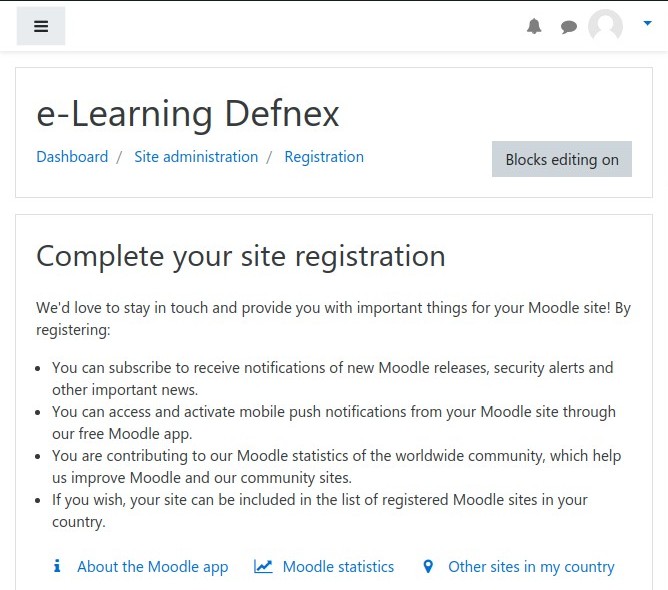
If successful, go directly to the administrator dashboard
If you found this article helpful and would like to support my work, consider making a donation through PayPal. Your support helps me continue creating useful content and tutorials. Thank you!
Donate via PayPal: https://paypal.me/musaamin

Permisi pak mau tanya, apa cara instalasi ini bisa di akses denngan menggunakan ip-dynamic.com atau no-ip.com nantinya, terimakasih
bisa, gak perlu setting domain, langsung pasang file moodle di /var/www/html, dan akses pakai IP address
Yang penting jangan sampai kena ip privat kalau kena ip privat hany bs d akses lokal