How to Install Crater Invoice App on Ubuntu 20.04

Crater is an invoicing application based on the Laravel PHP framework targeting individual users or small and medium-sized businesses. Crater is an open source application and can be installed on your own server.
Crater Features
Features contained in the Crater:
- Invoice: create and send invoices to clients
- Estimate: make an estimate or offer a price
- Track Payment: tracking transactions and payments
- Exprenses: record and track expenses
- Reports: make a billing report
- Taxes: set the type of tax
- Mobile App: Android and iOS mobile versions available
Tutorial Environment
Environment used in this tutorial:
- OS: Ubuntu 20.04
- Web Server: Apache
- PHP: 7.4
- Database: MariaDB 10.3
- Subdomain: crater.musaamin.my.id
- SSL: Let’s Encrypt
- Crater: v5.0.6
Download Crater
Download Crater on craterapp.com/downloads.
1 | wget https://craterapp.com/downloads/file/5.0.6 -O crater.zip |
Unzip crater.zip.
1 2 | apt install unzip -y unzip crater.zip |
Install Apache
Install Apache web server.
1 | apt install apache2 -y |
Move the crater folder.
1 | mv crater /var/www/crater.musaamin.my.id |
Change the ownership and permissions of the folder.
1 2 3 4 | chown -R www-data:www-data /var/www/crater.musaamin.my.id chmod 775 /var/www/crater.musaamin.my.id/storage/framework chmod 775 /var/www/crater.musaamin.my.id/storage/logs chmod 775 /var/www/crater.musaamin.my.id/bootstrap/cache |
Create virtual hosts file.
1 | nano /etc/apache2/sites-available/crater.musaamin.my.id.conf |
Enter the virtual host configuration.
1 2 3 4 5 6 7 8 9 10 11 12 13 | <VirtualHost *:80> ServerName crater.musaamin.my.id DocumentRoot /var/www/crater.musaamin.my.id/public <Directory /var/www/crater.musaamin.my.id/public> Options Indexes FollowSymLinks MultiViews AllowOverride All Require all granted </Directory> ErrorLog /var/log/apache2/crater.musaamin.my.id_error.log CustomLog /var/log/apache2/crater.musaamin.my.id_access.log combined </VirtualHost> |
Activate the rewrite module, virtual host, and restart the apache web server.
1 2 3 | a2enmod rewrite a2ensite crater.musaamin.my.id systemctl restart apache2 |
Install PHP
Install PHP and the required extensions.
1 | apt install libapache2-mod-php php-common php-bcmath php-mbstring php-mysql php-tokenizer php-zip php-curl -y |
Restart apache.
1 | systemctl restart apache2 |
Install SSL
Install certbot.
1 | apt install python3-certbot-apache -y |
SSL request for subdomain crater.musaamin.my.id.
1 | certbot --non-interactive -m email@example.com --agree-tos --no-eff-email --apache -d crater.musaamin.my.id --redirect |
Install MariaDB
Install MariaDB database.
1 | apt install mariadb-server -y |
Securing MariaDB installation.
1 2 3 4 5 6 7 8 9 10 | mysql_secure_installation Enter current password for root (enter for none): ENTER Set root password? [Y/n] ENTER New password: ENTER_PASSWORD Re-enter new password: RE-ENTER_PASSWORD Remove anonymous users? [Y/n] ENTER Disallow root login remotely? [Y/n] ENTER Remove test database and access to it? [Y/n] ENTER Reload privilege tables now? [Y/n] ENTER |
Create database.
1 2 3 4 5 6 7 | mysql create database crater; create user 'crater'@'localhost' identified by 'secret'; grant all privileges on crater.* to 'crater'@'localhost'; flush privileges; exit |
Installation Wizard
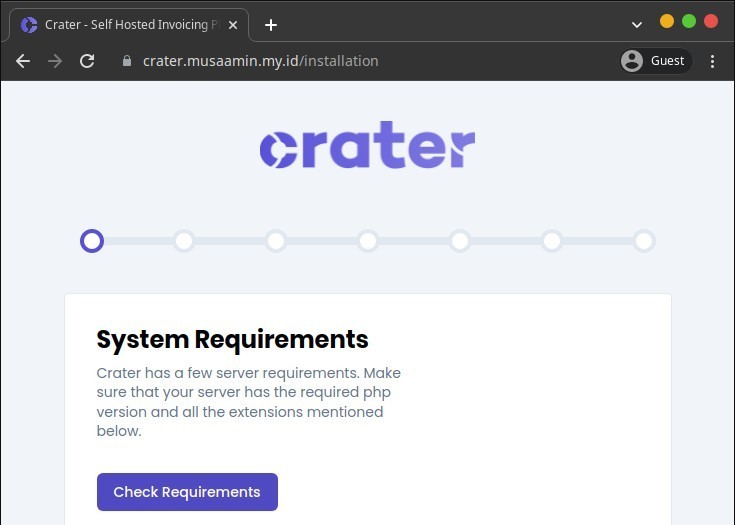
Browse to the subdomain used for the installation wizard.
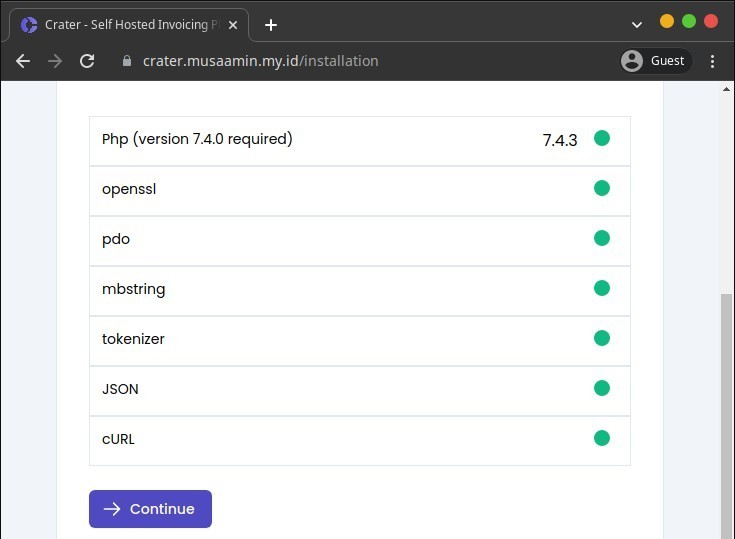
Click Check Requirements to check if the server meets the requirements to run Crater.
If it meets the requirements click Continue.
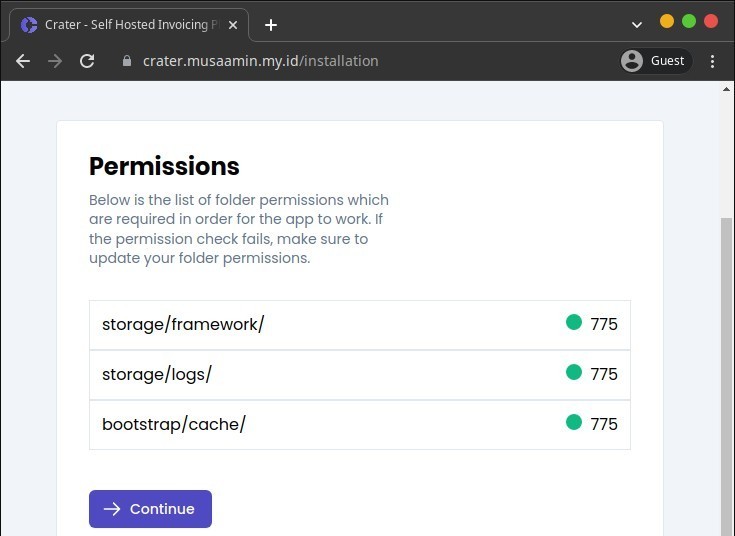
Checking folder permissions. Continue.
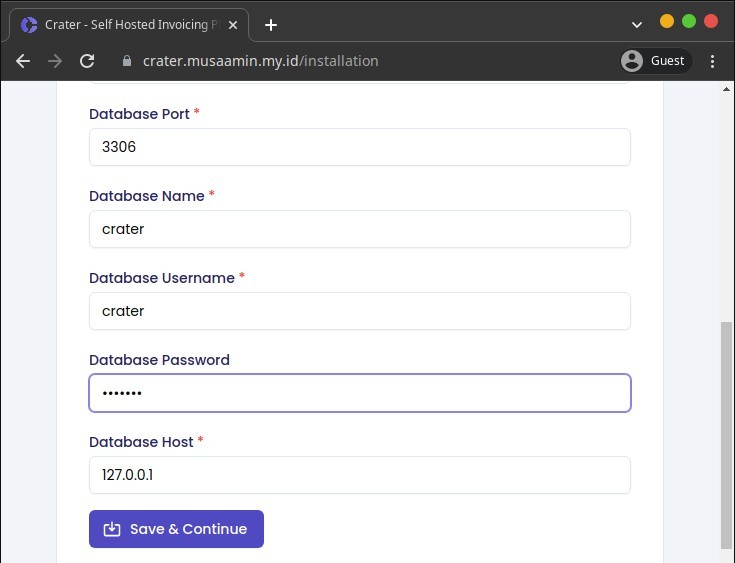
Configure Site URL and database. Enter the database name, username, and password that was created previously. Save & Continue.
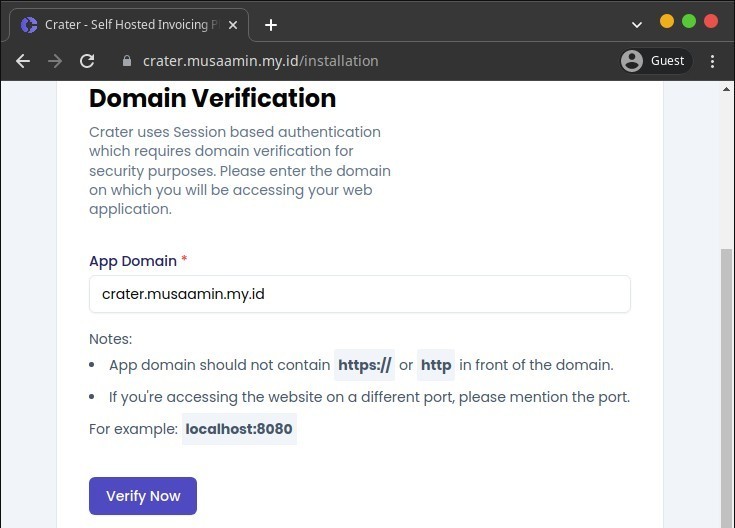
Domain verification. Verify Now.
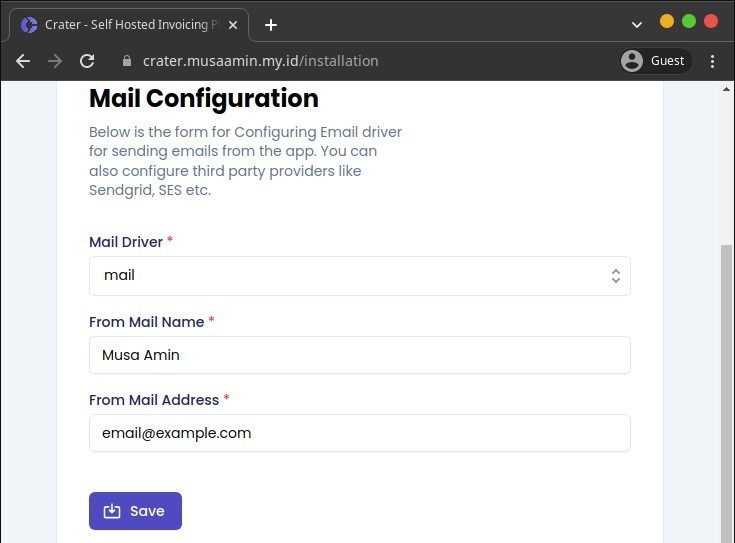
Mail configuration, enter the name and email address as the identity of the email sender. Save.
Account information, enter your name, email, and password. Save & Continue.

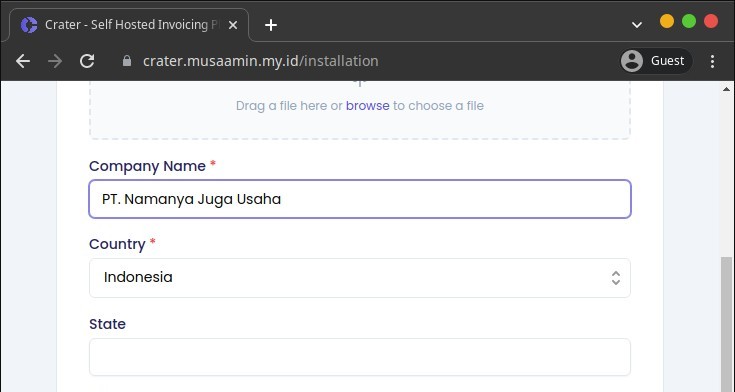
Company information, enter company name and country. Save & Continue.
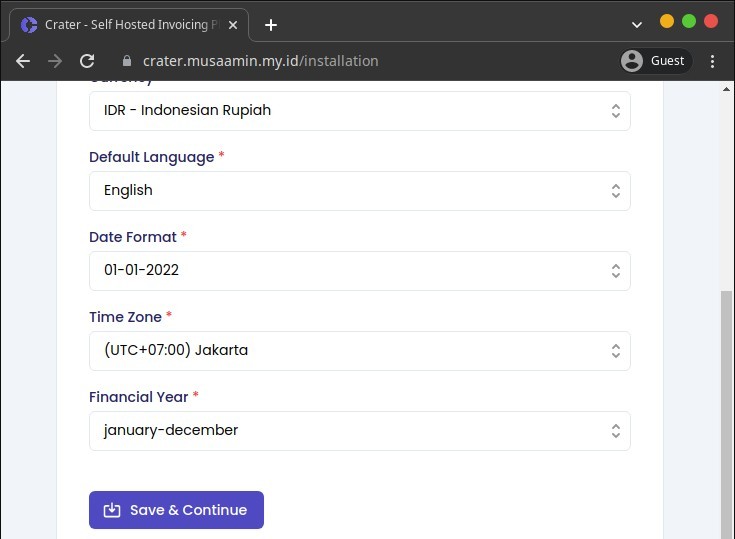
Company preferences, select currency (cannot be changed later), date format and time zone. Save & Continue.
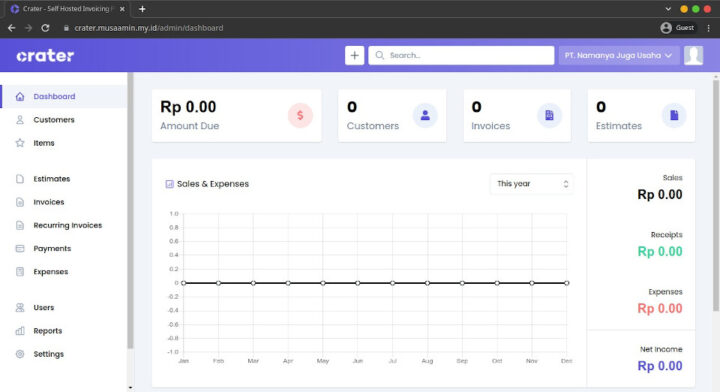
Install Crater complete.
If you found this article helpful and would like to support my work, consider making a donation through PayPal. Your support helps me continue creating useful content and tutorials. Thank you!
Donate via PayPal: https://paypal.me/musaamin